
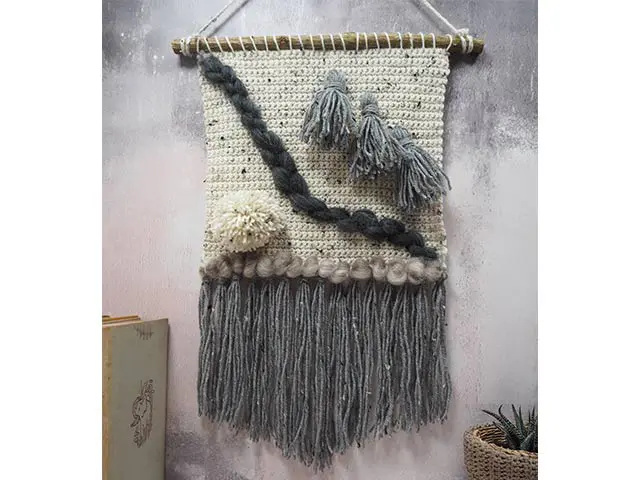
Crochet Wall Hanging with Fringe
Designed by
Debbie von Grabler-Crozier
Tools
Large wool needle
Your usual crafting needs
Materials
• Yarn:
1x 50g ball natural tweed DK yarn
1x 50g ball grey tweed DK yarn
• Everything Else:
Wool roving in two colours to coordinate with your main yarn
TIP: The tweed wool has small flecks through it and I let those colours dictate the colour of the wool roving.
Square of felt 30cm sq.
Fabric glue
Interesting stick – about 30cm long and as thick as your thumb

Making
The crochet panel-
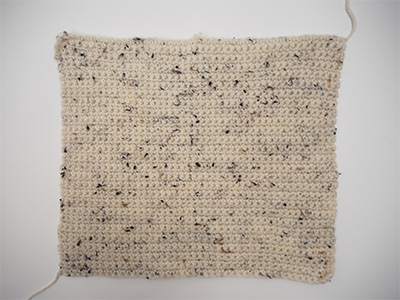
Start with a chain 45 and then Double Crochet (dc) US Single Crochet or sc 50 rows and fasten off.
Weave in the ends top and bottom.
TIP: Watch your edges to keep them dead straight.
Take the wool roving and tease a small amount off.
TIP: This needs to be able to go through the eye of the needle and create plump detail on the crochet panel without being too big.
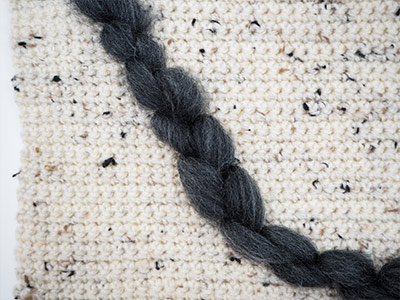
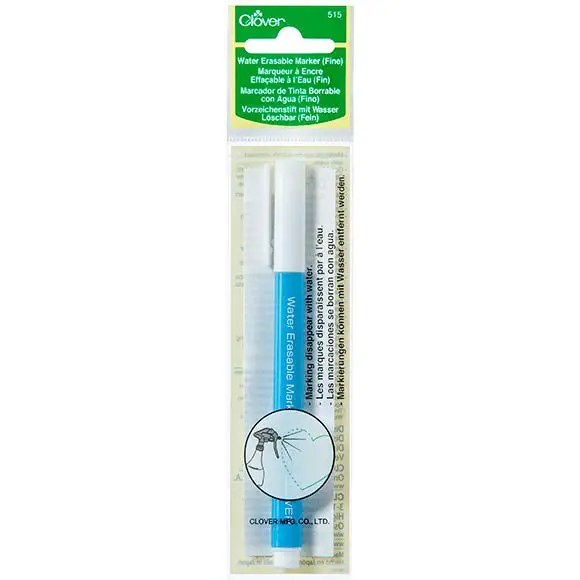
With the water erasable marker, draw a curved line from the top left hand side of the crochet panel to the bottom right hand corner and stitch the wool roving on following this line.
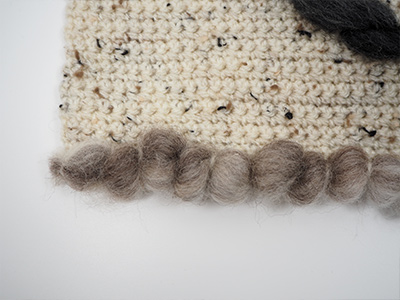
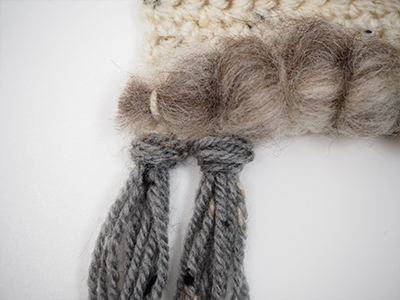
With the other colour wool roving, make a row along the bottom of the crochet panel.
TIP: If your wool roving is a bit fragile, it will keep coming apart and that is very frustrating. Solve this by laying it onto the crochet panel and using a piece of natural yarn to couch it into place.
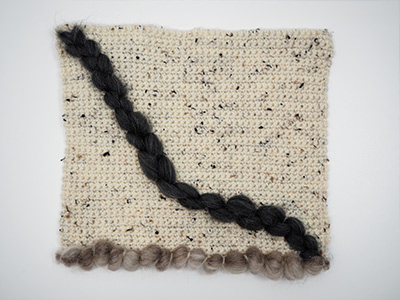
You now have a panel with some open areas which would be perfect for tassels and pompoms!
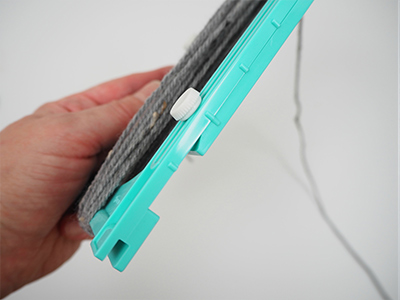
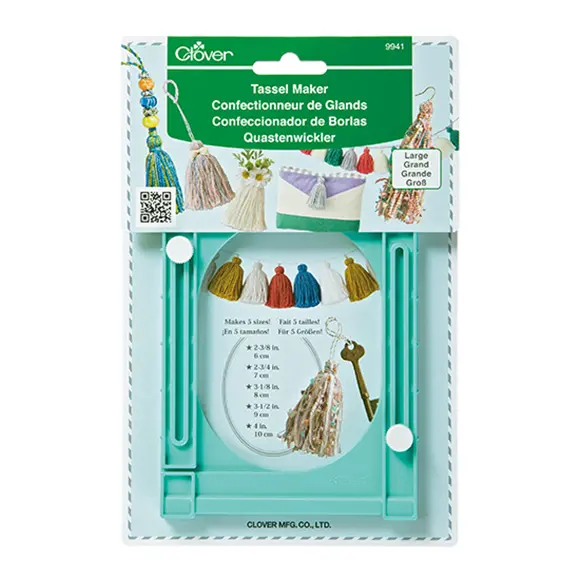
To make a tassel with the large tassel maker, firstly set up the maker so that it is on the second to largest setting.
Wrap some grey yarn around the tassel maker 15 times.
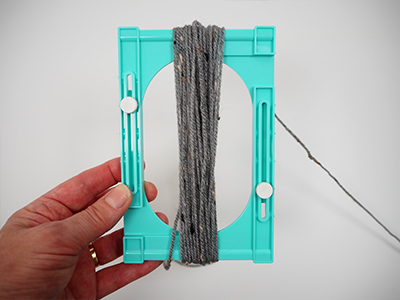
Take a long piece of yarn (around 30cm long) and tie the centre of the tassel IMAGE 7.
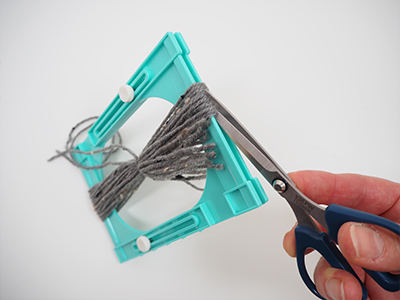
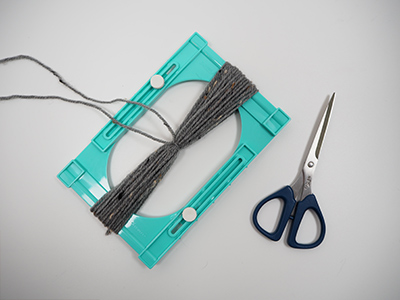
Cut the tassel from the maker.
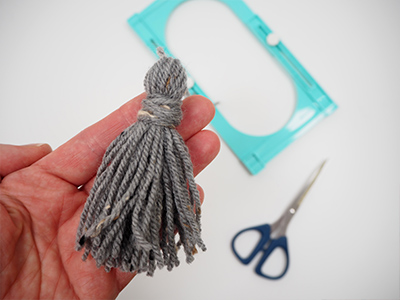
Fold the tassel over and wrap it about 2cm down with a very long piece of yarn.
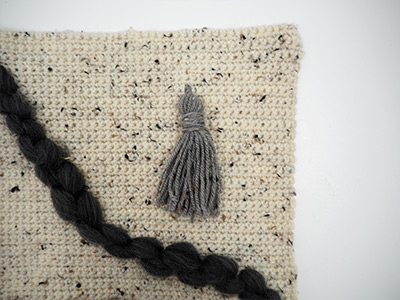
Make two more of these and attach them using the long centre yarn to the top right hand space on the panel.
TIP: odd numbers are the norm when putting on embellishments like this.
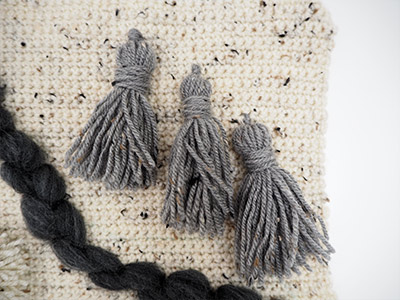
One didn’t seem enough so I added two more IMAGE 11. You can add as many or as few as you like.
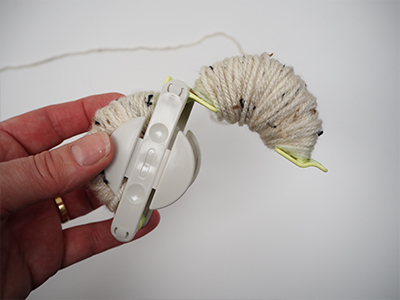
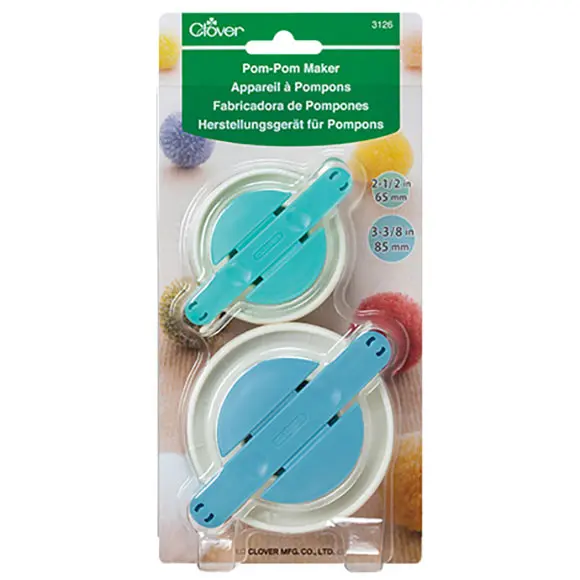
Make the pompom next. Using the natural yarn, fill the pompom maker well.
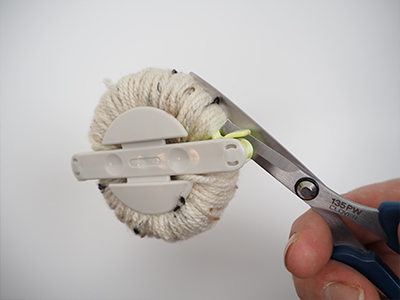
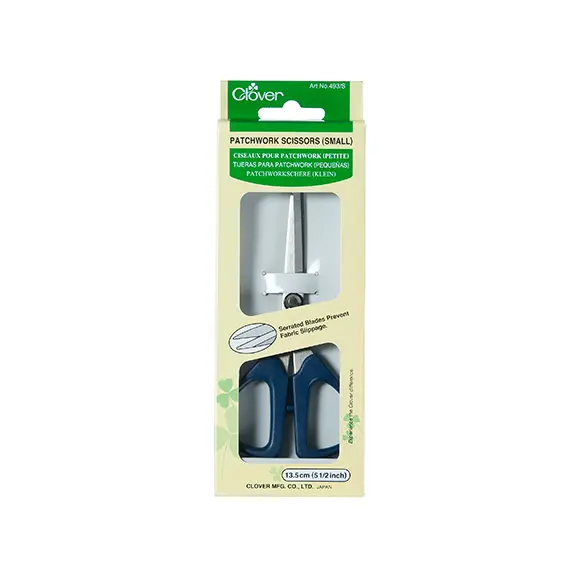
Cut the yarn with the small scissors.
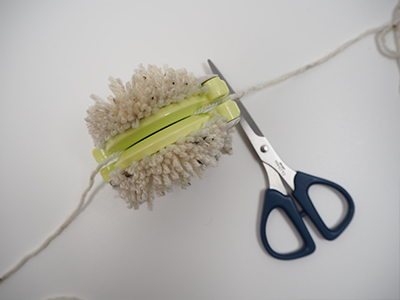
Tie the pompom off with a long piece of yarn.
TIP: Keep it long too because it will be used to secure the pompom to the wall hanging.
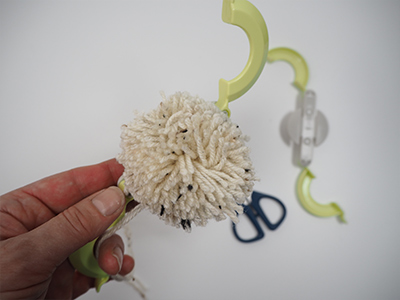
Remove the pompom from the maker and secure it to the lower left space on the crochet panel.
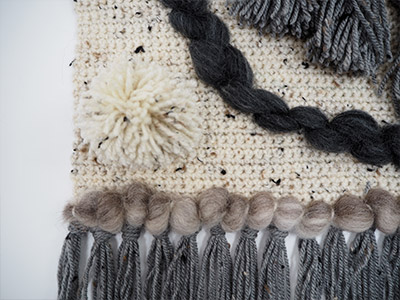
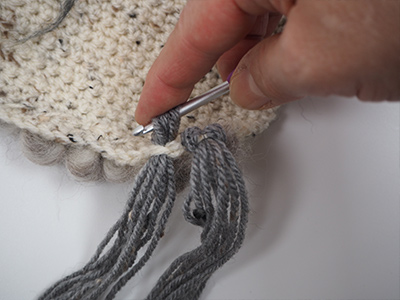
Finally, make the tassel fringe. Cut 5 pieces of yarn 45cm long, fold in half and attach this yarn bunch to the bottom of the crochet panel with a Larks Head Knot. Begin by folding the five pieces of yarn in half.

Bring them through a chain stitch at the bottom of the crochet panel.
Now bring the tails up and through that loop and pull tight.
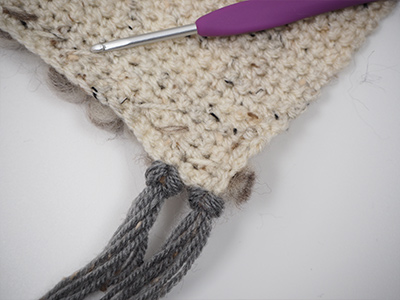
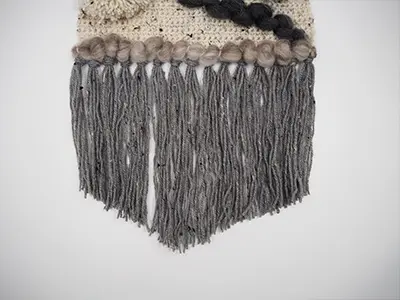
This is what the fringe will look like from the front.

Repeat every three stitches along the bottom chain.
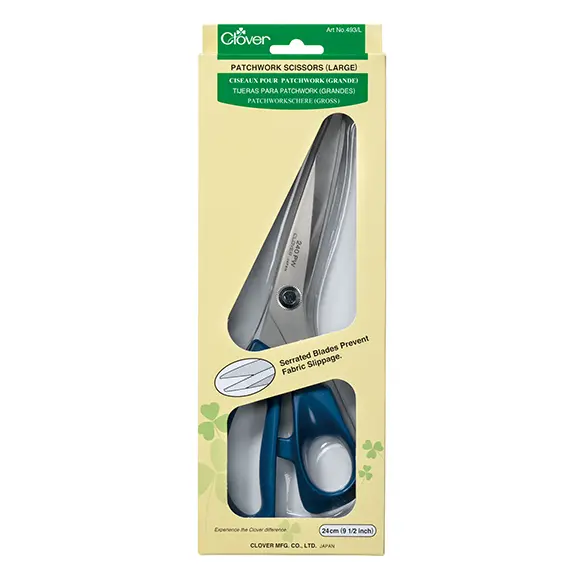
TIP: You could leave it here and just trim with the large scissors.
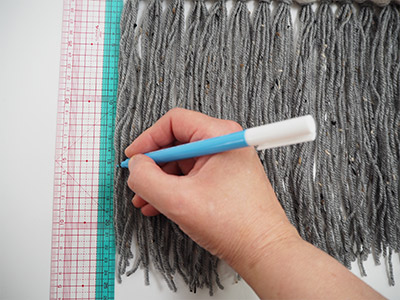
To shape the fringe, measure down 15cm on the outside tassels and make a mark with the water erasable marker.
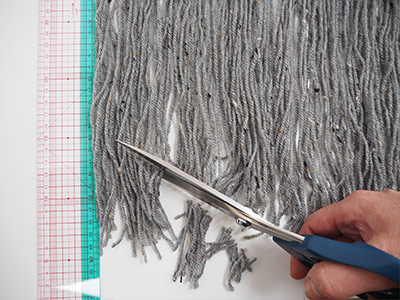
Cut with the larger pair of scissors from the centre tassel to make a point.
Repeat on the other side.
Finish the wall hanging by stitching the panel to the stick with natural yarn and then make a hanger. I made mine by crocheting a chain about 60cm long and tying it to each end of the stick.
TIP: The back on a project like this can look a bit untidy – there really isn’t any way around this. The best remedy is to cut a piece of felt and use some fabric glue to glue it to the back. This will cover the threads and make the project look more professional.