
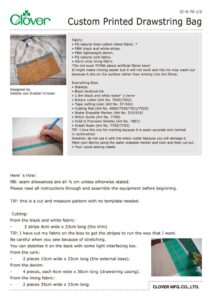
Custom Printed Drawstring Bag
Designed by
Debbie von Grabler-Crozier
Tools
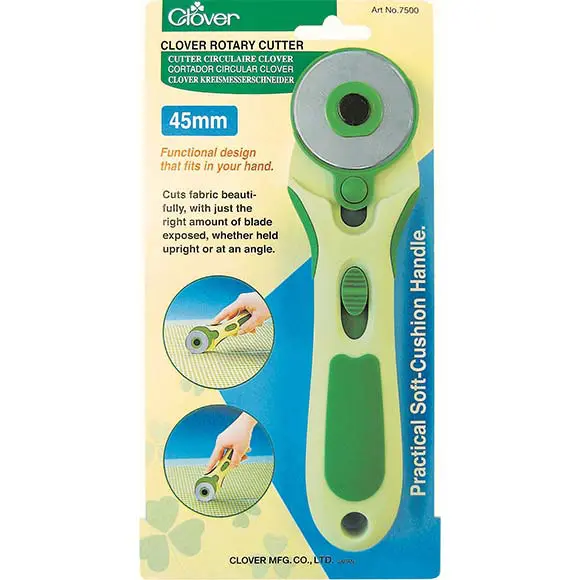
Stamps.
Black Archival ink
1.8m black and white baker’s twine
Your usual sewing needs
Materials
Fabric:
• FQ natural linen cotton blend fabric. *
• F8th black and white stripe.
• F8th lightweight denim.
• FQ natural cork fabric.
• 40cm strip lining fabric
*Do not even THINK about artificial fibres here! It might make ironing easier but it will not work and the ink may wash out because it sits on the surface rather than sinking into the fibres.
Cutting
From the black and white fabric:
– 2 strips 4cm wide x 33cm long (the trim)
TIP: I have cut my fabric on the bias to get the stripes to run the way that I want. Be careful when you sew because of stretching. You can stabilise it on the back with some light interfacing too.
From the cork:
– 2 pieces 15cm wide x 33cm long (the external base).
From the denim:
– 4 pieces, each 6cm wide x 30cm long (drawstring casing).
From the lining fabric:
– 2 pieces 35cm wide x 33cm long.
NB: seam allowances are all ½ cm unless otherwise stated. Please read all instructions through and assemble the equipment before beginning.
TIP: this is a cut and measure pattern with no template needed.
Making
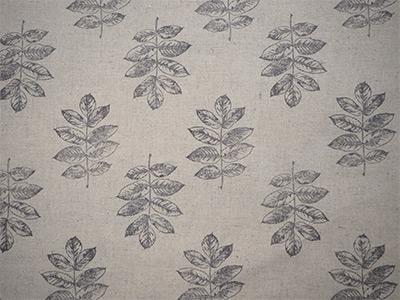
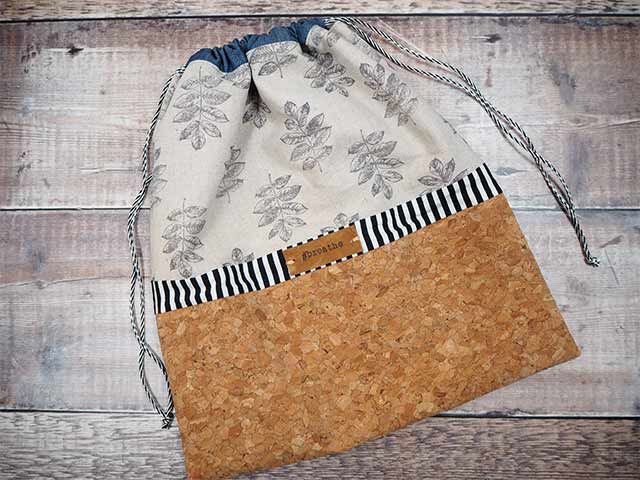
Putting it all Together: Press your FQ and stamp with your chosen stamp using the black ink IMAGE 1. Press again to set the ink.
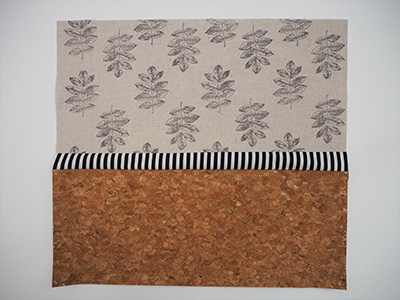
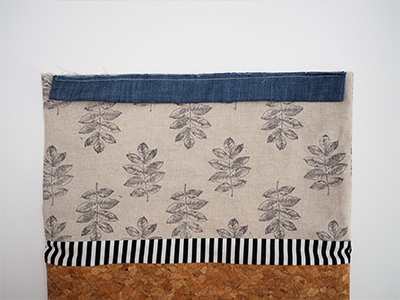
Cut two pieces from the stamped linen, each 18cm wide x 33cm long. Attach a piece of black and white trim to the bottom of the printed panel and then sew the cork under that IMAGE 2. Repeat for the other pieces to form the back. With the right sides together and the seams lined up as perfectly as possible, sew the front panel to the back on the sides and base.
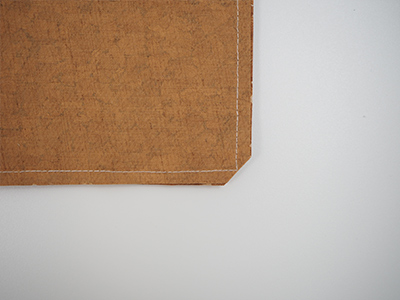
Clip across the corners to reduce bulk IMAGE 3 and turn the bag the right way out.
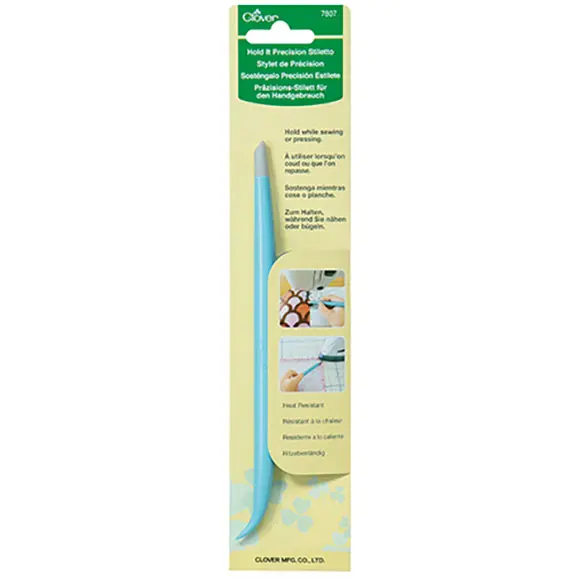
Poke the corners out so that they are super sharp.
TIP: the stiletto is perfect for this!
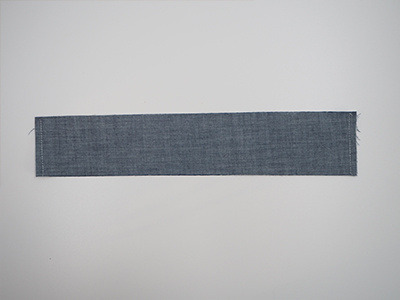
To make the casing, take two denim pieces and place them right sides together. Sew both ends only IMAGE 4.
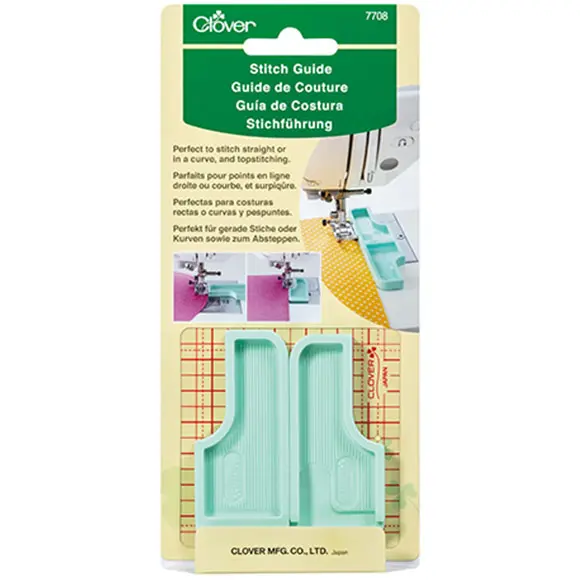
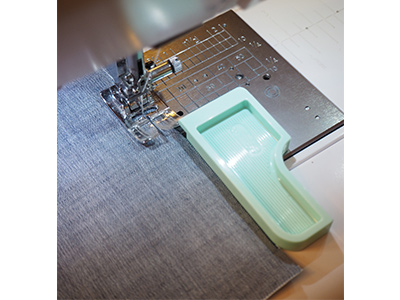
TIP: The adhesive Stitch Guide is great for getting the seams perfect every time IMAGE 5.
Turn the casing the right way out and press. Fold in half lengthways and press lightly.
TIP: you can baste the bottom edge to keep it all together. This makes installation easier too.
Repeat for the other casing. Mark these points and then match them up and sew a casing to the front IMAGE 6 and to the back. With the bag outer the right way out and the lining the wrong way out, pull the lining on over the outer and line the seams up. The casings should be folded down between the lining and the outer at this point. Sew right around the top edge leaving no gaps and then turn the bag the right way out through the gap in the lining. Close the gap in the lining. Press the top edge and then topstitch right around.
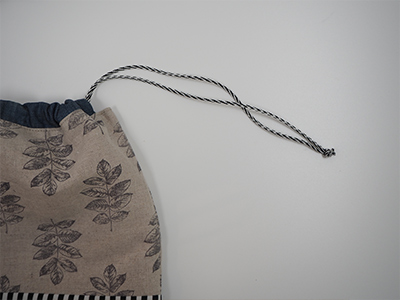
Cut the baker’s twine in half and feed one piece one way through the casings and tie it on one side IMAGE 7 and repeat going the other way with the other piece.
TIP: you can add a handmade label to the front too if you like.