
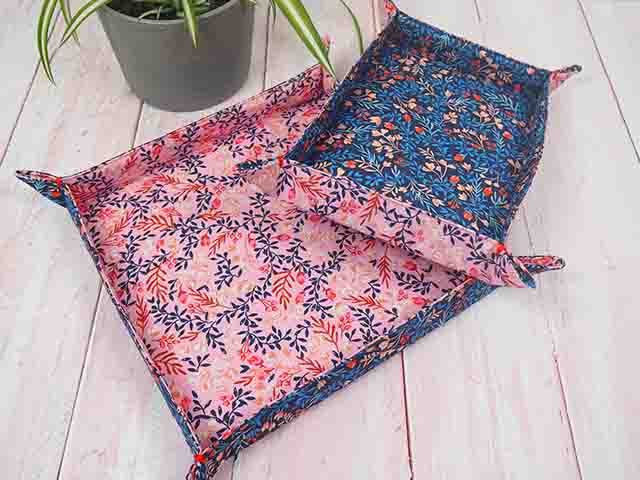
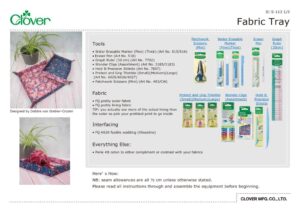
Fabric Tray
Designed by
Debbie von Grabler-Crozier
Tools

Materials
Fabric
• FQ pretty outer fabric
• FQ pretty lining fabric
TIP: you actually see more of the actual lining than the outer so pick your prettiest print to go inside.
Interfacing
• FQ H630 fusible wadding (Vlieseline)
Everything Else:
• Perle #8 coton to either compliment or contrast with your fabrics
Cutting
Cut a 28cm square from both fabrics and one from the interfacing.
Variation:
You can make these versatile trays in other shapes too. Here are the instructions for a rectangular one.
The smaller tray is made exactly the same way as the larger square. Begin by cutting the pieces 21cm wide x 27.5 long and measure in 3cm to mark the topstitching rectangle.
TIP: you can actually get both of these trays from 2 fat eighths. The reason that I have suggested FQs in the original instructions is that sometimes the F8ths are not cut accurately and sometimes they include the selvedge which means that you have potentially less fabric with which to work.
Making
Preparation

NB: seam allowances are all ½ cm unless otherwise stated. Please read all instructions through and assemble the equipment before beginning.
Fuse the interfacing to the wrong side of the fabric that will be the most visible (the lining in this case) IMAGE 1.
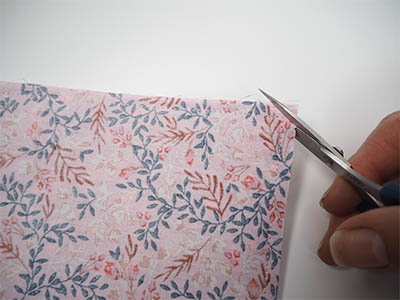
With the right sides together, sew the interfaced fabric to the outer fabric leaving a turning gap. Clip across the corners IMAGE 2 and turn out through the gap. Press.
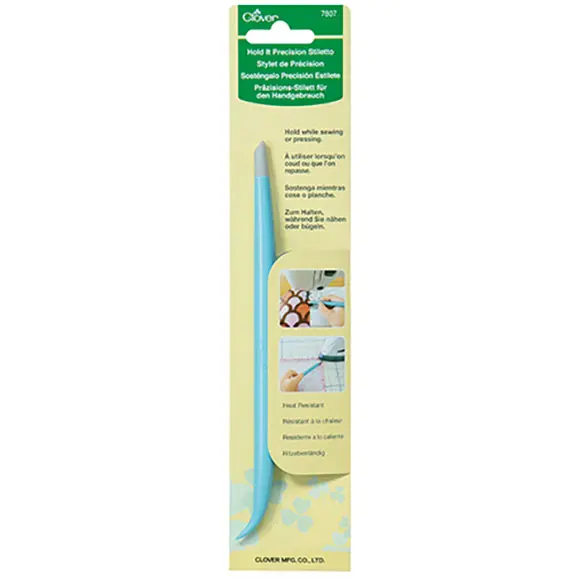
TIP: Do make sure that you get the corners of the tray as perfect as possible when you turn them out. Nothing looks worse than sloppy! My favourite tool for this is the Hold It precision stiletto.
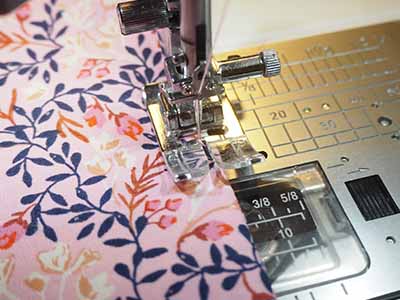
Topstitch narrowly around the edge IMAGE 3 with coordinating thread. This will also close the gap.
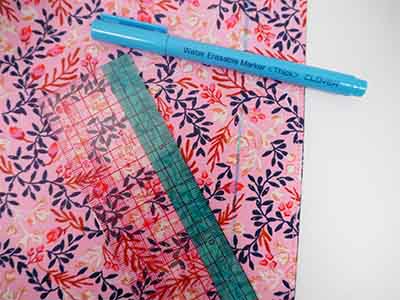
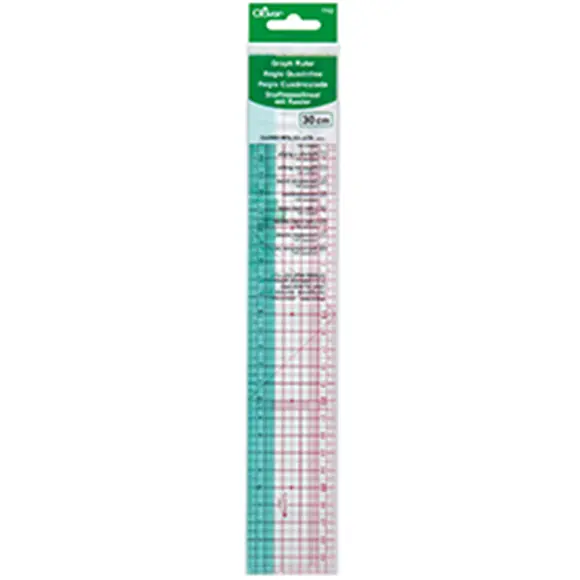
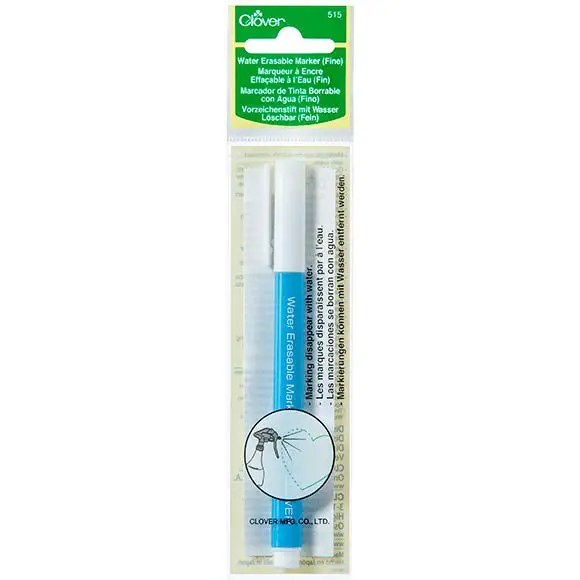
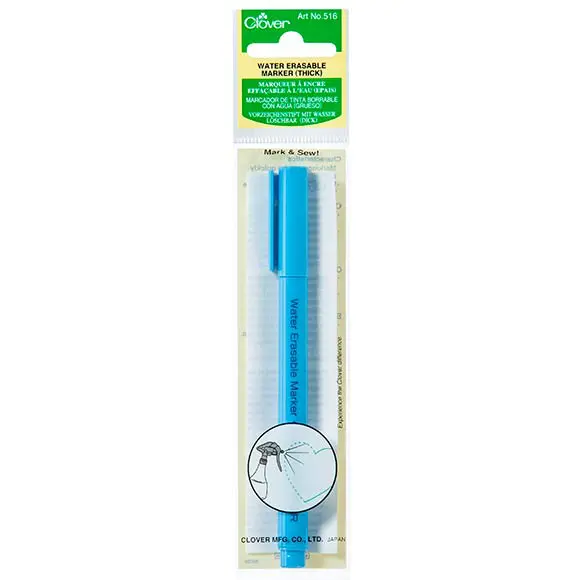
Measure in 3cm and mark a square (or a rectangle on the smaller tray) with the water erasable marker and graph ruler IMAGE 4.
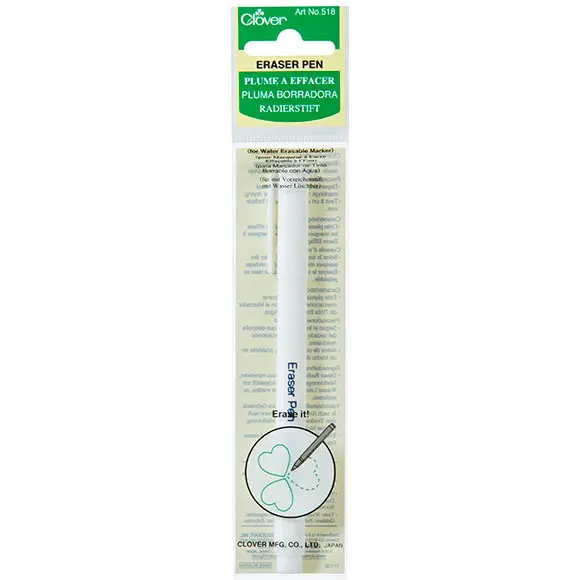
TIP: this is where the tray will be folded to make its shape. It is neater and more precise with the line there to follow. Take the time to draw the line with water erasable marker and remove it with the eraser pen when you have finished.
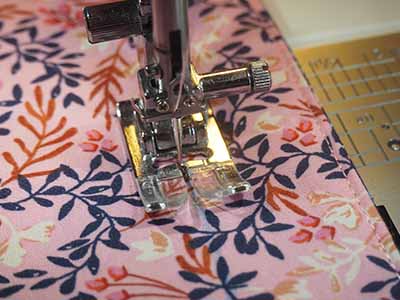
Topstitch around the square that you have drawn being very careful to keep all layers nice and even IMAGE 5. Remove the water erasable marker lines.
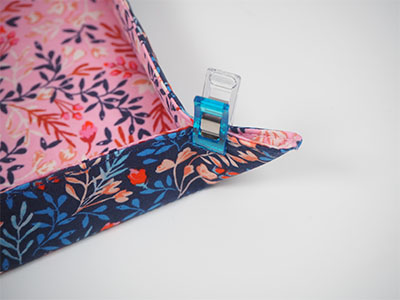
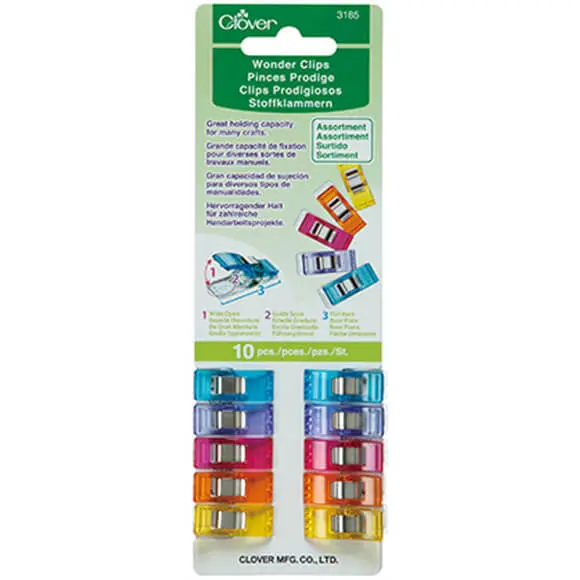
Finish the tray by pinching the corners so that a crease appears on the inner topstitch line and clip the corners with Wonder Clips IMAGE 6.
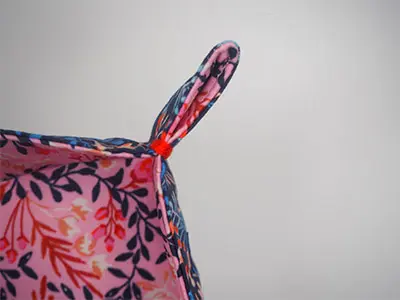
Sew the corner on the top only with perle coton forming an ‘ear’ IMAGE 7.Repeat for the other corners.
TIP: my choice of light red perle coton in a project where there is so much pink may seem a bit odd at first but it works really well because this same light red appears in the flowers of my fabric. This is a design trick: pick a colour which occurs only a bit in the fabric and echo it in the details.