
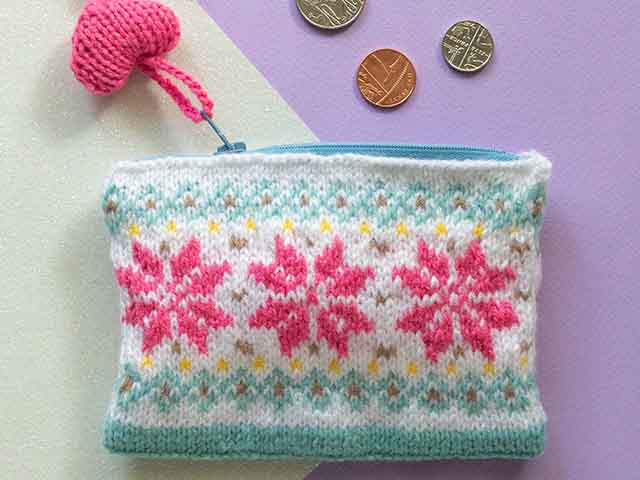
Knitted purse
Designed by
Sachiyo Ishii
Finished Size
15 cm x 10cm
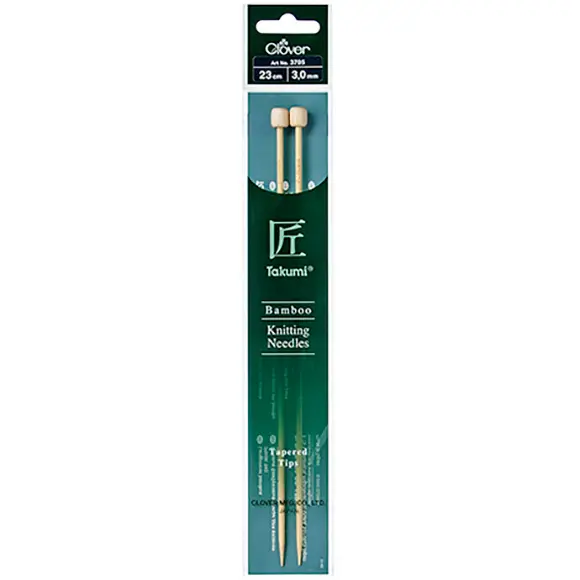
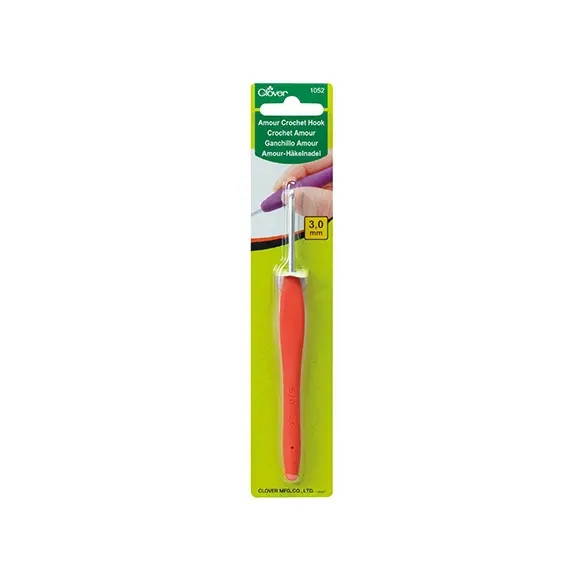
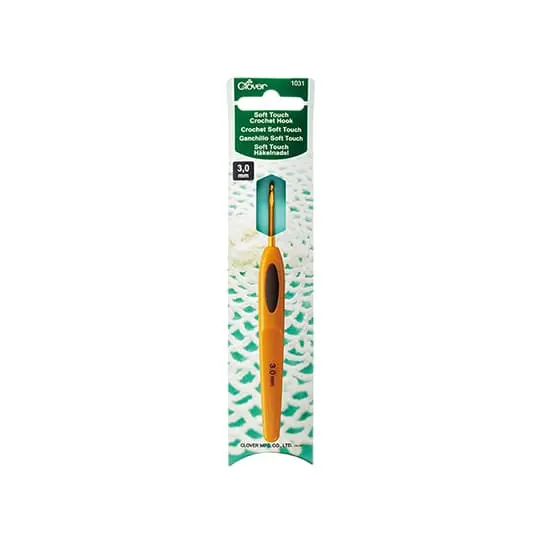
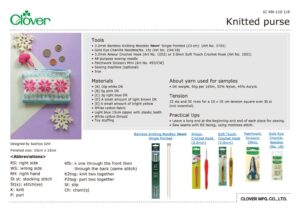
Tools

Materials
• [A] 10g white DK
• [B] 5g pink DK
• [C] 3g light blue DK
• [D] A small amount of light brown DK
• [E] A small amount of bright yellow
• White cotton fabric
• Light blue 15cm zipper with plastic teeth
• White cotton thread
• Toy stuffing
About yarn used for samples
• DK weight, 50g per 165m, 55% Nylon, 45% Acrylic
Tension
32 sts and 35 rows for a 10 x 10 cm tension square over St st (not essential).
Practical tips
• Leave a long end at the beginning and end of each piece for sewing.
• Sew seams with RS facing, using mattress stitch.
Abbreviations
RS: right side
WS: wrong side
RH: right hand
St st: stocking stitch
St(s): stitch(es)
K: knit
P: purl
Kfb: k one through the front then through the back (same stitch)
K2tog: knit two together
P2tog: purl two together
Sl: slip
Ch: chain(s)
Making
Purse
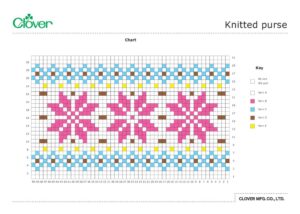
With yarn A, cast on 50 sts. Starting with a k (RS) row, work rows 1-31 of the chart, reading odd-numbered (RS) rows from right to left and even-numbered (WS) rows from left to right.
Change to yarn C.
Starting with a p (WS) row, work 4 rows in St st.
Next row (WS): k for folding edge.
Starting with a k row, work 3 rows in St st.
Starting with a p (WS) row, work rows 1-31 of the chart - for this chart repeat, odd-numbered rows are now WS rows and should be read from left to right, even-numbered rows are now RS rows and should be read from right to left.
Cast off with yarn A.
Heart
Front and back panel: make one each
With yarn B, cast on 9 sts.
Row 1 (WS): p4, sll, p4
Row 2: kfb, k3, sll, k3, kfb. 11 sts
Row 3: p5, sll, p5
Rows 4-5: starting with a k row, work 2 rows in St st.
Row 6: k2tog, k to last 2 sts, k2tog. 9 sts
Row 7: ptoend.
Row 8: k2tog, k to last 2 sts, k2tog. 7 sts
Row 9: p2tog, p to last 2 sts, p2tog, 5 sts
Row 10: k2tog, kl, k2tog. 3 sts
Row 11: p2tog, pl. 2 sts
Pass the first st over the second and fasten off.
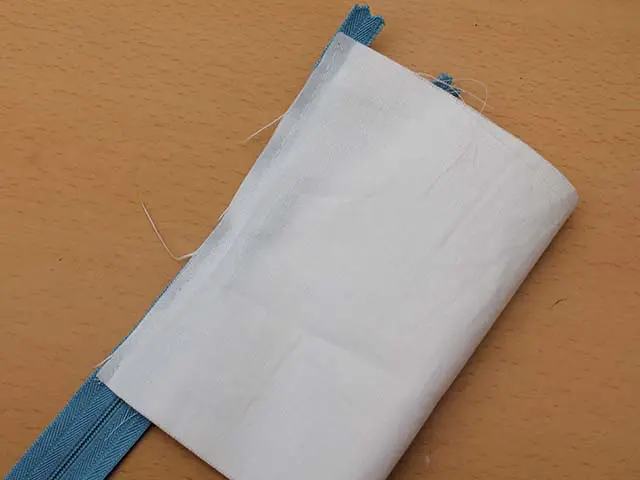
How to make purse lining
Measure your knitted purse (unfolded) and cut out fabric with 1cm seam allowances around entire edge.
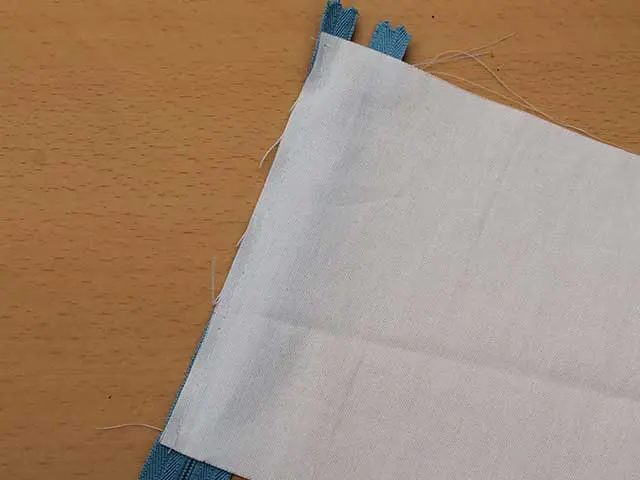
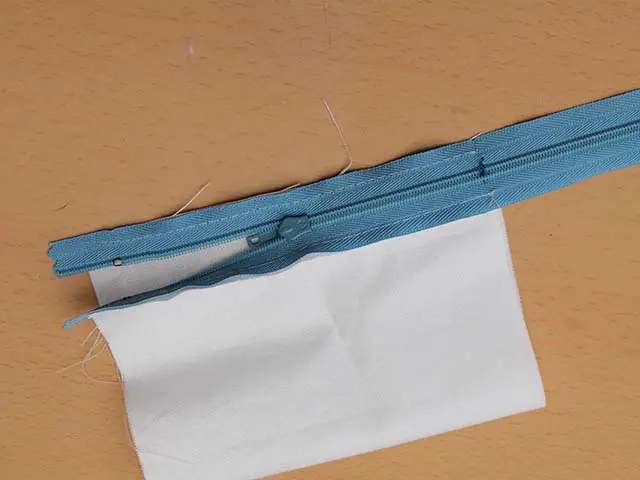
Adjust your zipper by measuring down from the top to the preferred length. Mark where you will be making the new bottom stopper. Sew a line of straight stitches across the tape, starting a few stitches before the teeth and extending a few stitches on the other side of the teeth. Repeat a couple of times to form a strong stopper. If you are hand sewing, stitch over the teeth, inserting and exiting the needle just on either side of the teeth. Repeat several times.
With right side of zipper facing up, place fabric over the zipper wrong side facing down aligning the short edge of fabric with edge of zipper. Sew across the top between the edge.
To make up
Weave in all yarn ends on wrong side of knitted purse piece, fold piece in half along purl fold line. Sew side seams together. Gently press with iron.
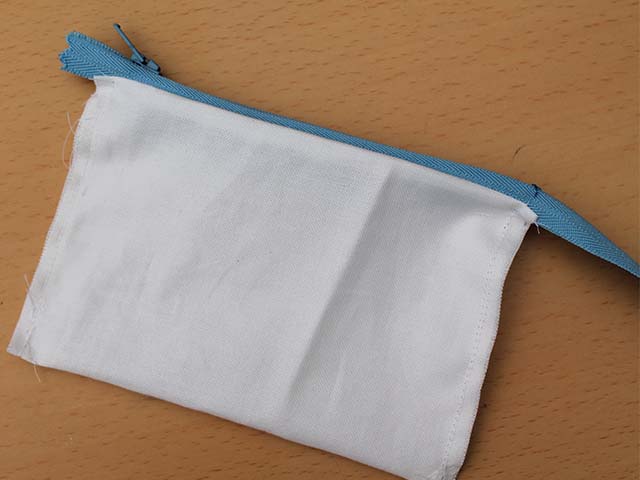
Trim off the excess zipper tape, leaving about 2 cm under your newly sewn stopper. Insert lining into the knitted purse and hand stitch top edge to the zipper. Gently press with iron.
Seam and stuff heart. Make 20 ch with yarn B and thread through zipper eye. Attach ends of chain to the heart.