
Christmas Baby in Stocking

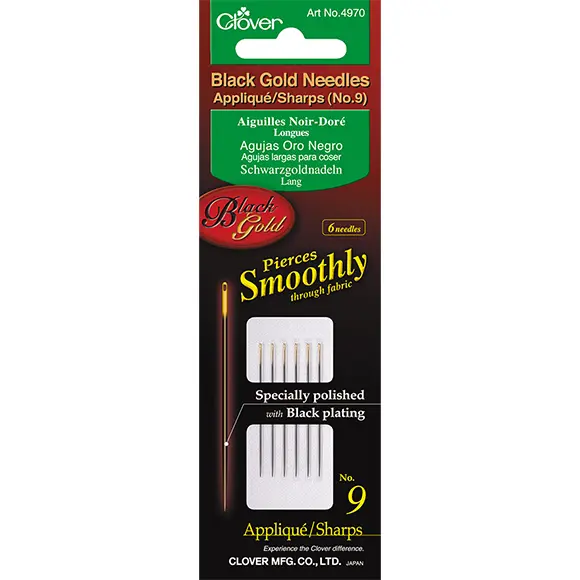
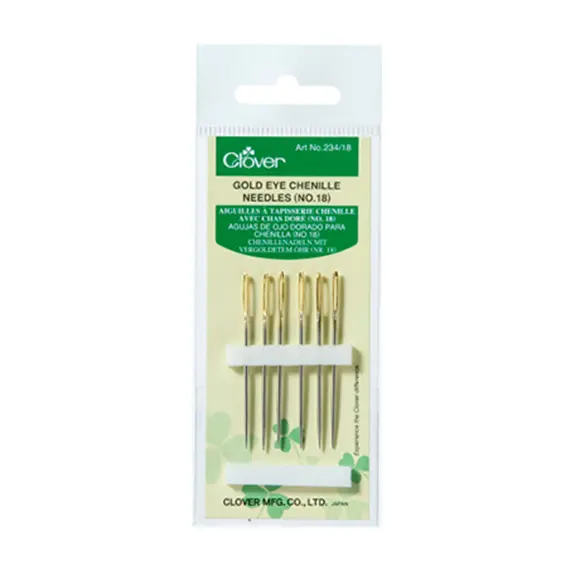
Tools

Materials
• Printed fabric, 10 x 15cm
• Medical tubular gauze, smallest size (01) for fingers, about 12cm
• Fair skin colour cotton jersey for doll making, 7 x 9cm
• Strong white or skin colour upholstery thread
• Polyester wadding for quilt, 6 x 6 cm for Baby,
1.5 x 9cm for Stocking
• Small amount 4-ply dark brown and fair skin colour yarn
• 20 x 15cm red cotton fabric with pattern
• White and red sewing threads
• Small amount of 4-ply white yarn
• Toy filling


Making
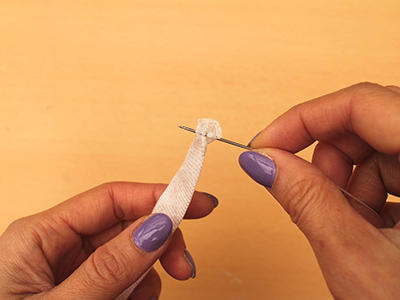
Head: work running stitch along one end of tubular gauze and pull tight to gather. Turn inside out. Stuff toy filling firmly to create sphere and tie neck with strong thread, about 2.5cm from top of head.
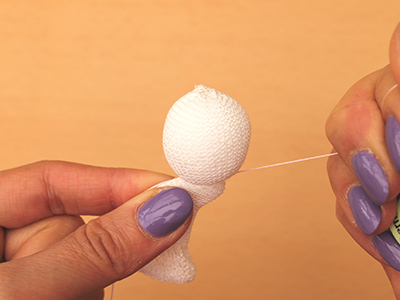
Tie another piece of strong thread around middle of head and pull tight. This shapes eyeline.
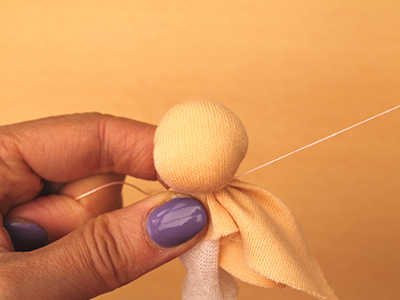
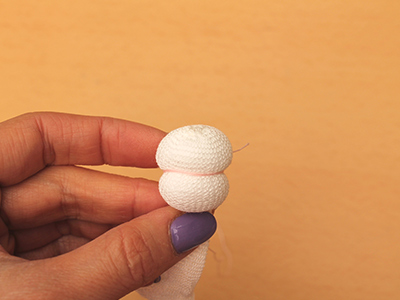
Cover head with skin colour cotton jersey and tie at neck over jersey. Stretch fabric at front and collect wrinkles at back of head.

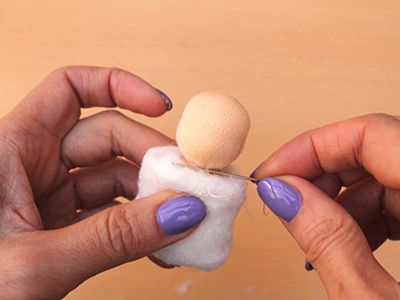
Mark wadding with Air Erasable marker and cut two body pieces with 0.5cm seam allowance as shown in template (Template includes 0.5cm seam allowance). Seam body with wrong side out, leaving neck end open. Turn inside out. Stuff body, insert head and stitch head and body together at neck.
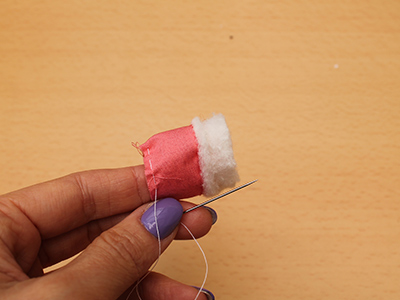
Cut out red cotton fabric and polyester wadding to the measurement given for hat pieces. Place hem piece on top of hat piece with right sides together and sew 0.2cm from edge to attach hem to hat. Unfold the hem. Fold the hat in half vertically with right sides together and sew short ends together. Work running stitch along top edge, pull to gather. Turn inside out and attach hat to head.
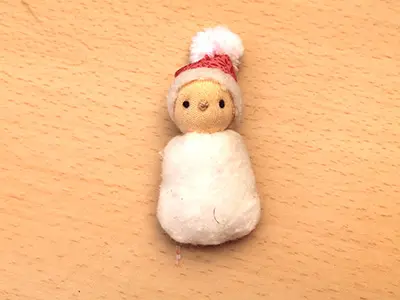
Thread 4-ply dark brown to Chenille Needle and French knot eyes. With fair skin colour yarn, French knot nose.
Wind 4-ply white yarn around your forefinger 25 times. Tie centre firmly and make a small pompom of about 1cm in diameter. Sew pompom to hat.
Stocking: Mark red cotton fabric with Air Erasable Marker and cut two stocking pieces with 0.5cm seam allowance. Lay the two stocking pieces with right sides together and stitch from point A to point B in diagram to connect top edge.
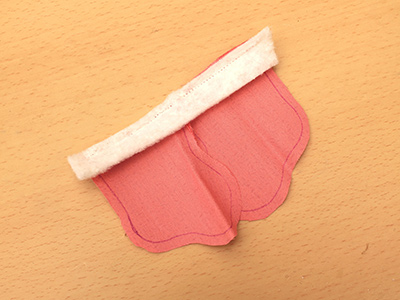
Cut hem piece from wadding and attach it to edge of stocking on the wrong side (see photo).
Seam stocking, leaving out Hem edge. Turn inside out.
Stitch Hem. Secure Hem to stocking.
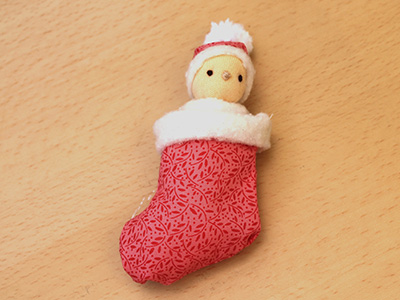
Stuff toe lightly and insert Baby in Stocking.