
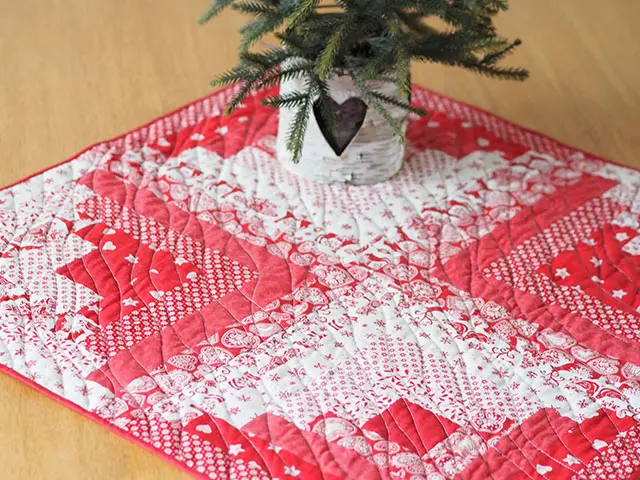
Christmas Log Cabin Table Mat
Designed by
Debbie von Grabler-Crozier
Finished Size
77cm sq.
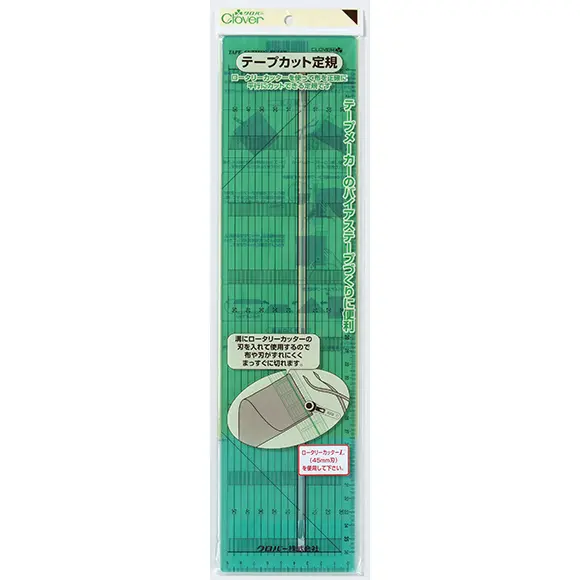
Tools


Materials
Fabric:
• 4 Fat 8ths (F8ths) of red and white Christmas fabrics.
• 4 F8ths of white and red Christmas fabrics
TIP: Red and white or white and red – sounds strange! What is mean by this is that one colour or the other will be the main one. So in red and white, the main colour will be red and in white and red, the main colour will be white.
• 1 F8th of solid red fabric
• 85cm x 85cm backing fabric
• FQ fabric for making bias binding
Interfacing:
• 85cm x 85cm #279 80/20 cotton mix wadding (Vlieseline)
Making
NB: Seam allowances are all ½ cm (1/4”) unless otherwise stated. Please read all instructions through and assemble the equipment before beginning.
To make a log cabin block: Begin by cutting strips from your F8ths 5cm wide x LOF8th (length of fat eighth). Cut 4 strips from each F8th to begin with.
TIP: Exact strip amounts are not possible to give because it depends where on the block you place them- simple start with 4 and then cut more if you need them. You can make the mat larger by adding more too. Be aware that if you do this, your backing, wadding and binding needs will change too.
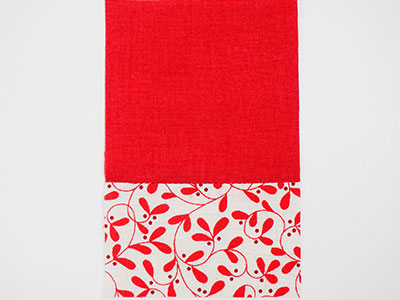
Cut 4 squares from the solid red measuring 8cm x 8cm. These will form the centre of each log cabin block. To assemble the block, take a red square an one of the white and red prints and sew them together.
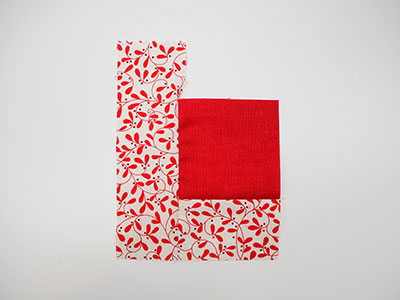
Now choose another white and red strip (the same pattern) and add it to the left hand side of the starting pieces .
TIP: you will see that it is far too long.
Simply trim once you have pressed the seam open. This method is great for using scraps and you only have to measure the width
– use the smaller pieces towards the centre of the block.
Talking about pressing – instead of running to the iron for everything, try the Roll & Press to flatten your seams.
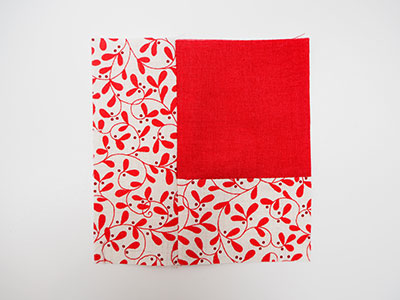
Take a red and white strip this time and attach it to the opposite side and trim.
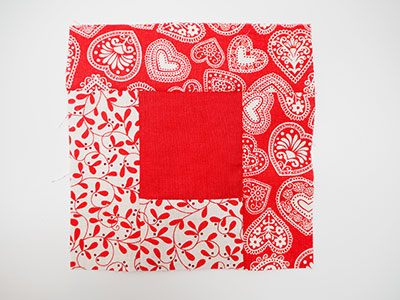
And another red and white to the top.
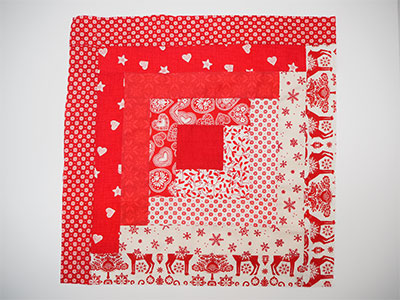
Keep going like this until you have a block measuring 39cm sq. with all of the white and red on one side and the red and white on the other.
TIP: Work with the length of your strips and put each fabric in a different place on the block. The shorter strips are great to use towards the centre.
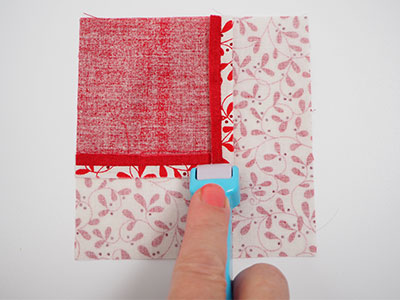
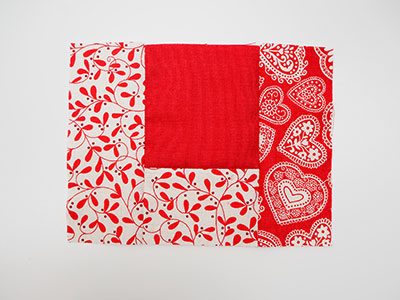
Make four blocks like this and press them. Sew together alternating the white and red to the outside.
TIP: There are a lot of ways to put a log cabin together. Find a flat surface and lay your blocks out – have a play before you make your decision!
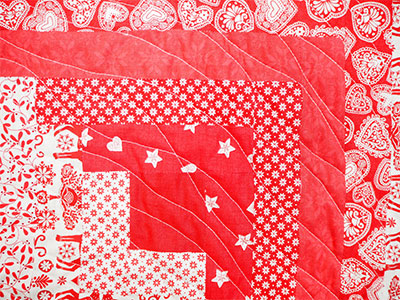
Lay the backing fabric (face down) and the wadding on top. Add the pressed top (face up) and pin so that no movement is possible. Quilt with your favourite pattern.
TIP: My signature quilting pattern is a random diagonal wave. It is super easy to do so do give it a go. You can do it on a ‘normal’ sewing machine and it is almost impossible to get wrong.
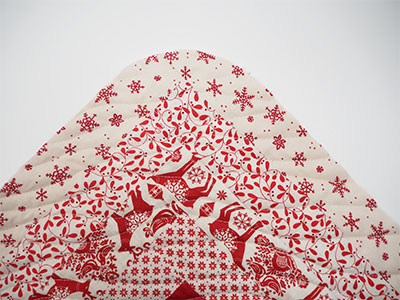
Trim the backing and wadding to the same size as the quilt top and round the corners. Draw around a teacup or similar and then cut out.

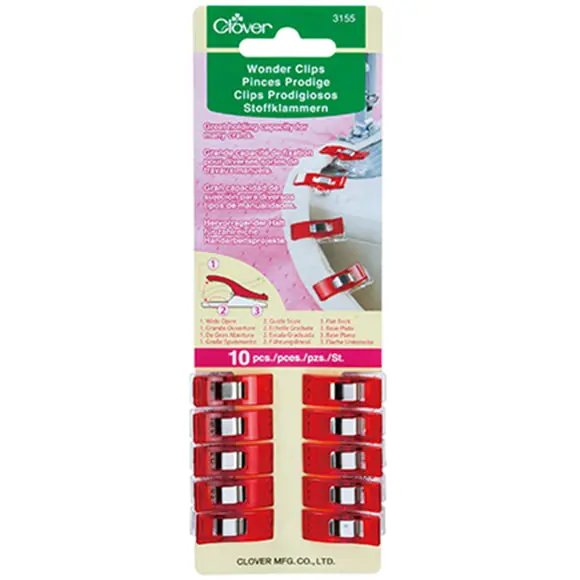
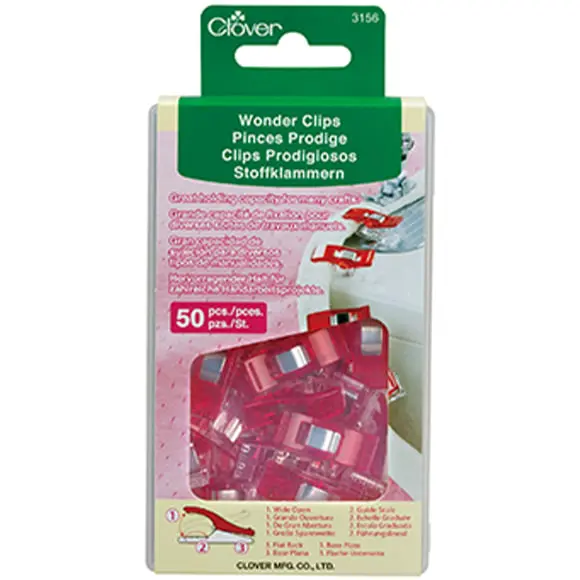
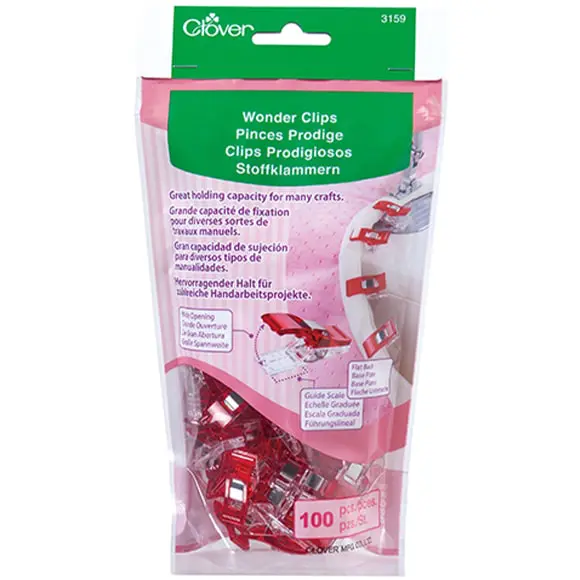
Bind with your homemade bias binding. Use the Wonder Clips in place of pins – much easier to work with.
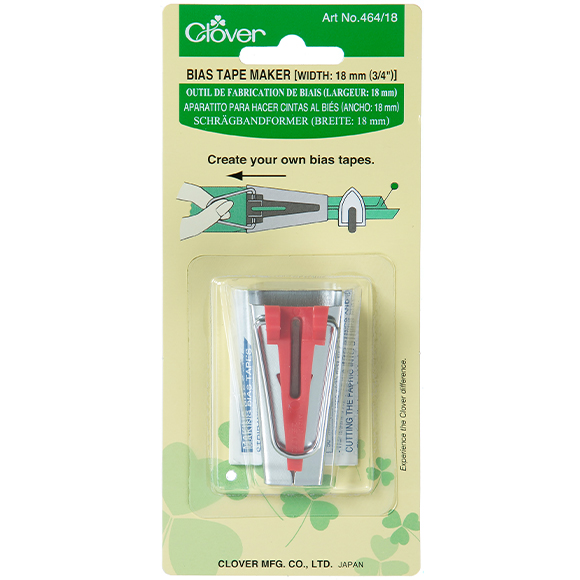
TIP: Making bias binding is easy. Cut 3.5cm wide strips on the bias and then join them together to form a long strip. Run the strip through the bias tape maker IMAGE 10 to fold the raw edges to the centre. Press with a hot iron.