
Christmas Tree Ornament (Snowman)

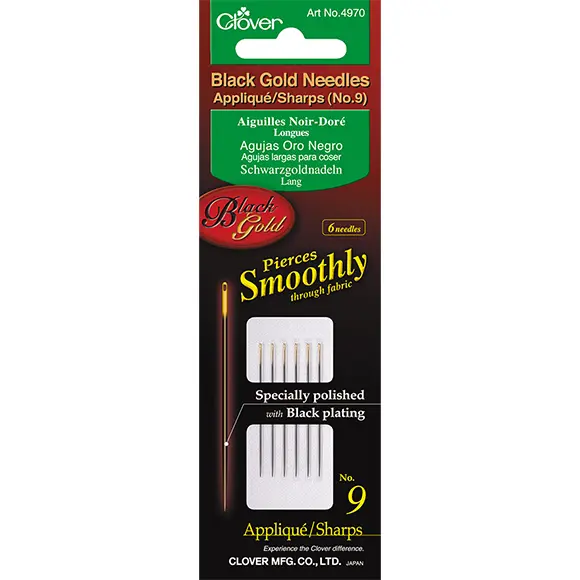
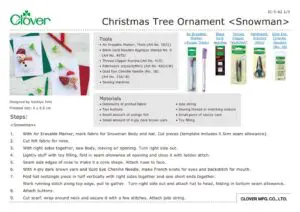
Tools

Materials
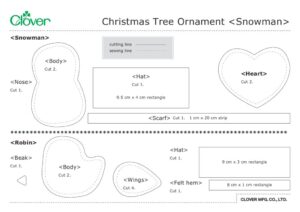
# Snowman
• Oddments of printed fabric
• Two buttons
• Small amount of orange felt
• Small amount of 4-ply dark brown yarn
• Jute string
• Sewing thread in matching colours
• Small piece of sturdy card
• Toy filling
# Hearts
• Oddments of printed fabric
• Jute string
# Robin
• Oddments of printed fabric
• Small amounts of white and yellow felt fabric
• 20cm ribbon
• Small amount of 4-ply dark brown yarn
• Jute string
• Sewing thread in matching colours
• Toy filling
Making
Snowman: step1
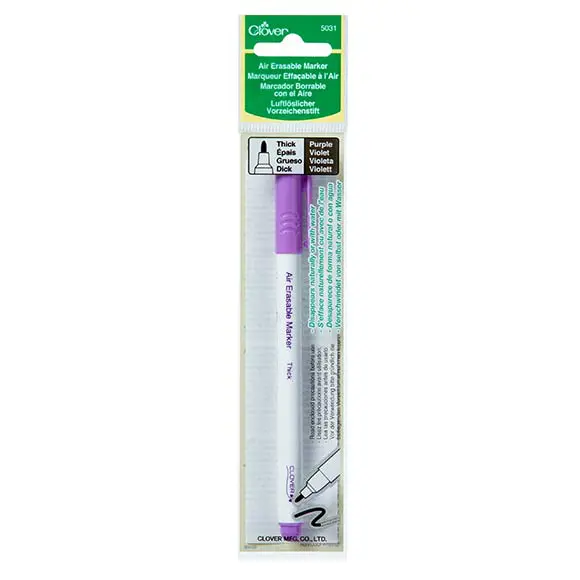
With Air Erasable Marker, mark fabric for Snowman Body and hat. Cut pieces (template includes 0.5cm seam allowance). Cut felt fabric for nose.
Snowman: step2
With right sides together, sew Body, leaving an opening. Turn right side out. Lightly stuff with toy filling, fold in seam allowance at opening and close it with ladder stitch.
Snowman: step3
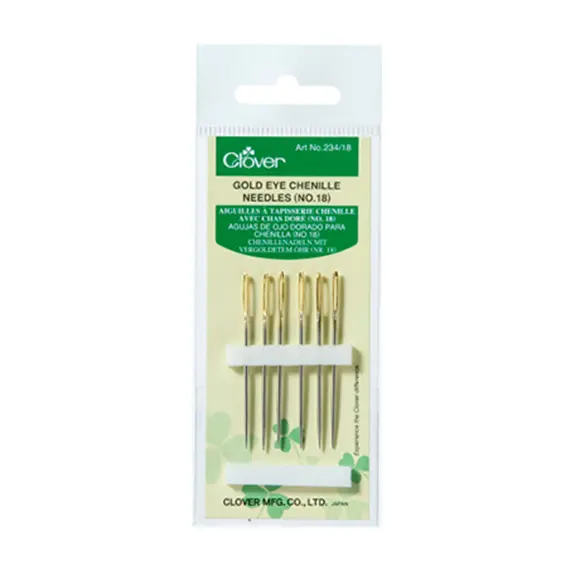
Seam side edges of nose to make it a cone shape. Attach nose to face. With 4-ply dark brown yarn and Gold Eye Chenille Needle, make French knots for eyes and backstitch for mouth.
Snowman: step4
Fold hat rectangle piece in half vertically with right sides together and sew short ends together. Work running stitch along top edge, pull to gather. Turn right side out and attach hat to head, folding in bottom seam allowance.
Snowman: step5
Attach buttons. Cut scarf, wrap around neck and secure it with a few stitches. Attach jute string.
Hearts: step1
With Air Erasable Marker, mark fabric. Cut pieces (template includes 0.5cm seam allowance).
Hearts: step2
With right sides together, sew sides together, leaving an opening along one edge. Turn inside out.
Hearts: step3
Lightly stuff with toy filling, fold in seam allowance at opening and close it with ladder stitch.
Hearts: step4
Attach jute string.
Robin: step1
With Air Erasable Marker, mark fabric for Body, Wings and Hat. Cut pieces (templates include 0.5cm seam allowance).
Robin: step2
With right sides together, sew Body, leaving an opening along one edge. Turn right side out.
Robin: step3
Lightly stuff with toy filling, fold in seam allowance at opening and close it with ladder stitch.
Robin: step4
Cut out yellow felt for beak. Fold piece in half and attach it to face.
Robin: step5
Fold hat rectangle piece in half vertically with right sides together and sew short ends together. Work running stitch along top edge, pull to gather. Turn inside out and attach hat to head. Attach white felt hem to hat, using over-cast stitches. Over-cast stitch along top and bottom edge of hem.
Robin: step6
With right sides together, seam wing pieces, leaving an opening. Turn right side out.
Fold in seam allowance at opening and close it with ladder stitch. Repeat for second wing. Attach wings to body.
Robin: step7
With 4-ply dark brown, French knot eyes. Tie ribbon around body. Cut ribbon to desired length. Attach jute string.