
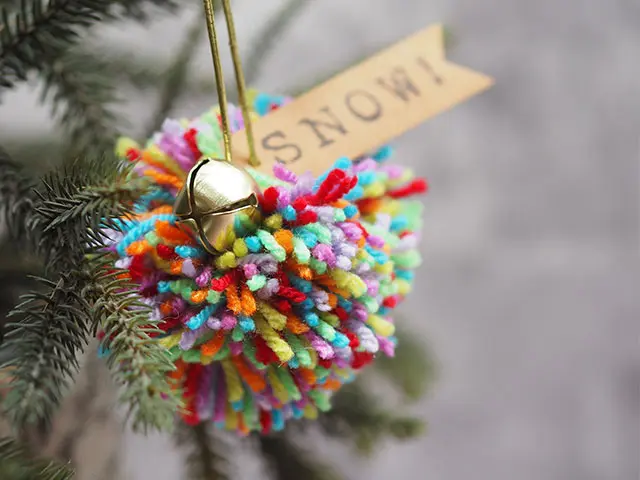
Pom-Pom Christmas Balls
Designed by
Debbie von Grabler-Crozier
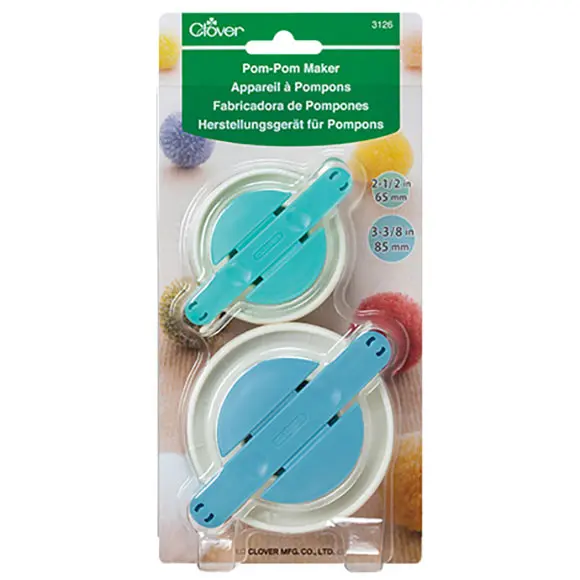
Tools

Materials
To make 12 Christmas balls
• 4 ply acrylic wool in about 7 bright colours
• 12 x 20mm Trimmits gold jingle bells
• 7mm gold metallic elastic (3.6m (30cm for each ball))
• 25cm sq. Kraft-Tex paper
• Small alphabet stamps
• Black archival ink
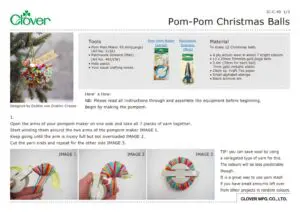
Making
NB: Please read all instructions through and assemble the equipment before beginning. Begin by making the pompom.
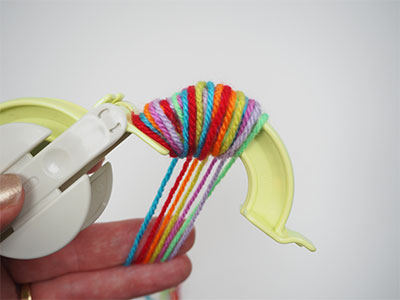
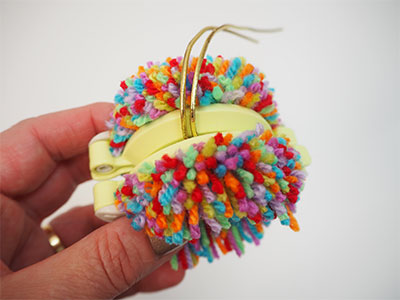
Open the arms of your pompom maker on one side and take all 7 pieces of yarn together. Start winding them around the two arms of the pompom maker IMAGE 1.

Keep going until the arm is nicely full but not overloaded IMAGE 2.

Cut the yarn ends and repeat for the other side IMAGE 3.
TIP: You can save wool by using a variegated type of yarn for this. The colours will be less predictable though. It is a great way to use yarn stash if you have small amounts left over from other projects in random colours.
TIP: Because you are working with so many strands of yarn, they will try to twist as you work. Keep them nice and flat for best results.

Close both sides of the Pom-Pom Maker and cut the yarn using the grooves on the side as a guide IMAGE 4.
Take a piece of metallic elastic and tie the pompom off securely leaving two long tails to form the hanging loop IMAGE 5.
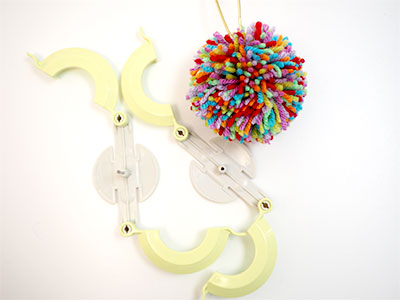
Open the pompom maker and release the pompom IMAGE 6.
TIP: Sometimes your pompom needs a bit of a trim. This will depend on the yarn used and how full you make the pompom.
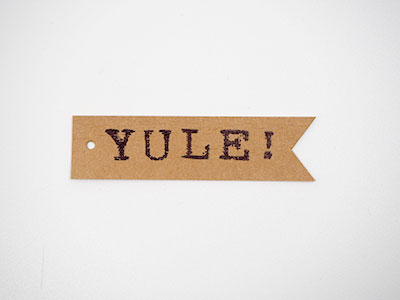
Use the Kraft-Tex paper to make a little label. Cut the paper 2cm wide x 25cm long (the length will change depending on the length of your word and you can always trim it back! Best leave it in one long piece to allow yourself plenty of working room) and use the alphabet stamp set and the black ink to write a happy Christmas word. Leave about 2cm between each word to allow for trimming.
TIP: You can write merry Christmas or a mixture of these from all countries to make yourself a multi-cultural tree. These can get very long though. I have opted for Joy, Noel, Merry, Bright and that sort of thing instead. You could also use family member’s names.
Trim the right hand side to a point like a little flag and punch a hole in the left hand side IMAGE 7.
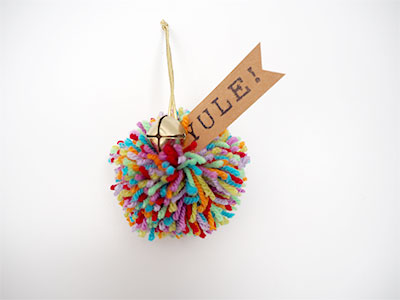
Put a bell onto each of the gold elastic tails and then slide the word flag onto the other tail so that it sits nicely IMAGE 8. Tie the top of the elastic tails together to form a hanging loop.
TIP: Make it modern! Use black and white yarn plus one other colour like mustard yellow, peach or apple green. It is easy to change the whole look of your tree by just changing colours. Make it Scandi! A couple of greys, white and red and change the gold trims to silver.