
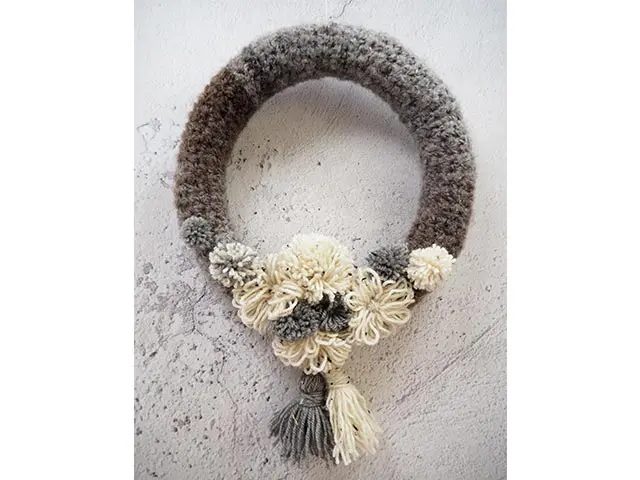
Winter Warmer Crochet Wreath
Designed by
Debbie von Grabler-Crozier
Tools

Your usual crafting needs including a hot glue gun
Materials
• Yarn:
1 ball of interesting boucle yarn in natural brown/grey
1 ball grey DK tweed wool
1 ball natural DK tweed wool
TIP: Yarn amounts are based on a 50g ball.
• Everything Else: 25cm diameter straw wreath base

Making
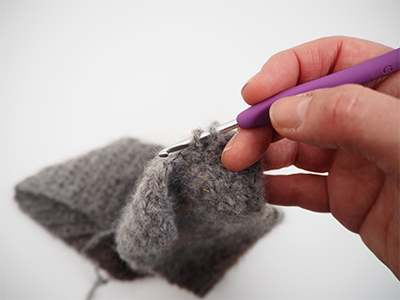
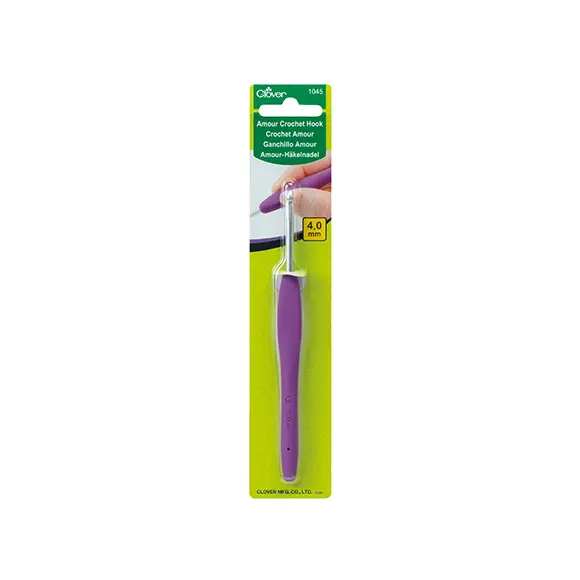
Begin by using the boucle yarn and #4 crochet hook to crochet a long strip to go around the wreath base.
TIP: Wreath bases can vary a lot in thickness. Begin with a chain and measure your base around. Adjust it to suit. The tension is not important.
As a guide, begin with ch 15 and then dc (US sc) until the strip is long enough to fit around your wreath base
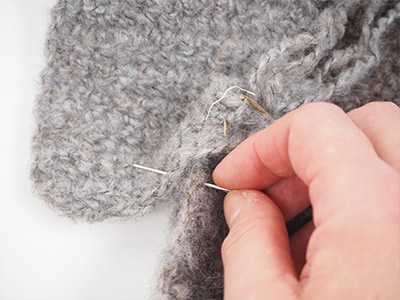
When you are happy with the fit, join the end with some spare yarn and a needle.
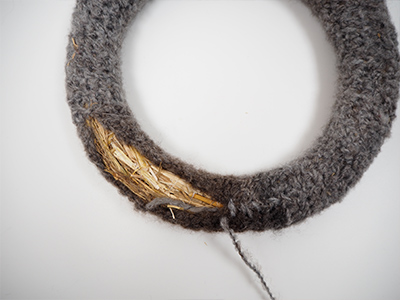
Lay the strip around the wreath and with some more spare yarn, sew the back securely to join.
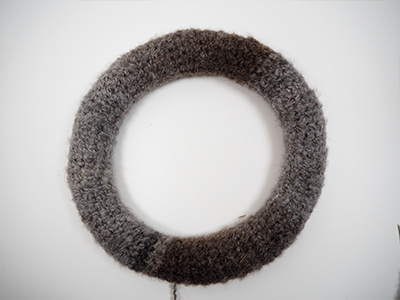
This is what it will look like from the front. You are ready to decorate it!
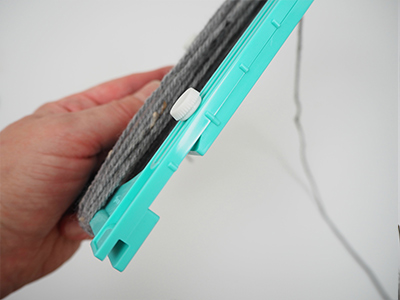
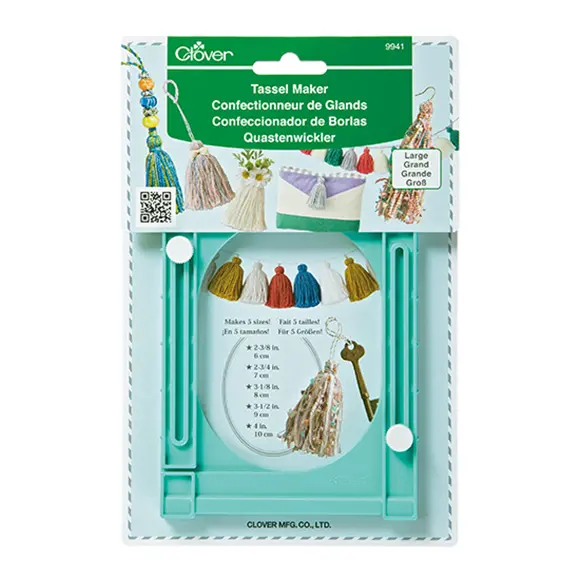
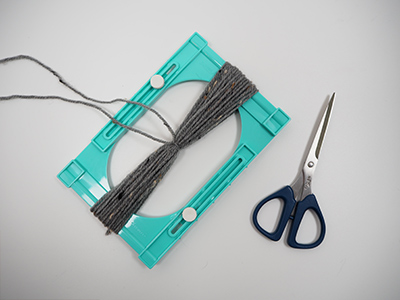
To make the tassels take the tassel maker and your chosen wool. Set the tassel maker on the second to largest setting lining up the markers on the side and wind the wool around 15 times.
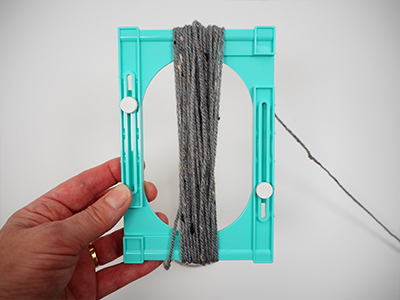
You will get a nice chunky tassel like this.
Next, tie the middle with some long threads (and keep them long for tying onto the wreath – about 50cm will do it).
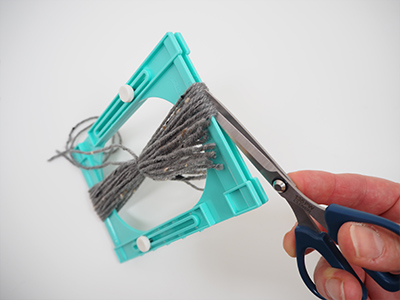
Cut the tassel from the maker and then fold over so that the ties are on top.
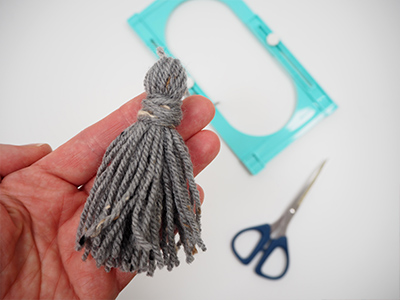
Tie the middle about 2cm down with a really long piece of yarn (about 30cm long) and wrap this around a lot of times before tying on the back.
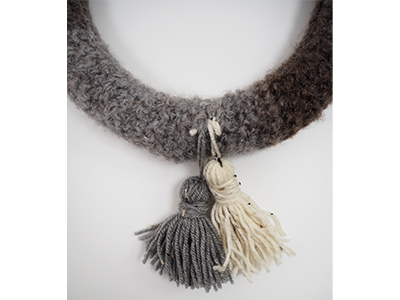
Make another tassel and tie the two onto the bottom of the wreath.
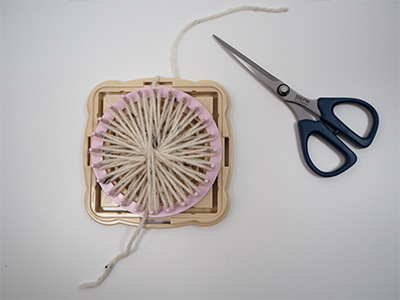
Loom blooms next! Use the largest circle on the loom and wind the yarn around each peg twice.
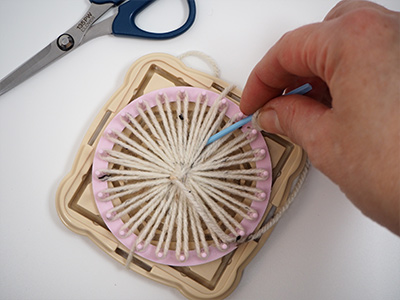
Use the wool needle from the loom lit and the same coloured yarn to make the centre.
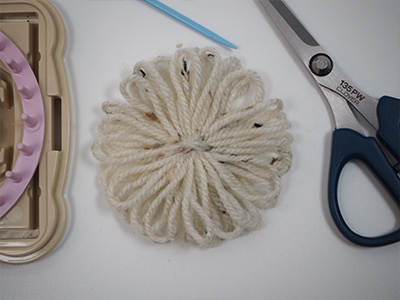
Remove the bloom from the loom and make a couple more.
TIP: The usual rule is to have an odd number of embellishments.
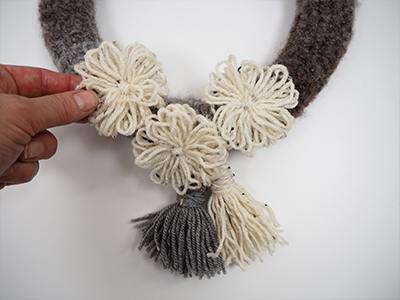
Decide where on the wreath your flowers will go. Hot glue them into place.
TIP: Hot glue is not cheating – it is a great way to add embellishments like these and is often less bulky than sewing them on.
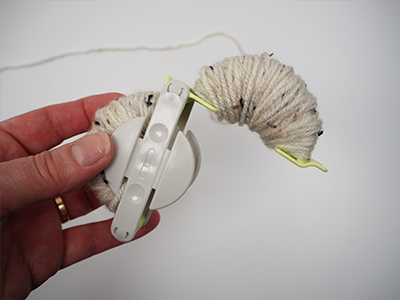
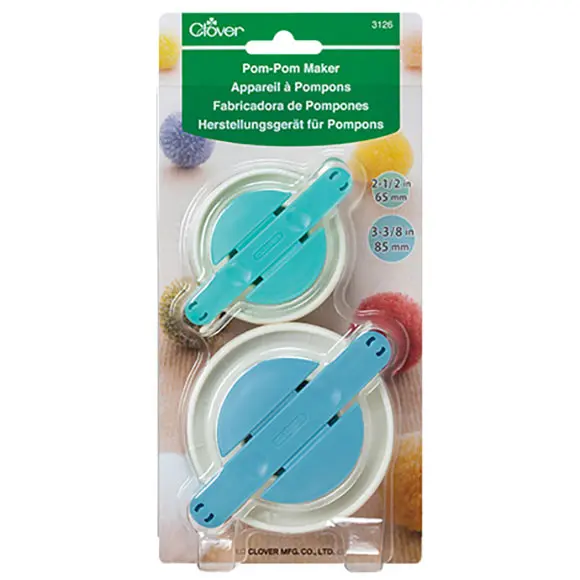
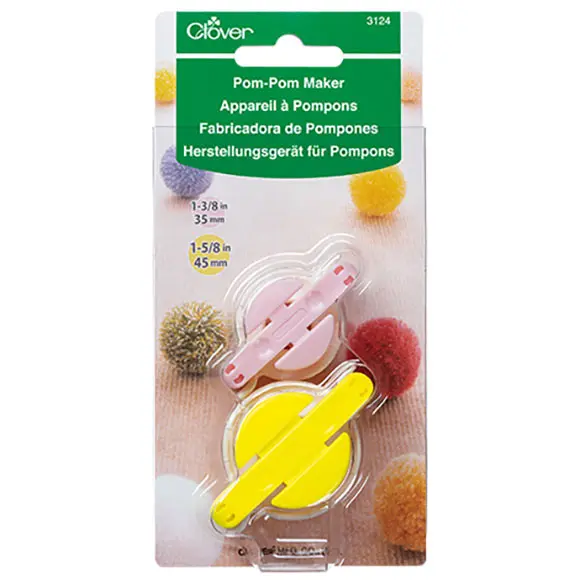
Make the pompoms by filling the pompom maker really well on both sides.
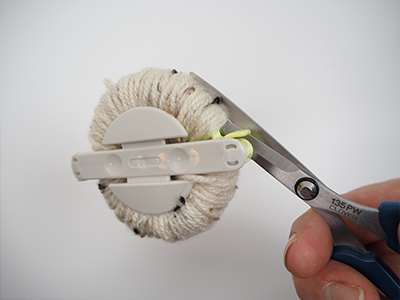
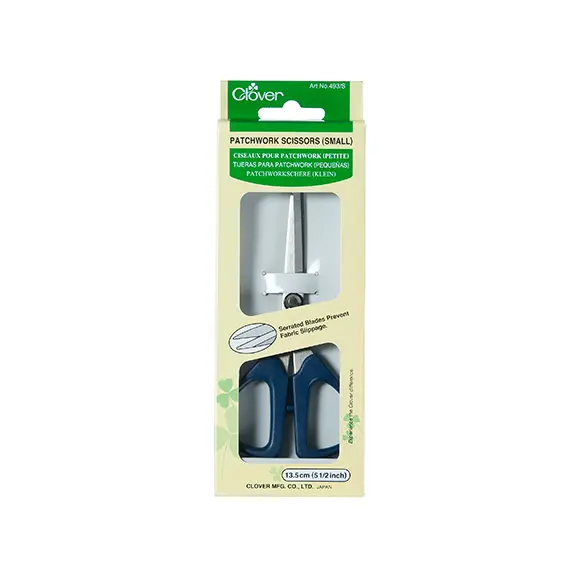
Use the scissors to cut the yarn and tie with a nice long piece of yarn.
TIP: Keep this tie long too so that you can use it to attach the pompom to the wreath.
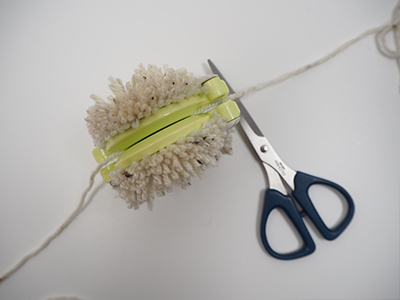

Remove the pompom from the maker.
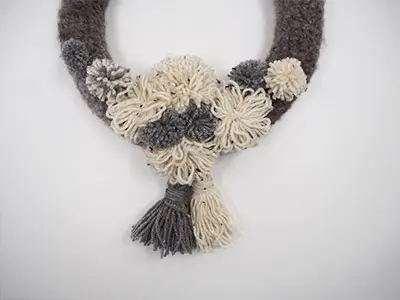
Fill the wreath in with the pompoms. Trim any long or loose yarn bits.