
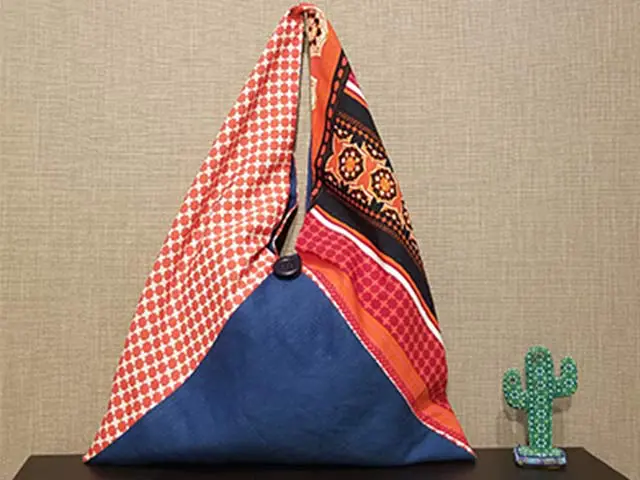
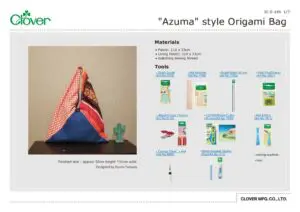
«Azuma» style Origami Bag
Разработано
Ayumi Yamada
Готовый размер
approx 50cm height *31cm wide
Инструменты
Materials
• Fabric: 110 x 33cm
• Lining Fabric: 110 x 33cm
• matching sewing thread
Изготовление
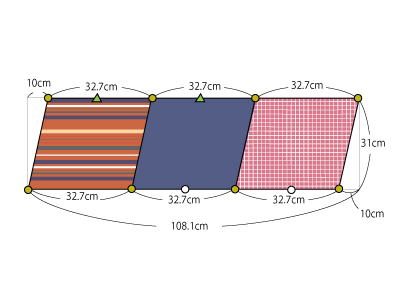
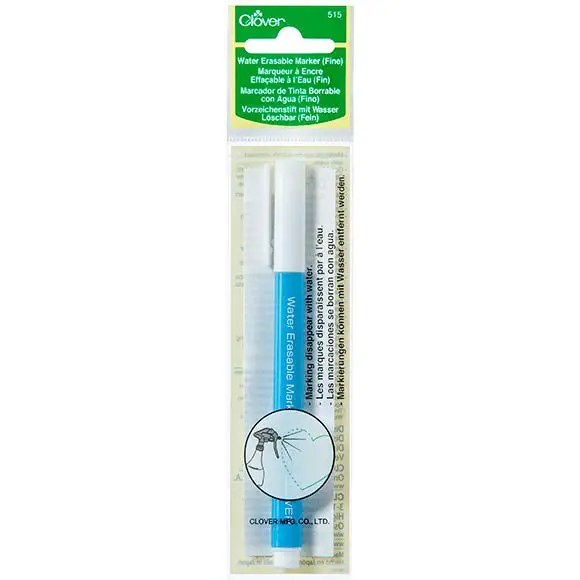
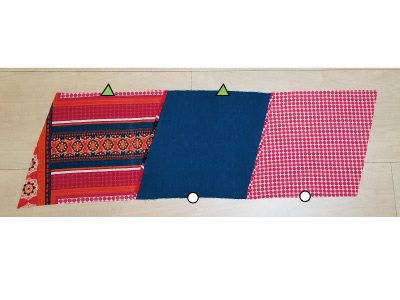
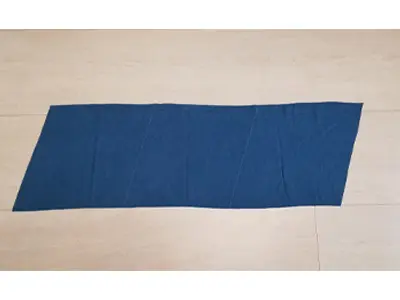
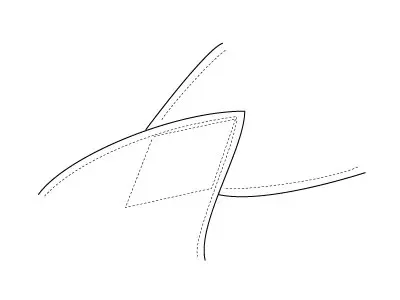
Following diagram 1, measure out the fabric and lining. On WS of fabric mark the (〇) dots and notches using a water erasable marker, in the positions shown. Draw a 1cm seam allowance around the edge and cut out both the fabric and lining.
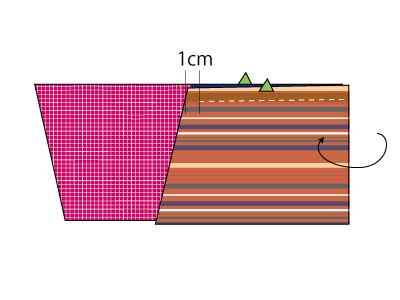
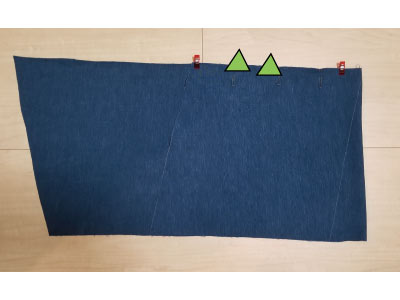
Turn fabric over to RS. With RS’s together, match up notches as shown in diagram 2. Sew along the seam allowance as shown, starting 1cm in from raw edge.
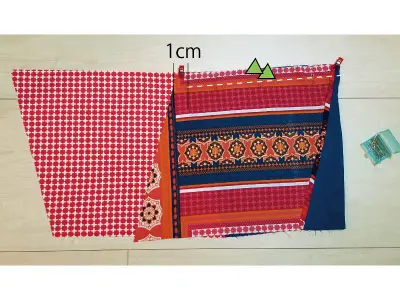
Repeat the same process, matching up and sewing together the dots 〇.
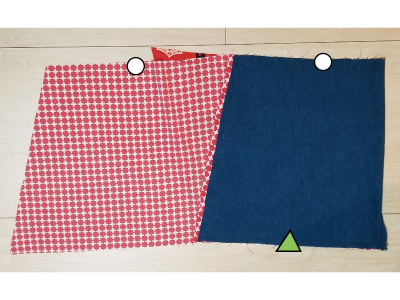
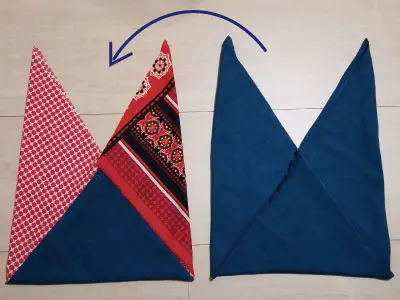
Sew the lining fabric in the same way as the outer fabric.
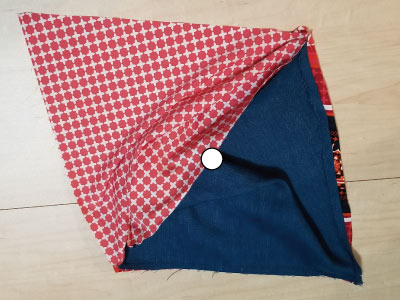
With RS’s facing together, place inner bag inside the outer bag.

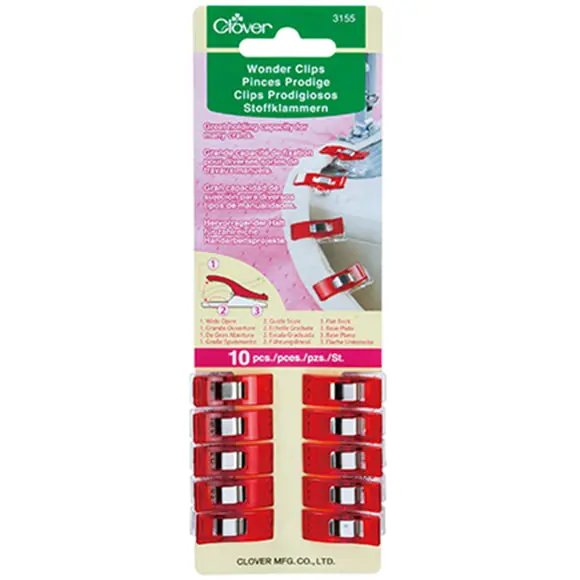
Secure everything in place using Wonder Clips.
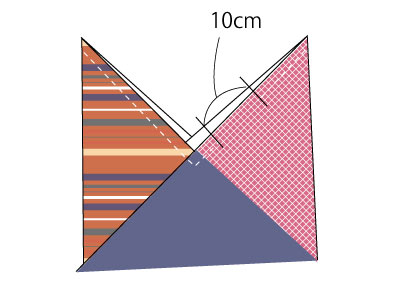
Sew all around the top leaving a 10cm opening to turn through.
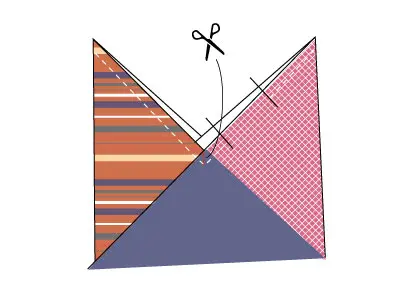
Snip a small incision into the "V", taking care not to cut into the seam.
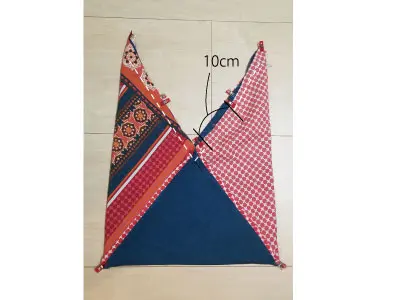
Turn bag right side out. Press the whole bag and top stitch all the way around the top edge of the bag.
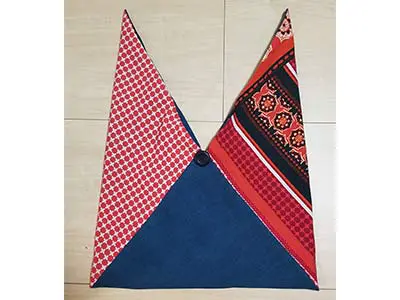
Join the handle sections together as shown below, placing one over the other and top stitching. Optional embellishments: Attach buttons of your choice to the central "V" points or insert a loop on one “V” and a button on the other to close the bag opening.