
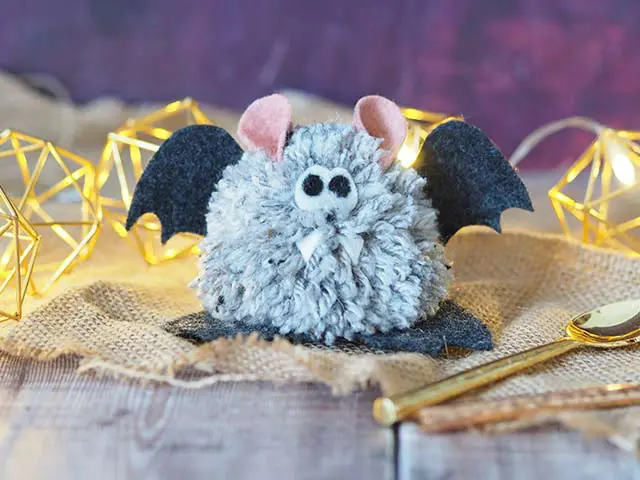
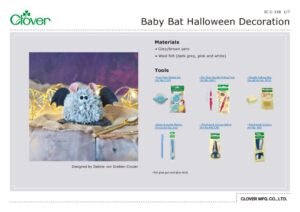
Baby Bat Halloween Decoration
Разработано
Debbie von Grabler-Crozier
Инструменты


Materials
• Grey/brown yarn
• Wool felt (dark grey, pink and white)
Изготовление
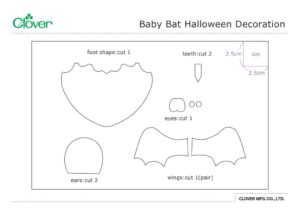
Cutting
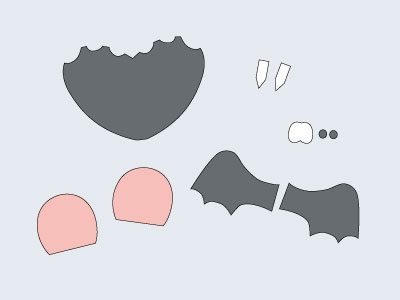
From the felt: (template provided)
・1 foot shape (dark grey)
・2 wings (dark grey)
・2 ears (pink)
・2 teeth (white)
・1 eye shape (white and dark grey)
Comments from designer: The Water Erasable Marker is really helpful.
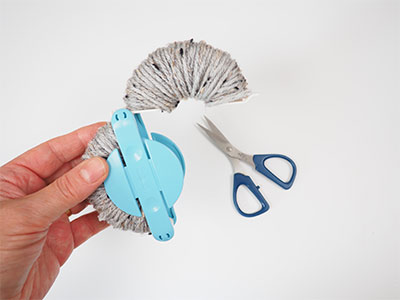
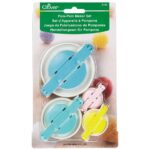
Firstly make the pompom. There are excellent instructions on the product card but, briefly, open two arches of the pompom maker together, wind the yarn and repeat on the other two arches.
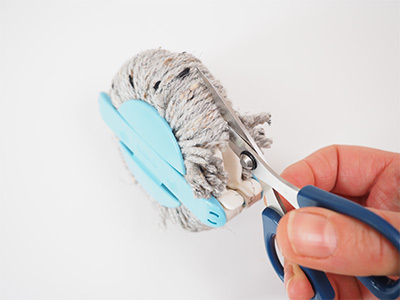
Cut the yarn IMAGE2. Tie the pompom with a piece of matching yarn.
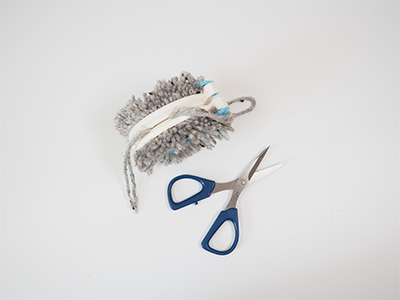
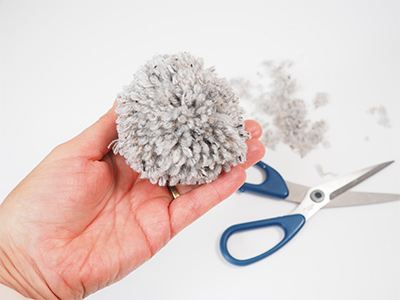
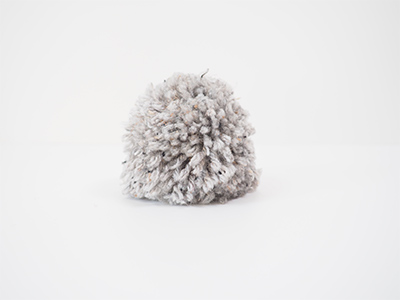
Remove the pompom from the pompom maker and trim to shape with the larger Patchwork Scissors (Art No. 516).
TIP: The idea is to make a shape slightly larger on the bottom.
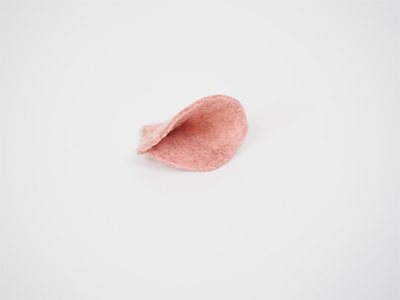
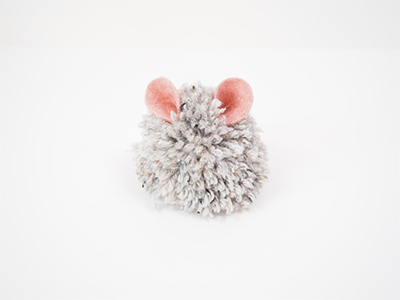
Pinch the base of the ears and add a little hot glue to give them shape.
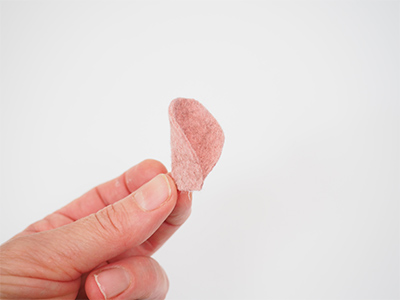
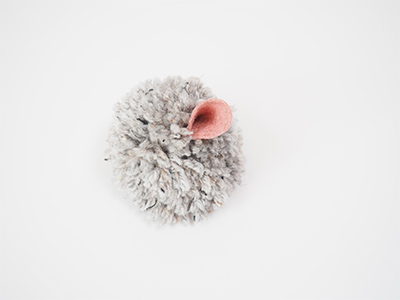
Glue them to the top of the pompom.
Use hot glue to glue the feet to the base of the pompom.
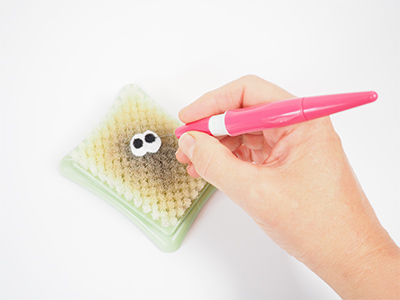
Prepare the eyes with a little scrap of black felt for the pupils. Cut two small pieces as round as you can and lay them onto the white eye shape. Use the Pen Style Needle Felting Tool to secure the black felt pieces onto the white.
Comments from designer: You can glue these on too but I don’t like to do this because it can be very messy. The needle felting tool is more precise.
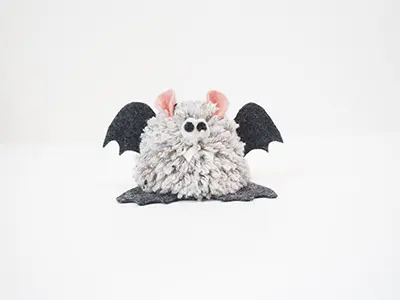
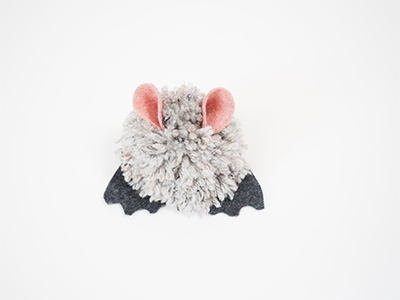
Finally attach the wings and the teeth.
TIP: The teeth are quite long and this helps you to glue them into the centre of the pompom so that they are secure.
Make lots of these little cuties to decorate the Halloween table.