
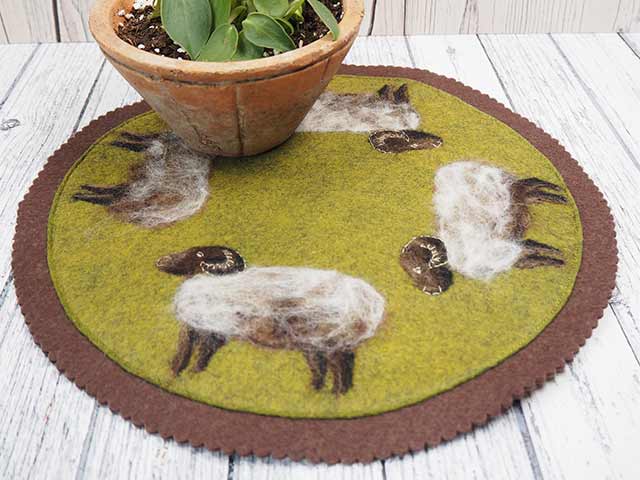
Primitive Sheep Needle Felt Mat
Разработано
Debbie von Grabler-Crozier, The Folk Art Factory
Инструменты


Scallop edged pinking shears(optional)
sewing machine
iron
Materials
• Yarn: Wool tops in winter white, beige, black, medium brown
• Stranded embroidery floss (beige)
• Piece of green wool felt (33cm x 33cm)
• Piece of a second colour wool felt (35cm x 35cm)
tip; It frames the mat quite nicely if the second colour of felt is darker than the one on top.


Изготовление
NB: Please read all instructions through and assemble the equipment before beginning.
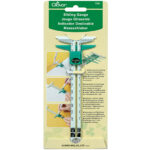
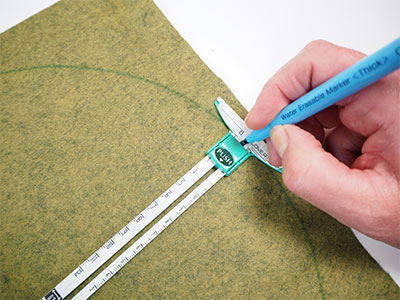
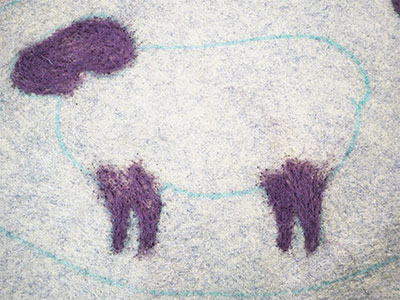
To begin with, use the sliding gauge set at 15cm (maximum) and the water erasable marker to make a circle on your first piece of felt IMAGE 1. Don’t cut it out just yet though.
TIP: It is easier to work with the felt if it is still a square ( doesn’t stretch the edges for a start). Your line will show you where the edge is and this helps you to place the sheep.
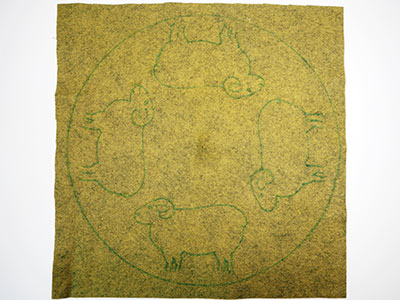
Use your favourite method to transfer the sheep to the mat about 1.5cm in from the edge and 2cm apart. This will give you four sheep.
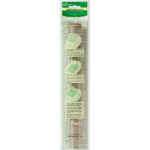
Comments from designer; I have free handed mine with the water erasable marker but there are lots of other ways. I love Clover’s Mesh Transfer Canvas. It is a fabulous and reusable product- excellent if you don’t trust your drawing skills.
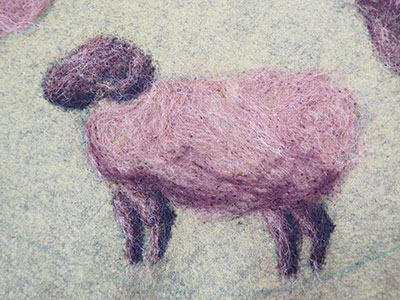
Once you have transferred the sheep, it is time to embroider! Begin by colouring the head, horns and legs brown. Now come back in and shade with the black.
TIP: How do you know where to shade and where to highlight? Imagine a light coming from the left or the right (it doesn’t matter which but it is important to pick a side and stick to it). I prefer my light to come from the left. So if the light comes from the left, shade the RIGHT and highlight the LEFT. The opposite if the light is coming from the right.
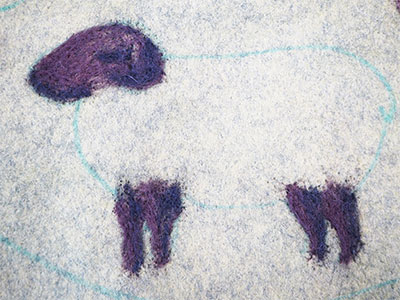
Finish the head and legs with a bit of a highlight. You can make your sheep as detailed or as simple as you like.
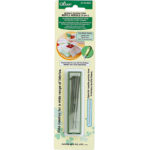
Comments from designer: The Pen Style Needle Felting Tool (Art No. 8901) is perfect for this.
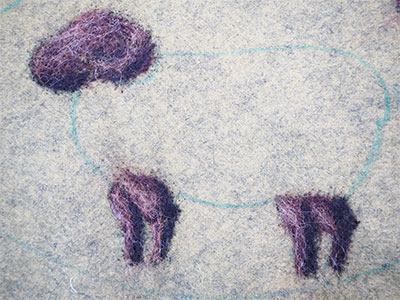
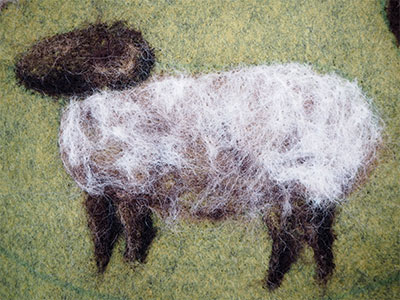
The bodies are next. Colour all over with beige and then shade from the bottom up with brown and finally add some winter white wool.
TIP: Allow some of the previous two layers (base colour and shade) to show through when you add the white wool. This gives your sheep a shape.
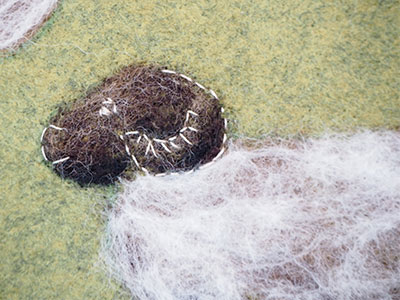
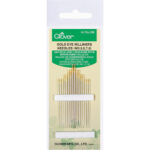
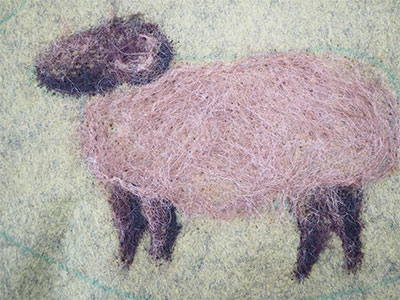
Finally, come back and embroider the face with a strand of beige embroidery floss and a hand sewing needle.
TIP: Remember this is not realistic sheep portraiture! The idea is to give a primitive outline to suggest a mouth and nose, eyes and a curled horn. Have a look on the template to see the details.
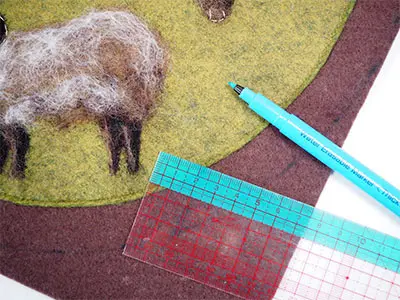
When the sheep are finished and you are happy with them, cut the circle out and lay it onto the second piece of felt. Sew the two pieces of felt together (this will hide the back of your work) and then trim the larger piece of felt so that it is 2cm larger all around.
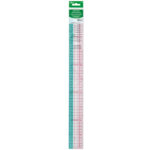
Comments from designer: You can use the Graph Ruler (50 cm)(Art No.7703) to get this nice and accurate. A water erasable marker is great to mark the felt – if your felt is too dark, try the Chaco Liner Pen in white or silver instead.
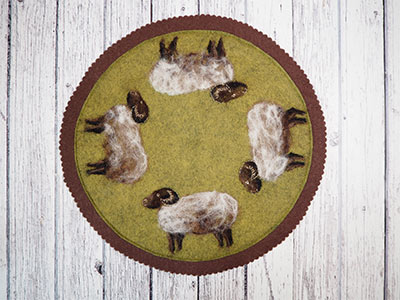
Cut the second piece of felt out following your marks. You can use the pinking shears too to make the edge more decorative.