
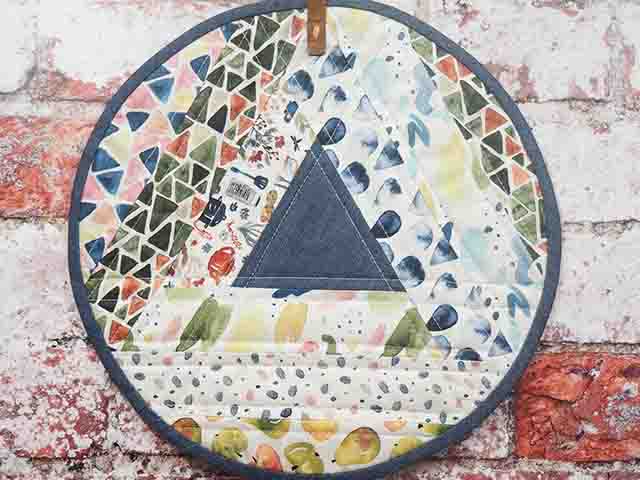
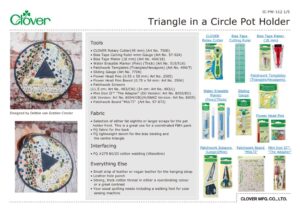
Triangle in a Circle Pot Holder
Разработано
Debbie von Grabler-Crozier
Инструменты


Materials
Fabric
• Selection of either fat eighths or larger scraps for the pot holder front. This is a great use for a coordinated F8th pack
• FQ fabric for the back
• FQ lightweight denim for the bias binding and the centre triangle
Interfacing
• FQ #279 80/20 cotton wadding (Vlieseline)
Everything Else
• Small strip of leather or vegan leather for the hanging strap
• Leather hole punch
• Strong, thick cotton thread in either a coordinating colour or a great contrast
• Your usual quilting needs including a walking foot for your sewing machine
Cutting
From the scraps or fat eighths:
— 9 strips 5cm wide x various lengths starting from 20cm and going up to approximately 35cm.
TIP: When you are planning your strips, have a look at how the pot holder is constructed and you will understand better how to organise the strips. Basically they start short to fit the centre triangle and then they get bigger as you add rows.
From the lightweight denim FQ:
— 105cms worth of strips 3.5cm wide and cut on the bias
— 1 centre triangle using the large (pink) triangle template from the set
Do not trim the backing FQ or the wadding.They are better trimmed afterwards.
NB: Seam allowances are all ½ cm unless otherwise stated. Please read all instructions through and assemble the equipment before beginning.
Изготовление
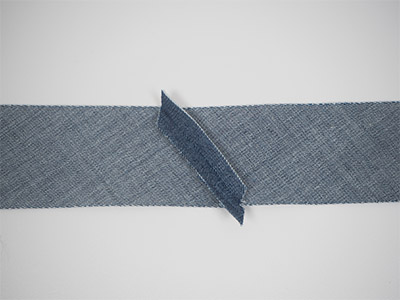
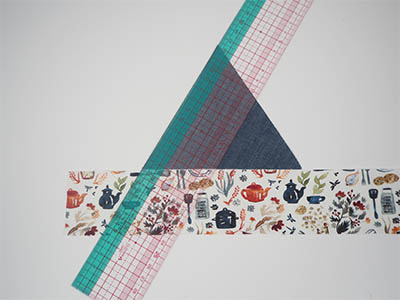
Make the bias tape first. Join your strips together IMAGE 1 to make one long 1m strip.
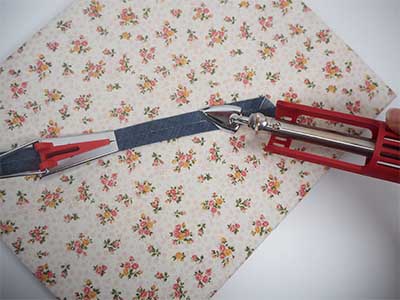
Run this strip through the bias tape maker, pressing as you go IMAGE 2.
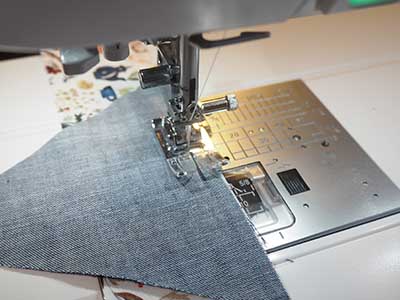
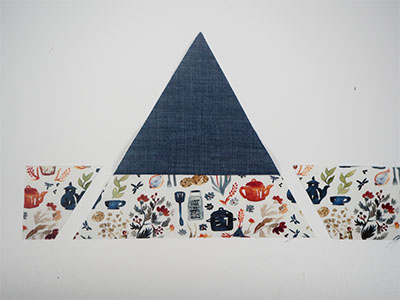
Roll the completed strip. It is ready to use. Take the centre triangle fabric and one of the strips. Attach the strip to the triangle allowing plenty of overhang each side IMAGE 3.
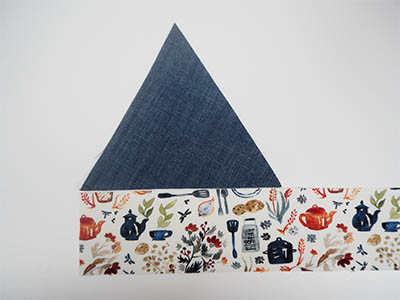
Flip the strip open and press it. Trim so that it follows the lines of the triangle IMAGE 4.
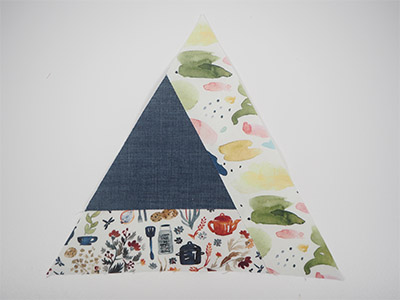
Add the next strip, also allowing for plenty of overhang. Flip, press and trim IMAGE 5 and then add the final strip in the same way.
TIP: It is vital that you have that overhang.
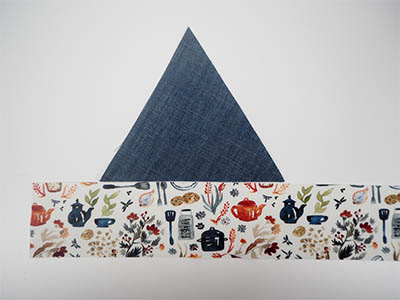
To see if you have enough or not, sit the strip on the right way around and eyeball it. This is wrong IMAGE 6 and will not give you enough room to cut the strip.
Always allow a bit extra like this IMAGE 7.
If you were to run your ruler down each side of the triangle, you would have enough IMAGE 8.
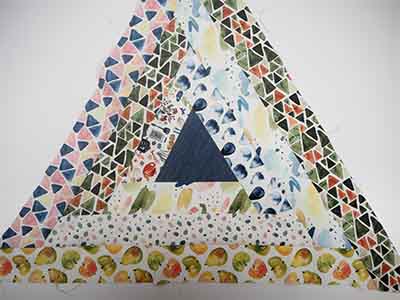
Keep adding strips until you have a patchwork piece 3 strips wide IMAGE 9.
TIP: You will not be able to cut the final angle perfectly but don’t worry about this, it will be part of what is trimmed away.
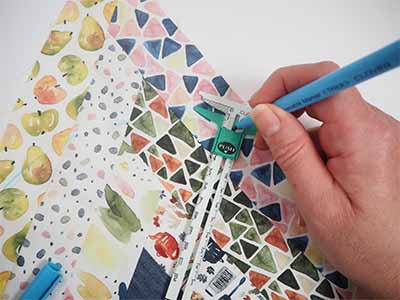
Press and using the Sliding Gauge, draw a 26cm diameter circle with the water erasable marker using the dead centre of the triangle to begin IMAGE 10.
TIP: This pot holder can be any size at all – just keep adding those strips. In fact, it can grow into a mat or a table topper. The only thing to think about is that as it gets bigger, you will need longer strips. You can make it smaller too – I like a generous pot holder and this one is about 26cm diameter. Leave some strips off to make it smaller.Trim the top slightly, just to remove some of the extreme points (as you see, that last angle where the strip was slightly short is now gone).

Lay the backing fabric good side down onto a flat surface and put the wadding on top. Lay the partially trimmed top onto this good side up and pin so that no movement is possible in any direction.
TIP: You can trim some of the wadding and backing away to make things easier to handle. Do make sure that you have about 4cm all around though in case the top shifts a bit.

Quilt with your favourite pattern. I have chosen to follow the lines of the patches each side with a row of stitching which extends to the edges of the piece IMAGE 11.
TIP: Use your walking foot for this bit and keep an eye on the back of the work to ensure that it stays flat.
You can appreciate the pattern even better from the back IMAGE 12.
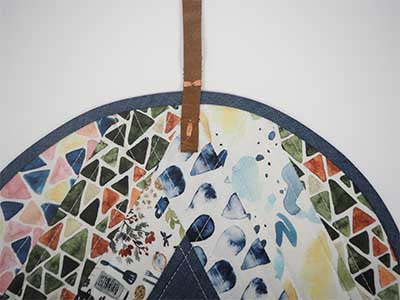
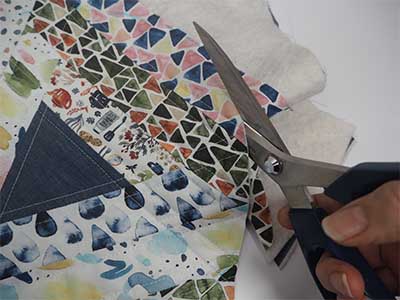
Cut out the circle with your large scissors IMAGE 13 and bind with your bias binding.
Add a leather hanging loop IMAGE 14.