
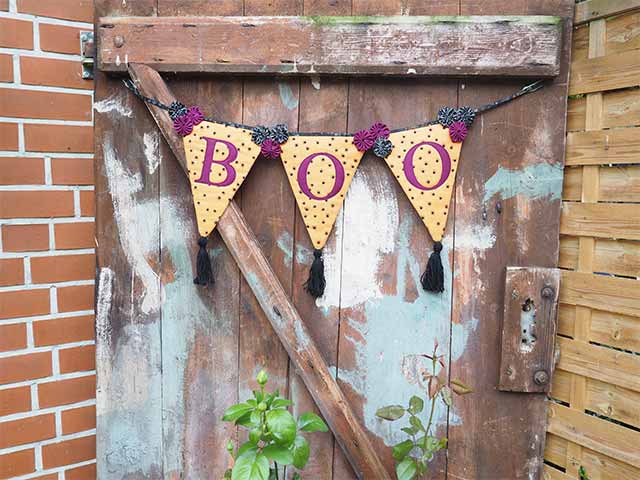
Halloween Boo Banner
ออกแบบโดย
Debbie von Grabler-Crozier
ผลิตภัณฑ์


Materials
• Fat Quarter Halloween fabric for the flag fronts
• Fat quarter Halloween fabric for the flag lining
• Fat quarter Halloween fabric for the bias tape
• A few large scraps in different coordinating fabrics for the Yo-Yos
• Fat quarter solid fabric for the letters
• Fat quarter H630 fusible wadding (Vlieseline)
• Fat Eighth Bondaweb (Vlieseline)
• Letter dies ‘B’ and ‘O’. Mine are from Sizzix and they are the Sassy Serif Alphabet but you can change them if you like. The main thing is that they are big.
• Wool yarn: black
Cutting
From the Halloween Fabrics :
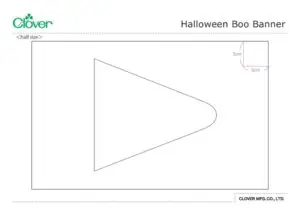
・3 pieces for the flag fronts (template)
・105cm bias tape cut 4cm wide
・12 pieces 11cm sq. for the Yo-Yos
From the solid fabric :
・3 pieces 14cm sq. for the letters ‘B’, ‘O’ and ‘O’
From the H630 interfacing :
・3 pieces for the flags (template)
From the Bondaweb :
・3 pieces 14cm sq. for the letters
NB: seam allowances are all 0.5 cm unless otherwise stated. Please read all instructions through and assemble the equipment before beginning.
วิธีทำ
Preparation
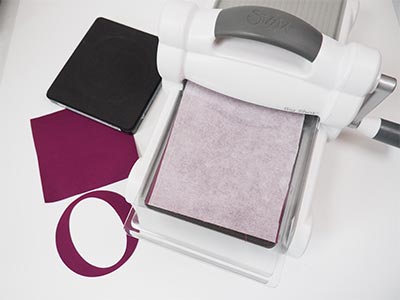
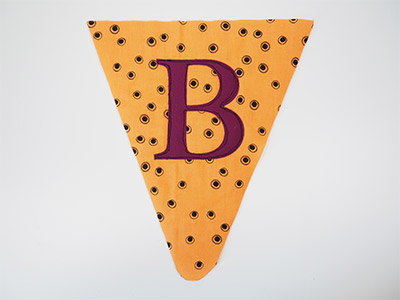
Fuse the Bondaweb to the wrong side of the solid coloured fabric and cut the letters out using the die machine.
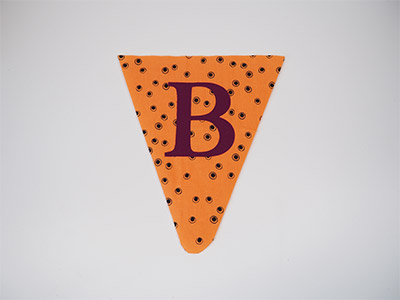
Tear the paper away from the letters and dry iron the letters to the flags. Now iron the H630 interfacing to the wrong side of the flag.

Set your sewing machine up for Free Motion Embroidery. You will need a darning foot and either drop the feed dogs on your sewing machine or set your stitch length to zero. Embroider the letters on with black thread.
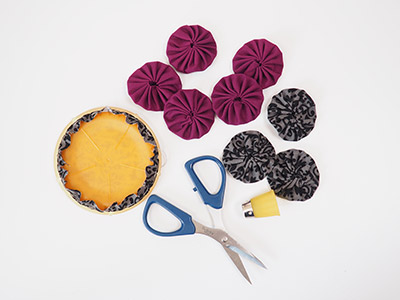
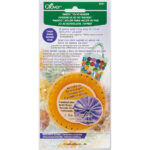
Make the Yo-Yos next. Follow the detailed instructions on the packaging to make 12 Yo-Yos in different colours.
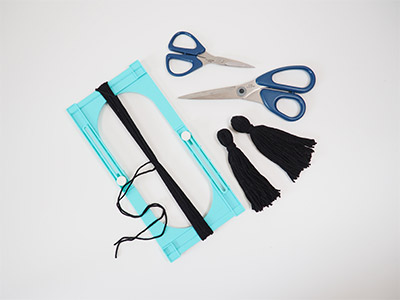
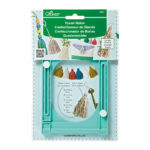
Make the three tassels using the tassel maker and the black cotton yarn. Put it on the largest setting to make tassels that are 11cm long.
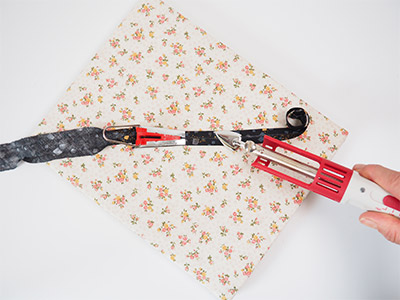
Finally, make the bias tape. Join the strips of fabric to make one long piece and then run it through the Bias Tape Maker, pressing it as you go.

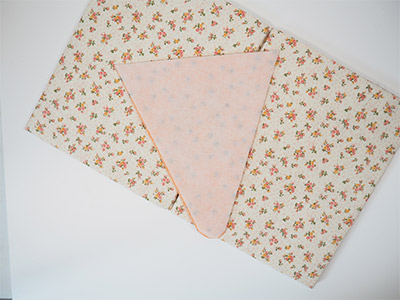
Place the embroidered flags right sides together onto the un-trimmed piece of lining fabric and sew the two long sides of the triangle shape.
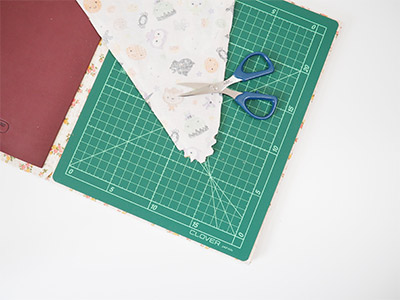
Trim the lining fabric IMAGE 8 and notch the curved point.

Turn the flag the right way out and press so that the edges are perfect.
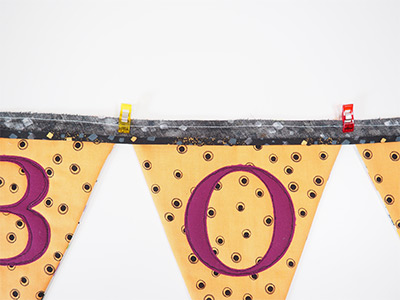
Repeat to make the other two flags. Attach the flags to the bias tape and sew.
Comments from designer: I like to finish the bias tape by hand because I find it neater but the choice is yours!
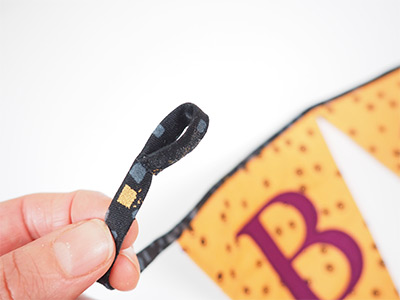
When you finish sewing the bias tape closed, sew a small hanging loop on each end.
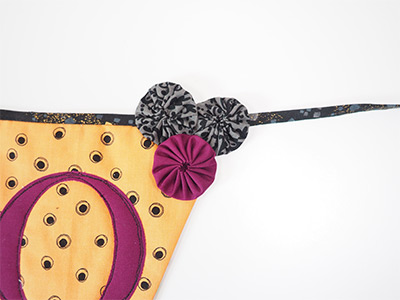
Finish your banner with the Yo-Yos in groups of three between each flag.
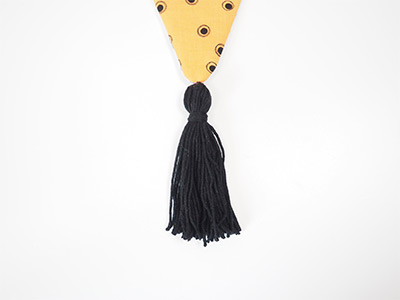
Attach a tassel to the curved tip of each flag.