
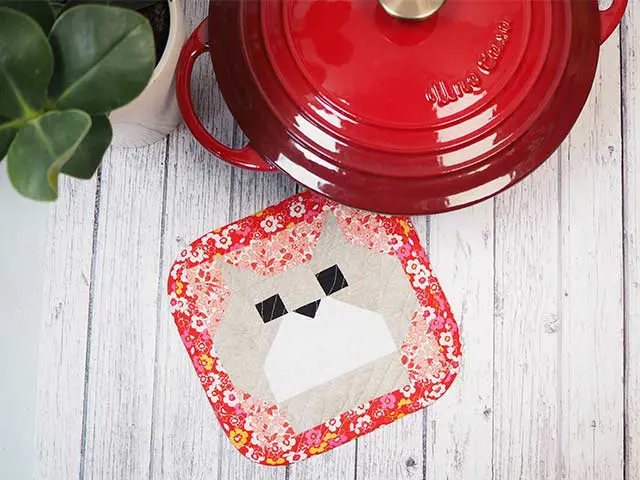
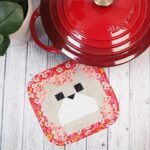
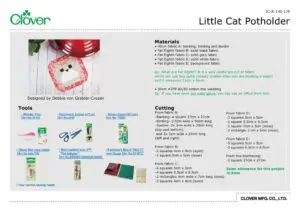
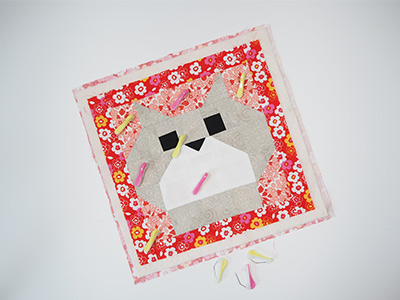
Little Cat Potholder
ออกแบบโดย
Debbie von Grabler-Crozier
ผลิตภัณฑ์


Materials
Fabric:
•40cm fabric A: backing, binding and border
• Fat Eighth fabric B: solid black fabric
• Fat Eighth fabric C: solid grey fabric
• Fat Eighth fabric D: solid white fabric
• Fat Eighth fabric E: background fabric
TIP: what is a Fat Eighth? It is a very useful pre-cut of fabric which you can buy quite cheaply (useful when you are building a stash) and it measures 23cm x 56cm.
Interfacing:
30cm #279 80/20 cotton mix wadding
TIP: If you have sewn our oven glove, you can use an offcut from this.
Cutting
From fabric A:
-Backing- a square 27cm x 27cm
-Binding- 3.5cm wide x 90cm long
-Sashes- 2x 3cm wide x 20cm long(top and bottom)
and 2x 3cm wide x 23cm long(left and right)
From fabric B:
-2 squares 4cm x 4cm (eyes)
-1 square 5cm x 5cm (nose)
From fabric C:
-6 squares 5cm x 5cm
-4 squares 6.5cm x 6.5cm
-2 rectangles 4cm wide x 7cm long (eyes)
-2 squares 4cm x 4cm (eyes)
From fabric D:
-3 squares 5cm x 5cm
-1 square 6.5cm x 6.5cm
-1 square 5cm x 5cm (nose)
-1 rectangle 3 cm x 5cm (nose)
From fabric E:
-5 squares 5cm x 5cm
-3 squares 6.5cm x 6.5cm
From the interfacing:
-1 square 27cm x 27cm
From the interfacing:
– 1 square 27cm x 27cm
วิธีทำ
Preparation
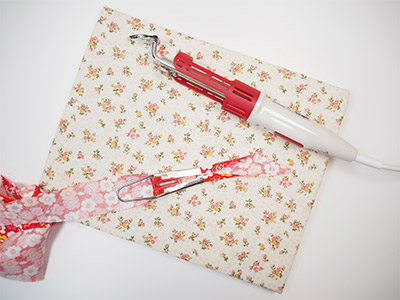
First make the bias binding. Place the bias cut strip into the bias binding maker and get the fold right IMAGE 1.
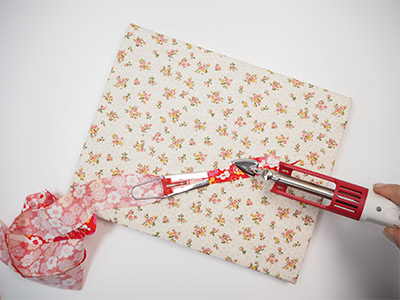
Use the mini iron and ironing board to press the binding IMAGE 2
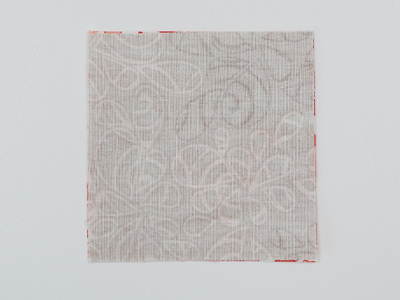
Make the half square triangles next. For the ears, take two squares (one of fabric C and one of fabric E) which measure 6.5cm and lay them right sides together IMAGE 3.
TIP: These form the parts of the face which have an angle such as the ears and the corners of the face.
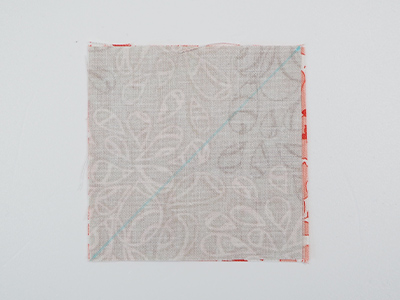
Draw a line diagonally from corner to corner IMAGE 4.
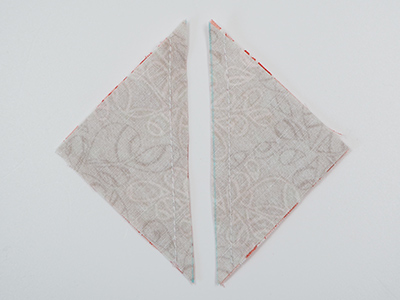
Sew 0.5cm either side of this line and then cut along the line IMAGE 5.
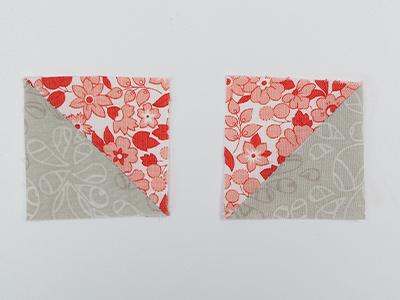
Open the pieces out and press. Trim to 5cm sq. IMAGE 6.
TIP: All of the half square triangles will be the same and from here, we will look at the pattern a row at a time.
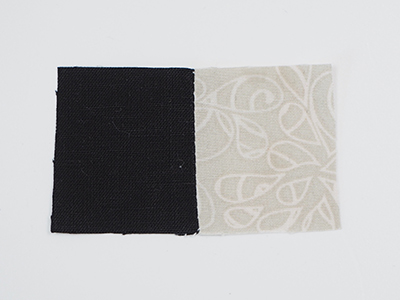
One more thing to do is to make the eyes, take a black square and a grey and sew them together. Repeat for the other two IMAGE 7.
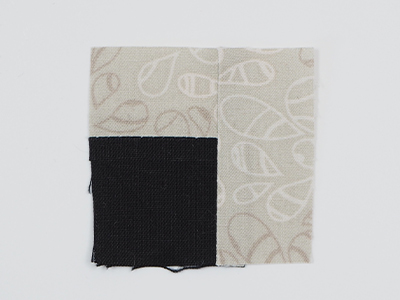
Attach a grey rectangle to the top and then trim the piece to 5cm sq. IMAGE 8.
TIP: The reason for the trimming is that it is much easier to sew slightly larger pieces and then trim them back to the size that you need. Your sewing machine will thank you too!
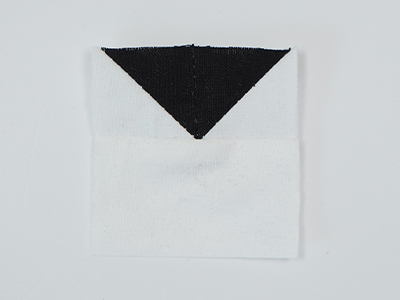
The nose is made from two half square triangles (colours B/D), sewn together and trimmed to 3cm wide x 5cm long and then with a D rectangle underneath. Trim this to 5cm x 5cm IMAGE 9.
Now it is time to assemble the rows. There will be more half square triangles to build but it is easier if we do this as we need them to avoid confusion. You know how to make them now. We build the picture as follows:
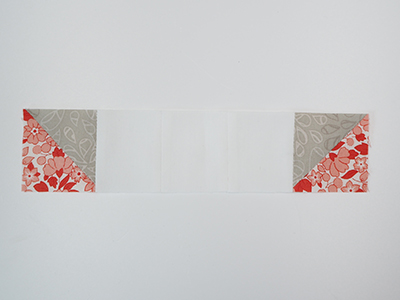
- Row 1- 1x 5cm square E, 1 half square triangle ear, 1x 5cm square E, 1 ear, 1x 5cm square E IMAGE 10a.
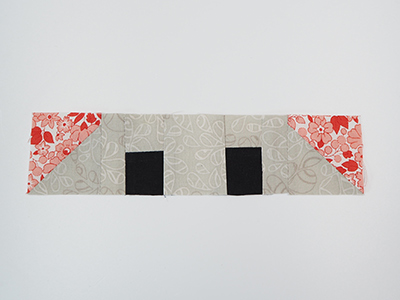
Row 2- 1x half square triangle E/C, 1 eye, 1x 5cm square C, 1 eye, 1x half square triangle E/C IMAGE 10b
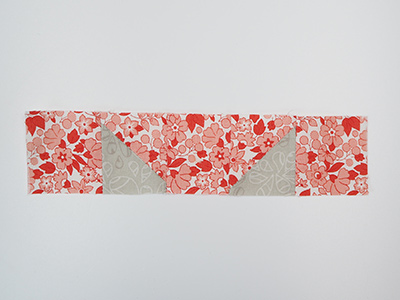
Row 3- 1x 5cm square C, 1 half square triangle C/D, the nose section, 1 half square triangle C/D, 1x 5cm square C IMAGE 10c
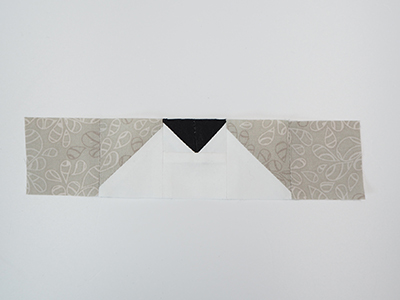
Row 4- 1 half square triangle E/C, 3x 5cm squares D and one half square triangle E/C IMAGE 10d
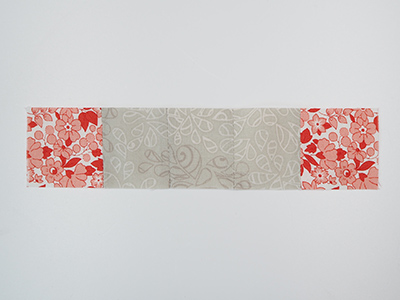
Row 5- 1x 5cm square E, 3x 5cm squares C, 1 5cm square E IMAGE 10e.
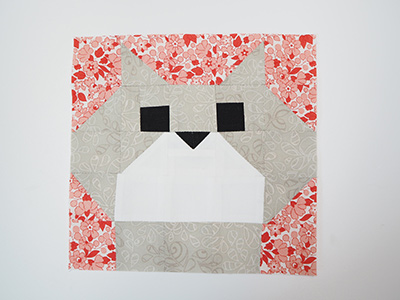
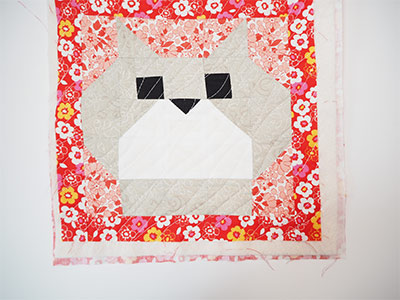
Sew all of the rows together to make the cat IMAGE 11.
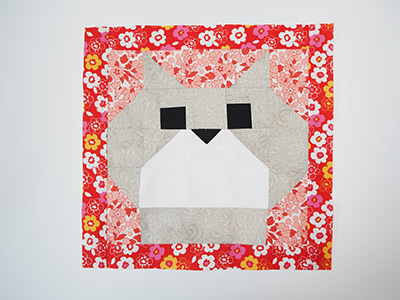
Add the sashes to the top and bottom and the sides IMAGE 12.
Iron the patchwork top. Lay the backing fabric face down and put the wadding on top. The patchwork to goes on top of that (right side up). Pin with Wonder Pins IMAGE 13.
Quilt with your favourite pattern. I love a random diagonal wave IMAGE 14.
TIP: I like to round the corners of my quilted items IMAGE 14a. It makes binding so much easier!

Trim the pot holder to 22cm square and bind with your bias binding IMAGE 15.