
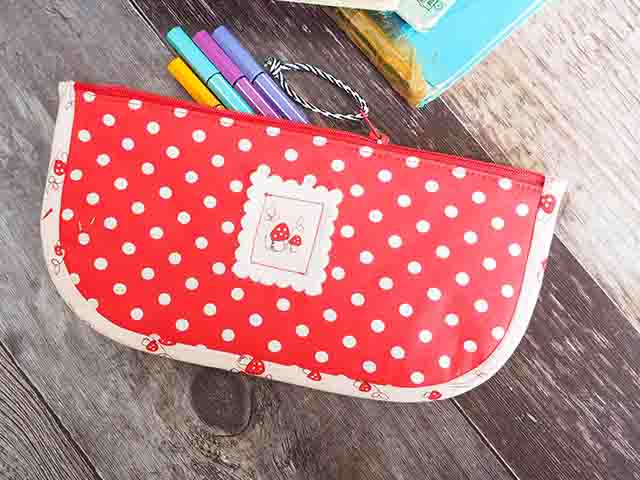
Off to School Pencil Case
ออกแบบโดย
Debbie von Grabler-Crozier
ขนาดเมื่อทำเสร็จแล้ว
approx. 12cm height x 23cm wide
ผลิตภัณฑ์


Materials
• Fat Eighth patterned outer fabric
Fat Eighth coordinated lining fabric
Fat Eighth fabric extra for the bias binding
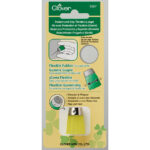
• Interfacing
Fat Eighth fusible fleece (*Designer’ s favourite: Vlieseline’ s H630)
• 20cm zipper
Good to know:
A Fat Quarter of fabric is approximately 50cm x 55cm and a Fat Eighth is approximately 22.5cm x 55cm. These are two very useful pre-cut sizes and are found almost everywhere.
An Important bit:
Please read all instructions and assemble requirements before beginning the pattern. The seam allowances are 0.5cm and have already been added.
Cutting
From the Outer Fabric:
- 2 pieces 23.5cm wide x 12cm tall for the front and back outer
From The Lining Fabric
- 2 pieces 23.5cm wide x 12cm tall for the front and back lining
The Bias Binding:
- 55cm bias cut strips (diagonal cut) cut 4cm wide
From the Interfacing:
- 2 pieces 23.5cm wide x 12cm tall

วิธีทำ
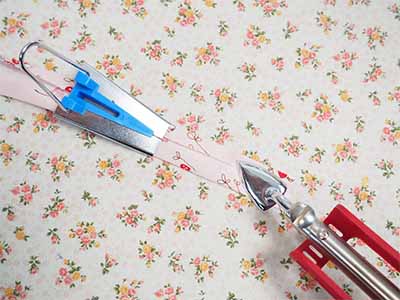
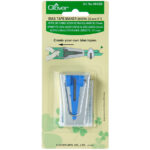
Make the bias binding first. Join your strips if needed and run them through the Bias Tape Maker, ironing the creases as the strip emerges from the maker.
Roll the tape so that the creases are preserved. It is ready to use.
Fuse the interfacing to the wrong sides of both pieces of outer fabric.
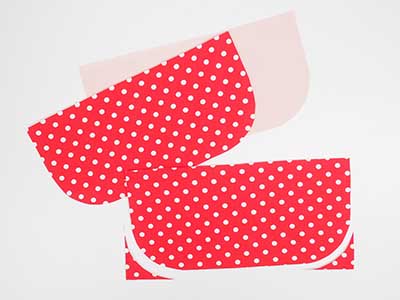
Find something round (a teacup for example) and round the bottom corners of the outer pieces and the lining.
The zipper comes next. You will need the zipper and the outer piece.
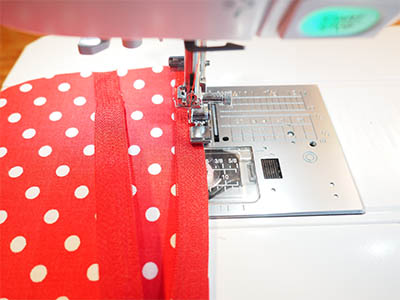
Lay the zipper, right sides together onto the top edge of the outer panel and machine baste.
tip: This extra step means that the zipper cannot move in the next step when we add the lining.
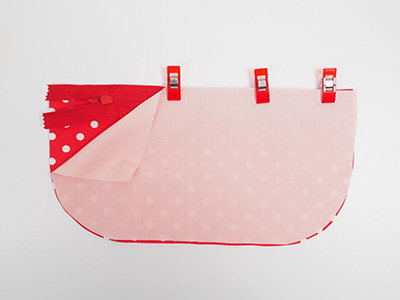
Lay the lining, right sides together, onto the outer piece with the zipper sandwiched in between and clip.
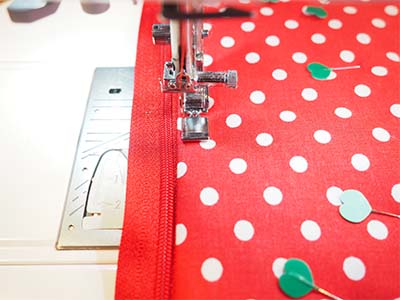
Sew right along the zip. Flip the layers the right way out and topstitch narrowly (1/4 cm) right along. Repeat this for the other side of the zip.
tip: Make it even cuter by fussy cutting a small motif and sewing it to the front of the pouch as a label. Put this on before sewing all of the layers together.
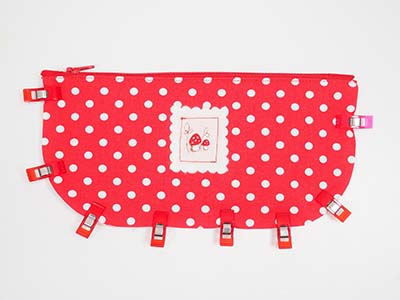
Bring the pieces together so that lining faces lining with the right sides together. The outer should be right side out. Clip all around. Sew the sides and the bottom of the pencil case. Bind with your bias binding. I like to sew the first half by machine.
Designer’ s comment:
I find it neater to finish the back by hand.
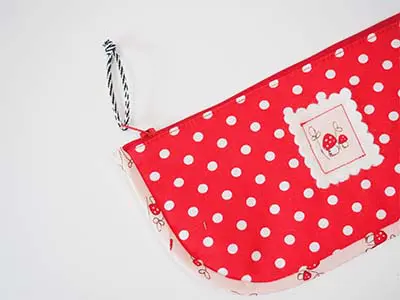
It is nice to decorate the zipper pull with a piece of ribbon or a charm.
tip: If you are making our matching Drawstring Backpack, decorate the zipper pull with the same sort of thing to make a set.