
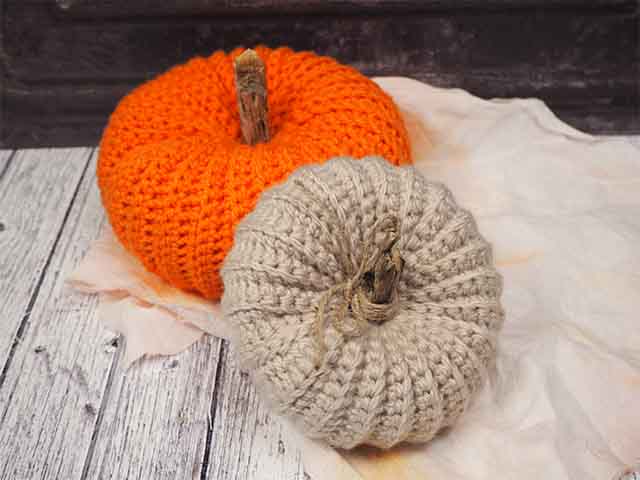
Ribbed Crochet Pumpkins
ออกแบบโดย
Debbie von Grabler-Crozier


Materials
Yarn
• Any sort of interesting yarn in earth colours
– orange is the obvious choice but not the only one.I am using a slightly chunky yarn for the medium pumpkin in a tan colour and orange for the large.You need one 100g ball for each – you will have some left over.
Everything Else:
• Two interesting sticks about the thickness of your thumb and about 10-15cm long
TIP: the mossier and more twisted the better! Look for something nice and rustic.
• Polyester toy stuffing material
• Hot glue gun
Abbreviations:
Ch: chain
Sc: single crochet (UK double crochet)
Ss: slip stitch
วิธีทำ
The Crochet:
NB: Please read all instructions through and assemble the equipment before beginning.
TIP: there are two pumpkins in this set. A medium (14cm diameter) and a large (18cm diameter).
The instructions for the large size are given in brackets after the medium. The method of making is the same for both.
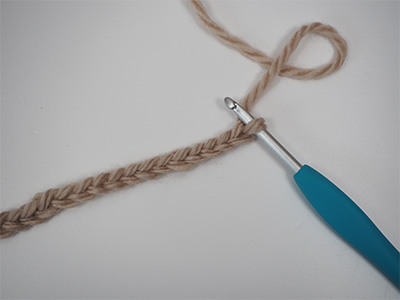
Ch 26 (31) IMAGE 1.
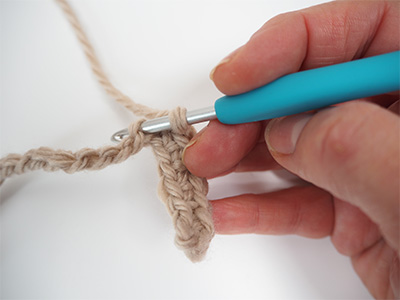
Row 2: sc in the second stitch from the end working in the back loop of the chain IMAGE 2. Ch 1 and turn.
Row 3: sc into each stitch, again working in the back loop. Ch 1 and turn.
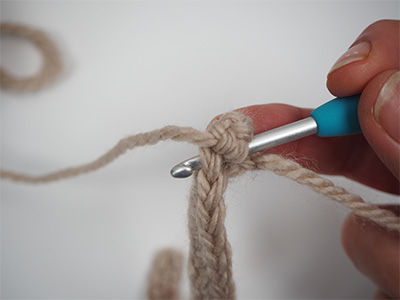
TIP: Normally with Sc, you are working into both parts of the stitch on the top like this IMAGE 3.
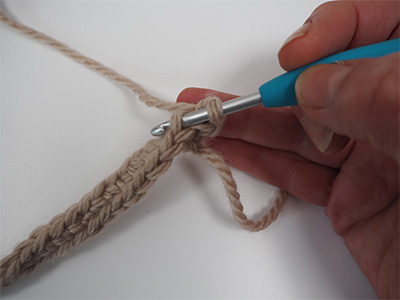
This time, it is important only to use the back part of the stitch like this IMAGE 4. This will give you the rib effect.
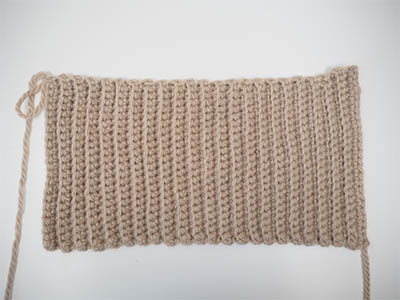
Rows 4-45 (4-60): continue working like this until you have a piece of ribbed fabric IMAGE 5.
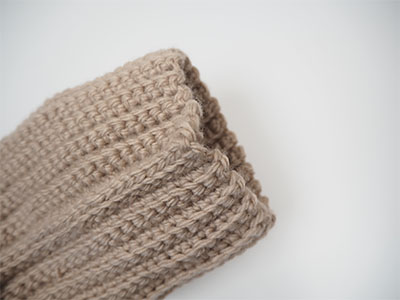
Ss the panel closed on the two short ends to form a tube IMAGE 6.
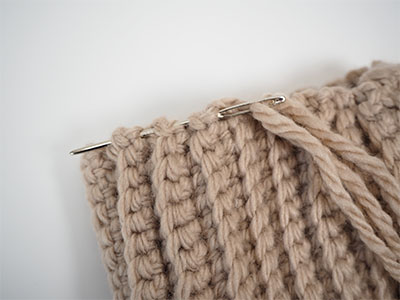
Now use a piece of yarn, the largest needle in the darning set and a running stitch to close one end IMAGE 7.
TIP: You will not be able to quite close the hole when you gather because of the thickness of the yarn. Use the needle to darn it closed neatly.
This is the base of the pumpkin but still make it as neat as you can IMAGE 8.
Stuff the pumpkin well with polyester stuffing material and gather the other end closed too.
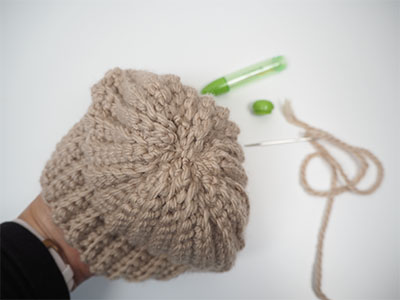
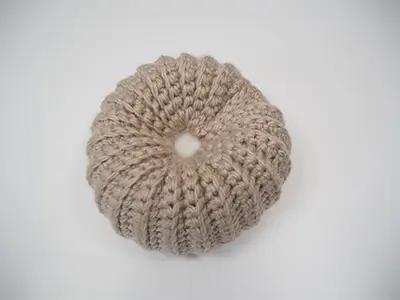
TIP: use a longer piece of yarn for this job and before you tie the end off, bring the yarn down to the bottom of the pumpkin a couple of times to gather the centre and make it look more realistic IMAGE 9.
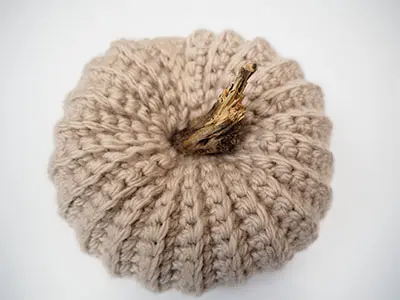
When you do this, keep the hole at the top fairly clear to put the stalk in. Hot glue the stick into the top centre as a stalk IMAGE 10.
TIP: I have also added a little wrap of jute twine and tied it in a bow on the small one. This is optional but looks beautifully rustic.