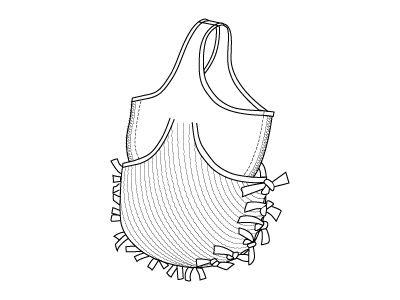
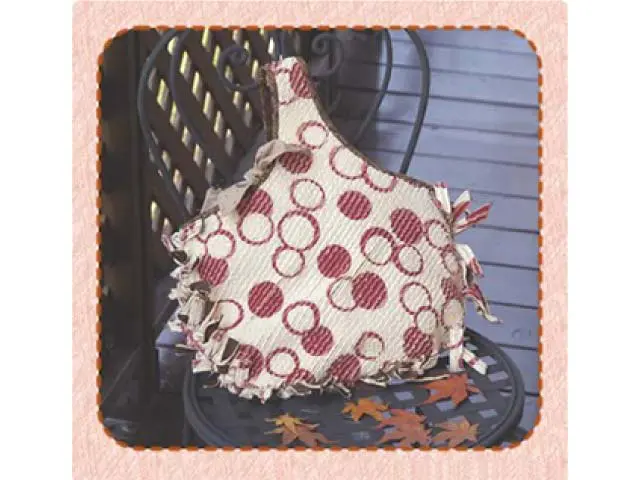
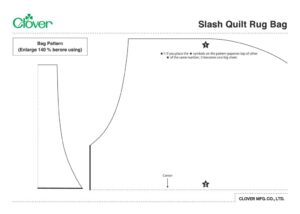
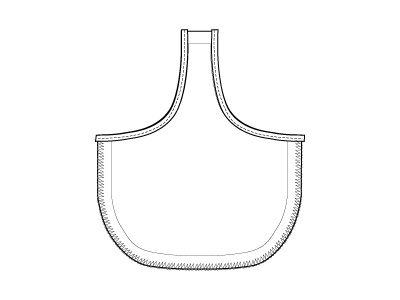
Slash Quilt Rug Bag
Endgröße
Approx. 40 cm wide x 45 cm long
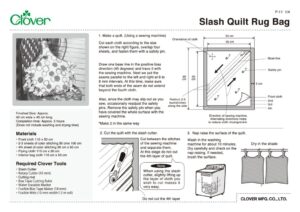
Werkzeuge


Cutting mat
Bias Tape Cutting Ruler
Water Erasable Marker
Fusible Bias Tape Maker (18 mm)
Fusible Web (10 mm width/12 m roll)
Materialien
• Front cloth 110 x 50 cm
• 2-3 sheets of color stitching 90 cmx 100 cm
• 4th sheet of color stitching 90 cm x 60 cm
• Piping cloth 110 cm x 30 cm
• Interior bag cloth 110 cm x 50 cm
Fertigstellungsdauer
Approx. 5 hours (Does not include washing and drying time)
Herstellung
Make a quilt. (Using a sewing machine)
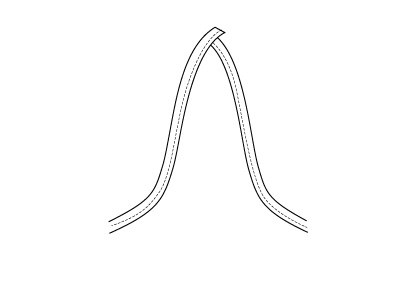
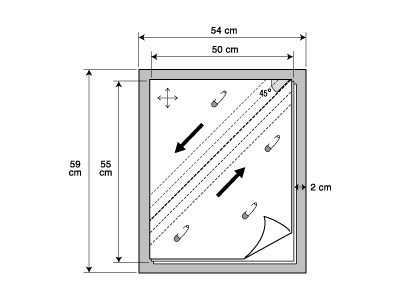
Cut each cloth according to the size shown on the right figure, overlap four sheets, and fasten them with a safety pin.
Draw one base line in the positive bias direction (45 degrees) and trace it with the sewing machine. Next we put the seams parallel to the left and right at 6 to 8 mm intervals. At this time, make sure that both ends of the seam do not extend beyond the fourth cloth.
Also, since the cloth may slip out as you sew, occasionally readjust the safety pins. Remove the safety pin when you have covered the whole surface with the sewing machine.
*Make 2 in the same way

Cut the quilt with the slash cutter. Cut between the stitches of the sewing machine and separate them. At this stage do not cut the 4th layer of quilt.
Note: When using the slash cutter, slightly lifting up the layer of cloth you wish to cut makes it very easy.
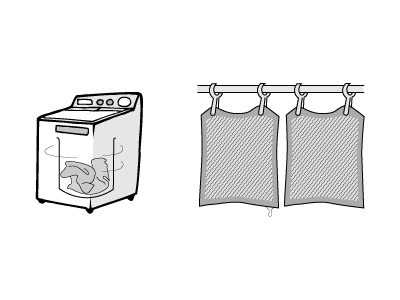
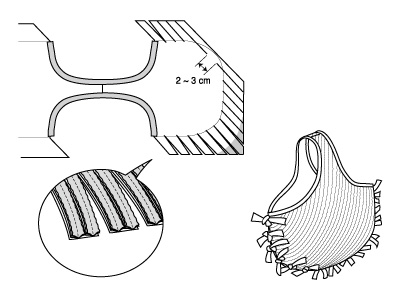
Nap raise the surface of the quilt.
Wash in the washing machine for about 10 minutes. Dry carefully and check on the nap raising. If needed, brush the surface.
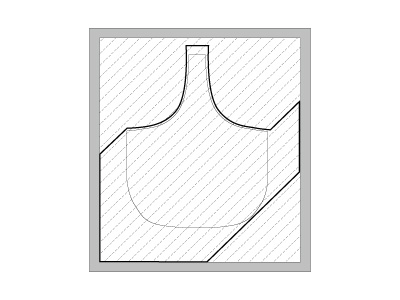
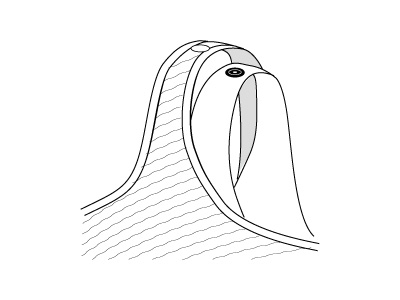
Mark the quilt following the design of the pattern paper and cut with scissors.
*Be careful with the cut placement. (See diagram below)
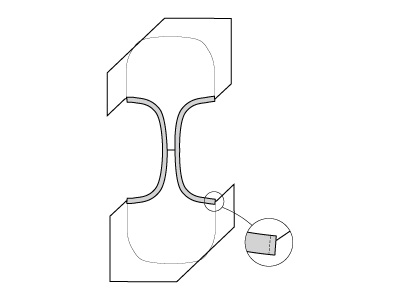
Sew the two layers together and apply piping to the handle and mouth portion of the bag.
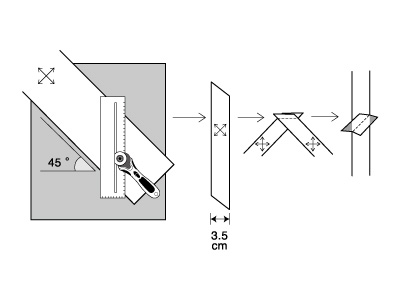
How to make Piping Cloth
Note: When cutting, use the Bias Tape Cutting Ruler and the 45mm Rotary Cutter to cut the cloth that becomes your bias. When making it into bias tape, using Bias Tape Maker 18 mm allows you to do it quickly and neatly.
Finally form it into bias tape using the 18 mm width Bias Tape Maker.
Prepare the ridge (around the edge of the bag) and shape it into a bag.
Make the interior of the bag.
Cut the cloth with a seam allowance of 1.5 cm from the pattern paper (2 sheets) .
Sew the two pieces and put them into the main body.