
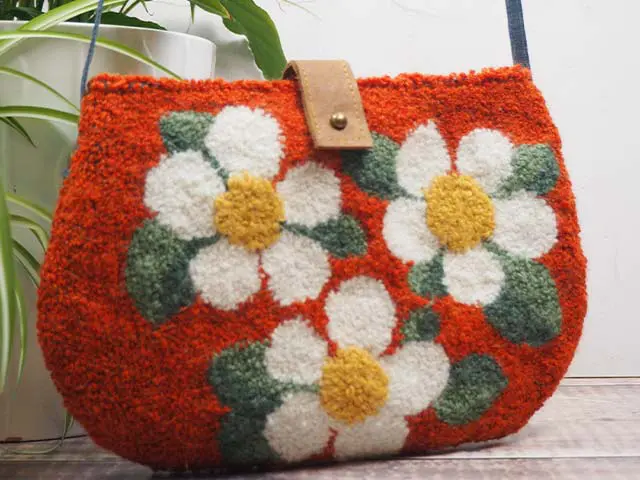
Daisy, Daisy Punch Embroidery Bag
Designed by
Debbie von Grabler-Crozier
Tools


Materials
Yarn
• 50g balls of the following colours:Light green, medium green, mustard yellow, burnt orange, winter white
TIP: I have used Drops Nord yarn for this make. You will not use a whole 50g ball of any of the colours which leaves heaps for another project!
Everything Else
• 50cm light denim fabric
• Fat quarter lining fabric
• Fat eighth H630 fusible wadding (Vlieseline)
• Fat eighth S320 interfacing (Vlieseline)
• 4x rivets for the strap
• 1x bullet head rivet for the tab closure
• Leather hole punch
• PVA glue
• Matching threads
Cutting
NB: seam allowances are all ½ cm unless otherwise stated. Please read all instructions through and assemble the equipment before beginning.
From the denim:
– 1 piece 4cm wide x 120cm long for the strap
– 1 piece (template I) for the bag back
– 1 piece 30cm wide x 35cm long for the bag front
From the lining:
– 2 pieces (template 1) for the front and back lining
– 4 pieces 10cm wide x 14cm long for the internal slip pockets
From the H630:
– 1 pieces (template I) for the main bag body back
From the S320:
– 2 pieces 8cm wide x 12cm long for the internal slip pockets

Making
Preparation
Begin with the bag strap. Fold the strap in half lengthways and press a centre crease. Fold the two raw edges to the centre crease and press them too.
TIP: I love the Finger Presser for this job. It is quick and simple and very accurate.
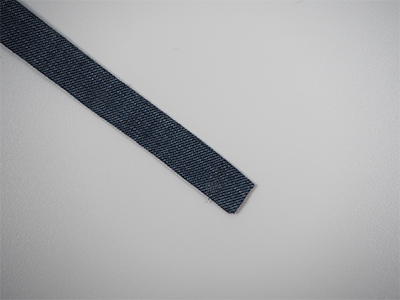
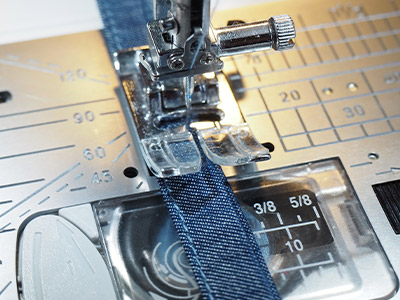
Fold the ends up to make a closed strap IMAGE 1 and then topstitch all around the strap with matching thread IMAGE 2.

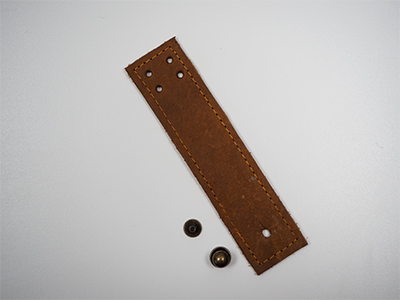
Punch two holes in the end of the strap with the leather hole punch
IMAGE 3. The strap is now ready to use.
On to the internal slip pockets next. Take a piece of pocket fabric and a piece of S320 interfacing and fuse the interfacing centrally to the wrong side of the pocket IMAGE 4.
TIP: The pocket size is actually the size of the interfacing. The extra fabric around the edge provides the seam allowance.
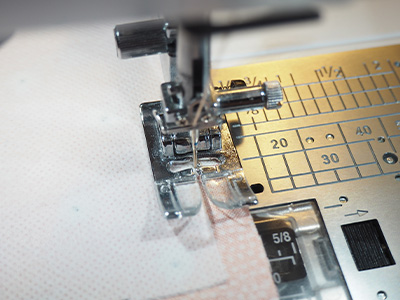
Pin the interfaced piece and a non-interfaced piece of pocket fabric together and sew around the very edge of the interfacing IMAGE 5, leaving a turning gap in the bottom.

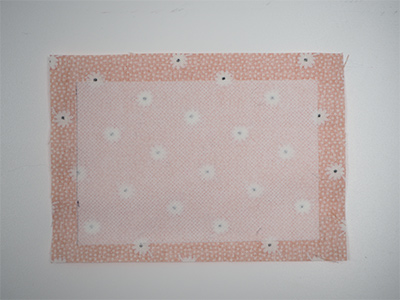
Trim the seam allowance back to 0.5cm all around and clip across the corners. Turn out through the gap and then find the centre of the pocket. Find the vertical centre of a lining piece and site the pocket 4.5cm down from the top edge. Attach with a narrow topstitch IMAGE 6. Repeat for the other pocket on the other lining piece.
Make the tab closure by gluing the two pieces of leather together, suede sides facing. Stitch all around with a matching thread and make a hole in one end (in the centre about 1cm in) and four holes in the other end for sewing on with a cross stitch IMAGE 7.
TIP: The hole in the front needs to be large enough to just fit over the head of the bullet rivet so try it on for size. Slightly smaller is better than too big. If it still doesn’t fit without straining (these rivets come in all sizes), make a small slit above the hole to enlarge it slightly.
The embroidery:
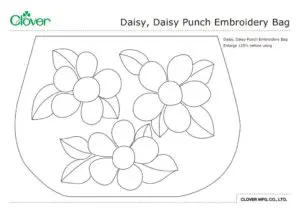
Take the untrimmed piece of denim and draw the bag onto the wrong side using the template but do not cut it out.
TIP: Centre it as well as you can- the overhang is there to keep it in the embroidery hoop. Use the Water Erasable Marker to either freehand the design or transfer it with the mesh transfer canvas.
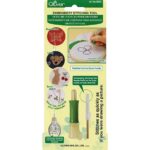
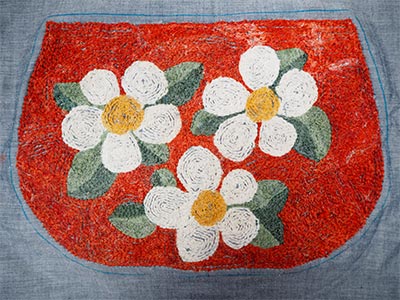
Use the Embroidery Stitching Tool and 8802 needle to work the leaves and flowers and then the background IMAGE 8.
TIP: The daisy centres are the mustard yellow, the petals are winter white and the leaves are two tone light green and medium green. The background is burnt orange.
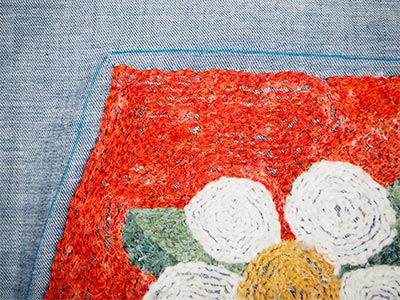
Don’t work the embroidery right up to your line. Leave about 0.5cm clear for seam allowance IMAGE 9.
TIP: these fibres are quite secure but because bags get a lot of wear and tear, I like to make a thin coat of white glue on the back in case the loops get snagged on jewellery or clothing.
Fuse the H630 wadding to the wrong side of the bag back.
You don’t need this on the bag front because of the thickness of the embroidery.
With the right sides together, sew the lining and leave a turning gap somewhere at the bottom. Sew the front with the right sides together. Turn the front the right way out and check that everything looks good on the edge.
TIP: Because of the extra pile on the front (essentially a little carpet!), you may need to go back in and fix seams to make it as perfect as possible.
With the outer the right way out and the lining inside out, slip the lining on over the outer and line the seams up perfectly. Sew right around the top edge leaving no gaps. Turn out through the gap in the lining and then close the gap. Stuff the lining down into the bag and roll the top edge to make it perfect. Topstitch the top edge.
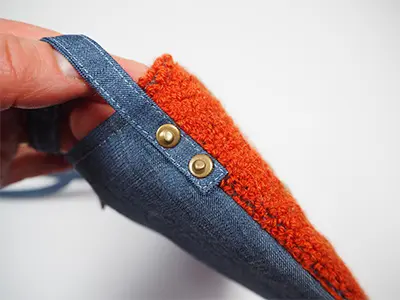
Attach the strap by making two corresponding holes on either end of the bag at the top (about 1.5-2cm down) and applying the rivets to keep the strap secure IMAGE 10.
Attach the tab closure in the centre back about 4cm down from the top edge and sew it on with the strong thread.
TIP: I have opted to use my background colour.
Make a hole and screw the bullet rivet in the front, first seeing where the tab sits naturally without pulling or puckering.