
Double Drawstring Shoe Bag
Designed by
Debbie von Grabler-Crozier
Tools


Materials
Fabric
• 75cm pretty fabric
• 25cm strip of coordinating fabric for the drawstring cord
Everything Else:
• Your usual sewing needs
Cutting
NB: Seam allowances are all ½ cm unless otherwise stated. Please read all instructions through and assemble the equipment before beginning.
TIP: make your bag your own and decide if you want it to hold two pairs of shoes or only one pair. The construction is exactly the same for both.
From the main fabric:
– Cut two pieces 25cm wide x 65cm long (for the double pair bag)
– Cut two pieces 20cm wide x 65cm long (for the single pair bag)
From the cord fabric:
– Cut two pieces 4cm wide x 110cm long (for either size bag)
Making
Preparation
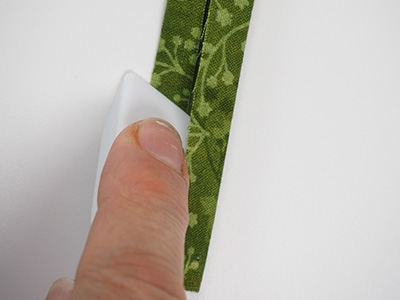
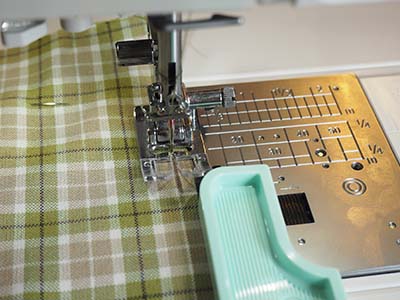
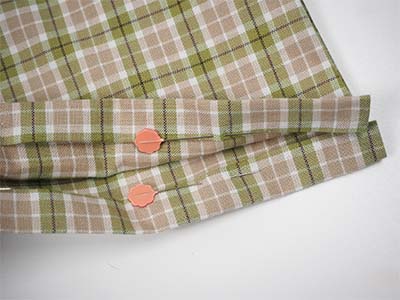
Prepare the cord by using the Finger Presser to fold the long strips precisely in half. Fold the raw edges to the centre and press again IMAGE 1.
TIP: This great little tool is a great alternative to the iron, especially where you have to do a lot of pressing in small steps. Great for hot weather when you don’t want to be in the company of a hot iron. I love it for sewing retreats too where you have to queue for one or two irons. It saves time and is no load to carry. Repeat for the other cord. The cords are now reads to topstitch.
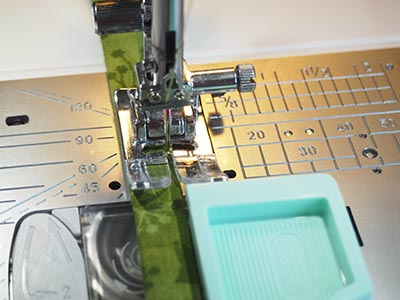
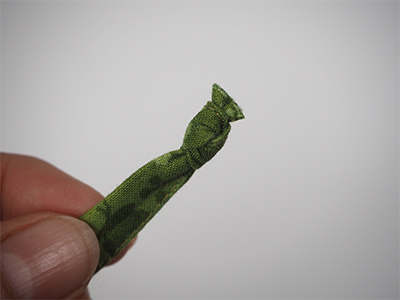
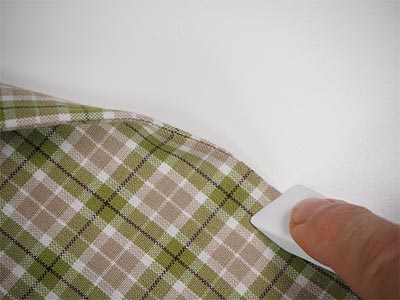
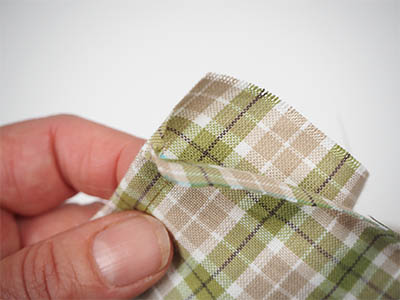
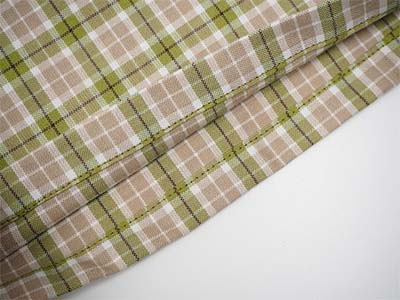
Topstitch the cords closed with matching thread IMAGE 2 and then knot one end IMAGE 3.
TIP: The other end will be knotted at the end of making but leaving it for now makes it easier to insert into the casing.
Take the bag outer pieces and lay them wrong sides together and pin.
TIP: You have not read that wrong! We are going to French Seam the edges which means that the interior seams are perfect and there is no lining to add weight in your suitcase if you are using this bag for travelling. Don’t worry- it’s easy!
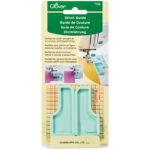
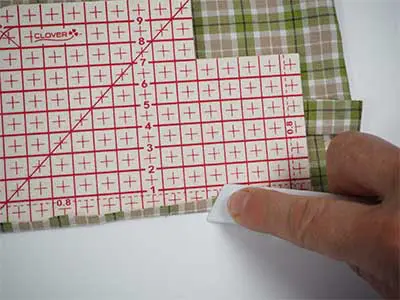
Use the Stitch Guide to choose a very narrow seam IMAGE 4. I like a seam about 1/4cm. Sew both long sides of the fabric stopping 4cm before each end. This is important for the casing.
Now turn the bag inside out and, using the Finger Presser, crease right along the seam line IMAGE 5. Repeat for the other side.
Now sew again and this time, use a ‘normal’ ½ cm seam allowance, again, stopping 4cm before each end. When you are finished, you will have two unsewn ends like this IMAGE 6.
Turn the bag the right way out. On one end, take a raw edge and fold it over and inwards by ½ cm.
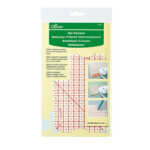
TIP: You can use the Finger Presser to do this or your iron. Either way, the Hot Hemmer is a great tool to achieve absolute accuracy IMAGE 7. You can use this with the Finger Presser too. The mark will not be quite a sharp so just take the hemmer away and repeat with the Finger Presser to get a nice sharp crease.
Fold the hem over so that it meets the edge of the French Seam and pin IMAGE 8.
Sew along the bottom with a very narrow seam IMAGE 9, leaving the ends open. Repeat for the other side and then the other two raw edges on the other end of the bag.
Fold the bag in half, bringing the casings together and crease to find the middle.
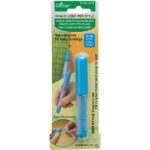
TIP: I like to mark this too so that I have an accurate sewing line. Use the Chaco Liner Pen to mark the centre. Sew the centre seam, backstitching at the beginning and end of the seam.
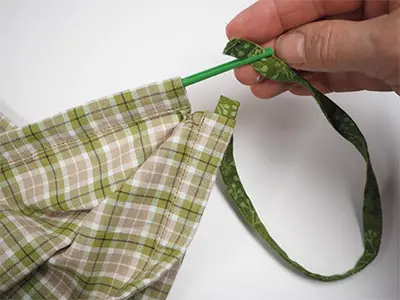
Take the Bodkin and secure the unknotted end IMAGE 10. Thread the cord through the casing and then knot the remaining end of the cord. Tie it into a bow.
TIP: I like a nice floppy bow and plenty of cord to do it with but if it gets on your nerves, you can easily shorten it.