
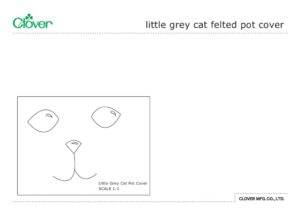
Little Grey Cat Pot Cover

Designed by
Debbie von Grabler-Crozier
Tools


Hand sewing needle
Materials
Yarn:
• 2x 50g balls felting wool.
I am using Drops Eskimo.
Everything Else:
• Natural wool roving: black, off white
• Very fine black fishing line for the whiskers.
I have used a 0.30mm line which is perfect.
Crochet Abbreviations:
Ch: chain
Ss: slip stitch
Sc: single crochet (UK double crochet)

Making
Please read all instructions through and assemble the equipment before beginning. This make is sized to fit a pot 10cm diameter at the base, 9cm at the top and 9-10cm high. It is to be machine felted at 50°Celcius and there may be some variation in the felted size – this method of felting is easy but the trade-off is that you do lose some control over the size. What you put in with it and how long the cycle goes for also affect the outcome. I like to fit it onto the intended pot while it is wet and allow it to dry that way. This blocks it and gives it a great shape.
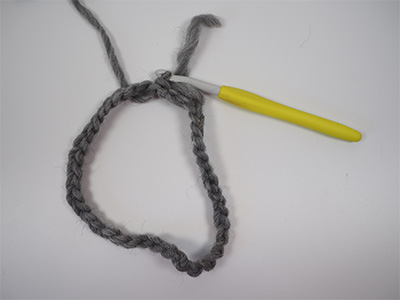
To begin: ch 40 and close with a ss to make a ring IMAGE 1.
TIP: be super careful to make sure that the ring is not twisted.

Rows 1- 15: working in a spiral, sc into each stitch with no increases or decreases IMAGE 2.
Fasten off and weave in the end of the yarn.
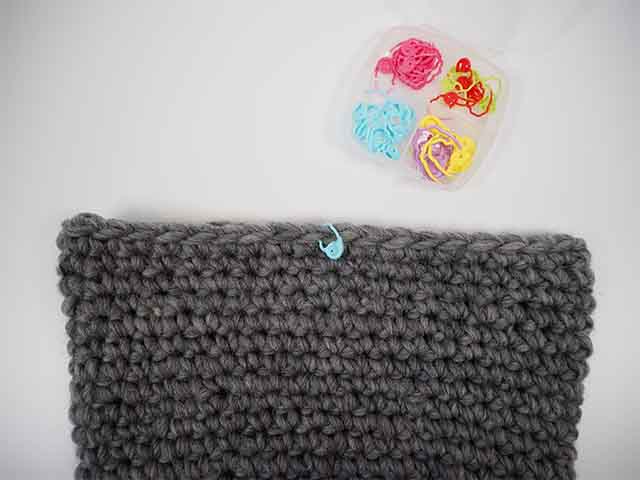
The ears: decide on the best front aspect and mark the centre with a stitch marker IMAGE 3.
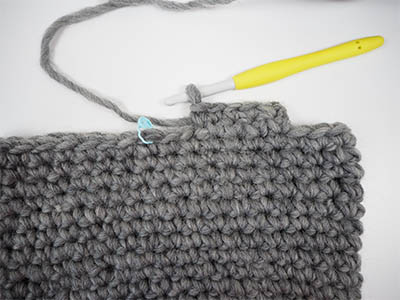
Count 2 stitches to the right of the marker and sc 5 stitches. Turn and sc 5 stitches back IMAGE 4.
Row 3 ears: decrease in the first and last stitches (3 stitches)
Row 4 ears: decrease in the first and last stitches (2 stitches)
Row 5 ears: decrease (1 stitch)
TIP: The ears look a little lumpy at this stage. They will pull together during the felting process.
Fasten off and repeat for the other ear 1 stitch to the left of the centre marker.
Machine wash to felt at 50°Celcius.
TIP: I like to put it into my machine with a towel or some jeans to help the felting process. Do add soap as if washing normally.
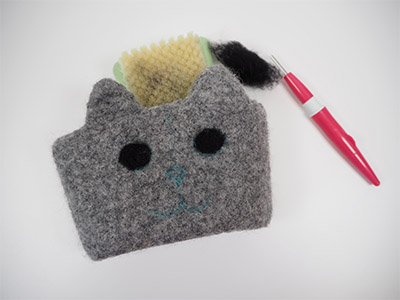
Once out of the machine, block the pot cover by firstly pulling into shape (no need to be gentle) and then placing it on the desired pot to dry completely. It may be a tight fit. Just pull it on and leave it somewhere undisturbed. Transfer your pattern. It is easy to draw on with the water erasable marker but you can use whichever method you normally prefer. Using the pen style felting needle and the small felting mat, felt the eyes with black wool roving IMAGE 5.
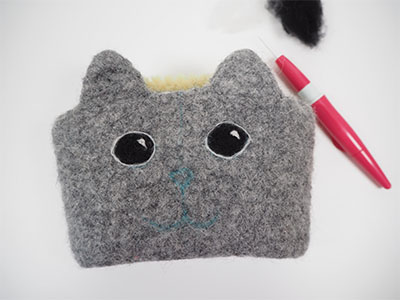
Go around them in a ring of off white and add a little highlight IMAGE 6.
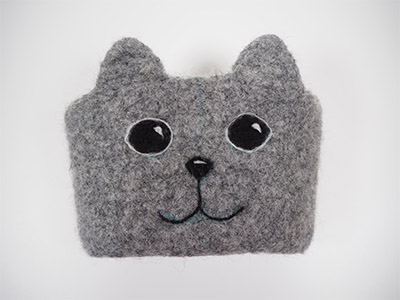
The nose and the mouth are also black with a little highlight of off white on the nose IMAGE 7.
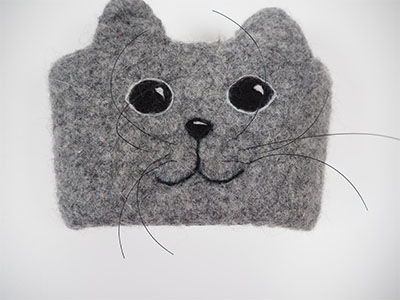
Finally thread the whiskers through with the hand sewing needle IMAGE 8.