
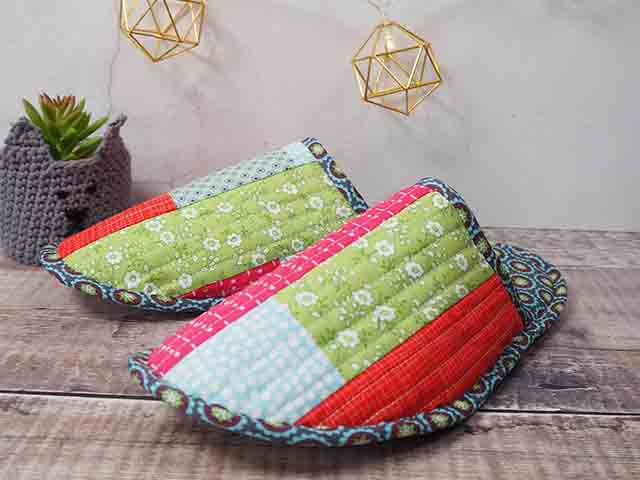
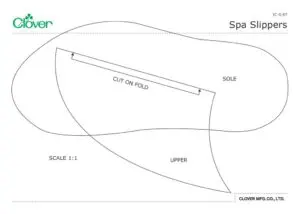
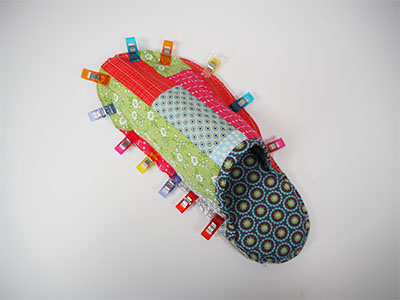
Spa Slippers
Designed by
Debbie von Grabler-Crozier
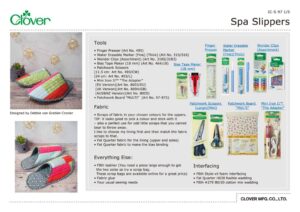
Tools

Materials
Fabric
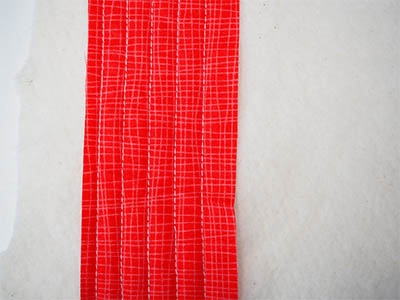
• Scraps of fabric in your chosen colours for the uppers.
TIP: it looks good to pick a colour and stick with it
– also a perfect use for odd little scraps that you cannot bear to throw away.
I like to choose my lining first and then match the fabric scraps to that.
• Fat Quarter fabric for the lining (upper and soles)
• Fat Quarter fabric to make the bias binding
Everything Else:
• F8th leather (You need a piece large enough to get the two soles so try a scrap bag. These scrap bags are available online for a great price)
• Fabric glue
• Your usual sewing needs
Interfacing
• F8th Style-vil foam interfacing
• Fat Quarter H630 fusible wadding
• F8th #279 80/20 cotton mix wadding
Fitting:
These slippers are the sort of one-size-fits-most that you might find in a spa hotel. If your feet are tiny though, you can custom fit them by following the instructions and sizes as you find them on our pattern and then fitting and trimming to fit your own feet. Remember though to measure twice and cut once!For larger sizes, measure your foot length and then enlarge the pattern with a photocopier.
Making
Preparation
NB: seam allowances are all ½ cm unless otherwise stated. Please read all instructions through and assemble the equipment before beginning.
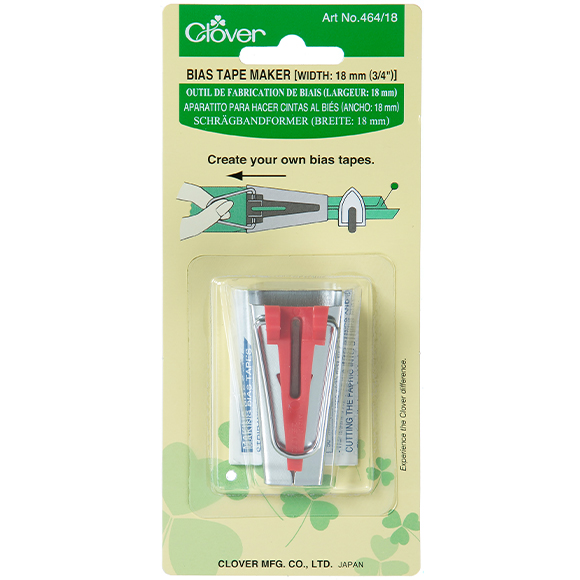
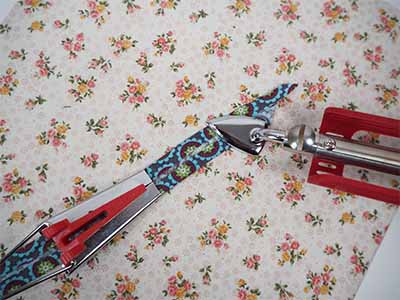
Make 2m bias binding. Cut 3.5cm wide bias strips from your chosen binding fabric and join them together to make the 2m length. Run them through the bias tape maker, pressing as you go to make your binding IMAGE 1.
Begin by cutting the soles mirror image from your sole lining fabric and fusing H630 to the wrong side of each. Trim so that the interfacing is the same size and shape as the sole.
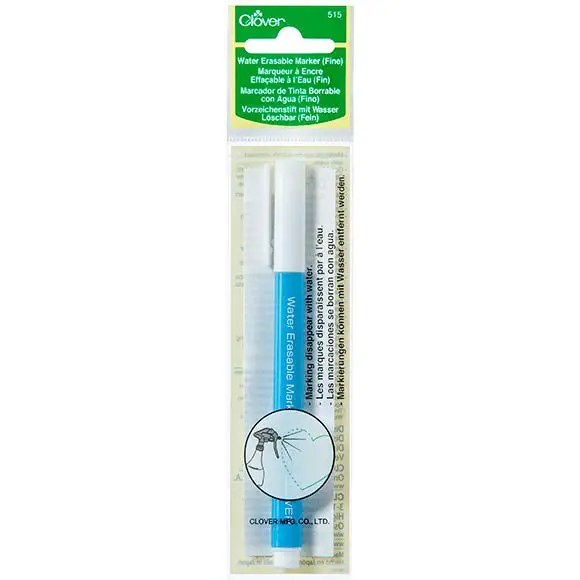
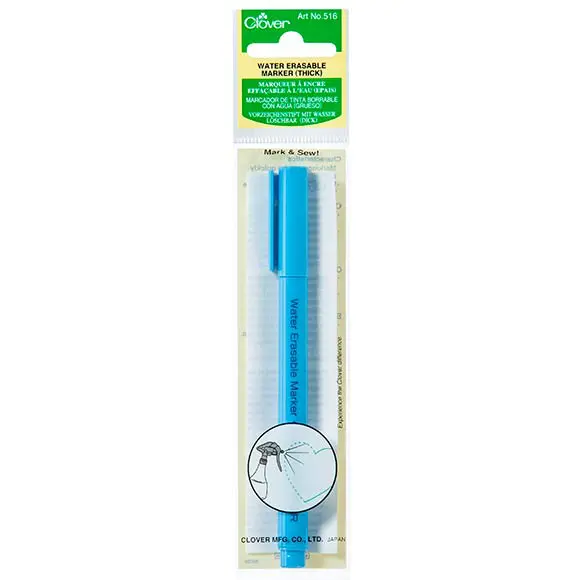
TIP: to achieve mirror image soles, simple cut one the right way up and then flip it over to cut the other. I prefer to cut the template and then trace around it with the water erasable marker before cutting out.
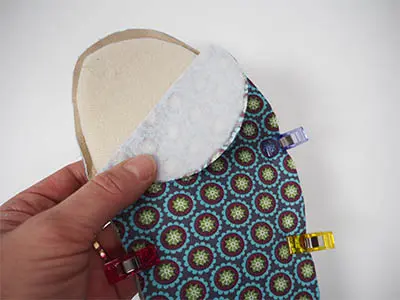
Cut two mirror image pieces of style-vil foam and trim them so that they are slightly smaller than the interfaced fabric sole linings. About ½ cm will do the trick. Cut two mirror image leather soles. Working so that the suede side of the leather is on the bottom (better grip on most floors), clip the other sole layers on top with the foam in the middle and then machine baste together IMAGE 2. The soles are ready to use.
TIP: Wonder Clips are your best friend for getting the soles to work. There are a few layers and you need strong clips.
Pins are no good because not only will they scar the leather permanently but they are difficult to get through the leather and may bend.Make the uppers next. Using the QAYG method, attach the scraps at random onto the #279 wadding.
TIP: QAYG or quilt as you go is really easy and a satisfying way to use scraps. Begin by choosing a scrap and placing it right side up onto the non-fusible quilt batting.
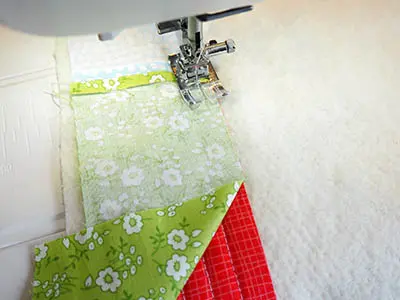
Attach with a couple of rows of topstitching IMAGE 3.
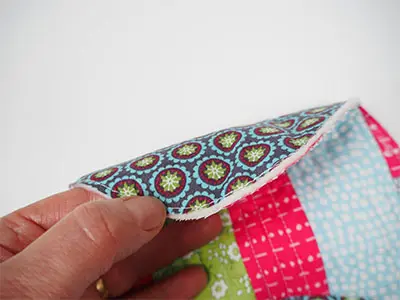
Choose another piece and place it right side together onto the first. Sew a ‘normal’ seam to join IMAGE 4.
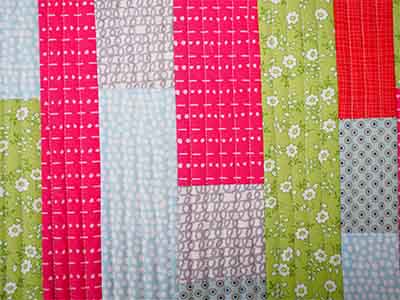
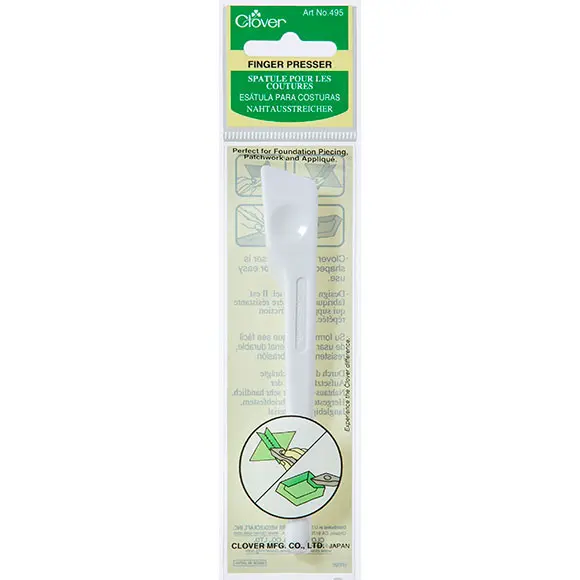
Flip the latest adition over and topstitch as you did for the first. Keep adding pieces like this until you have the area covered IMAGE 5. The finger presser is great to get nice sharp edges without ironing.
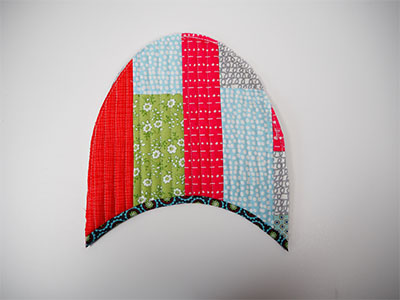
Take the upper template and the water erasable marker and draw around the uppers onto the quilted panel. Cut the uppers out. Cut two pieces of upper lining too and fuse H630 to the wrong side of both of the upper lining pieces. With the wrong sides together, machine baste the quilted upper and the interfaced upper lining together IMAGE 6.
Bind the top edge of the uppers IMAGE 7 and then pin them to the soles, finding the centres of the soles and uppers and matching them up.
Clip the uppers to the soles, gently putting them in place IMAGE 8.
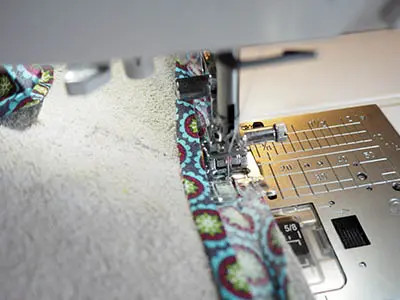
Attach the uppers with a normal seam allowance. Trim if needed and bind the whole slipper with your bias binding IMAGE 9.
TIP: because the leather soles are very difficult to stitch into by hand, flip them over and sew the bias binding on by machine from the bottom and then finish off on the top so that you have fabric to stitch into. Repeat for the other slipper.