
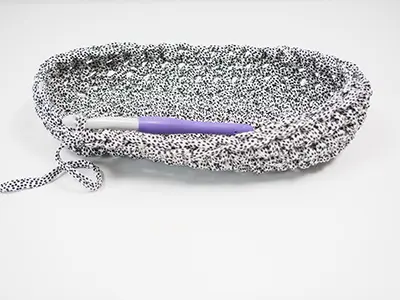
Out and About Crochet Bag

Разработано
Debbie von Grabler-Crozier
Готовый размер
approx. 19cm height *26cm wide
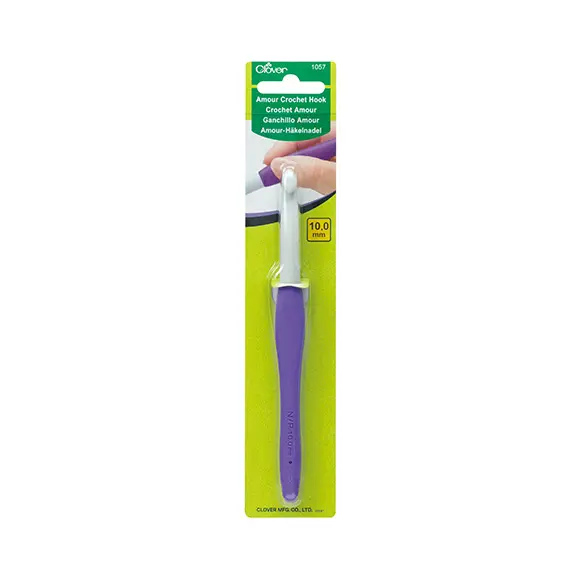
Инструменты
Materials
• Yarn: 2 balls recycled T-shirt yarn. One black and white and one yellow
tip: You will not use a whole ball and this is a great make to use up
leftovers.
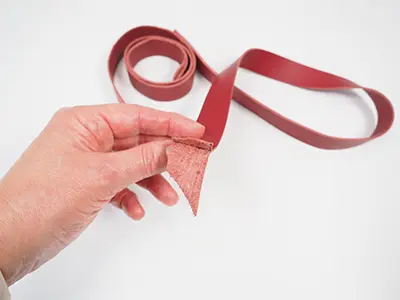
• 15cm wide x 65cm long leather or vegan leather for the handles
tip: You can also use ready-made handles.
• Perle embroidery cotton
Abbreviations
Ch: chain
Dc (US- sc): double crochet (US- single crochet)

Изготовление
An Important bit:
Please read all instructions and assemble requirements before beginning the pattern.
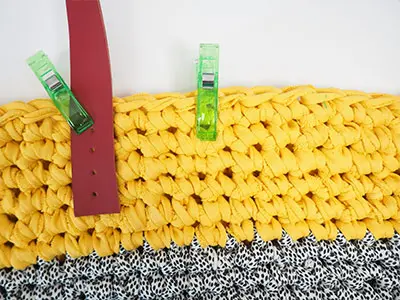
Letʼ s begin by making the handles. Cut four pieces of leather 2.5cm wide x 55-60cm long. Glue them together, suede sides facing to make two double sided handles. Allow the glue to dry.
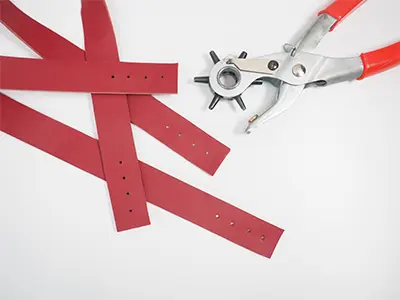
Use the leather hole punch to punch four holes, 1cm apart in each end of the handles.
tip: The first hole is 1cm up from the bottom of the strap and all of the holes are right in the centre.
They are now ready for sewing on when the bag is finished.
Crochet time! Begin with the black and white yarn and ch 10.
Round 1: dc in the second chain from the hook, dc in each of next 8 ch. Dc 3 into the starting chain. Now working across the opposite side of the foundation chain, dc into each of next 8 ch, 3dc into next stitch. Mark the end of the round with a stitch marker.
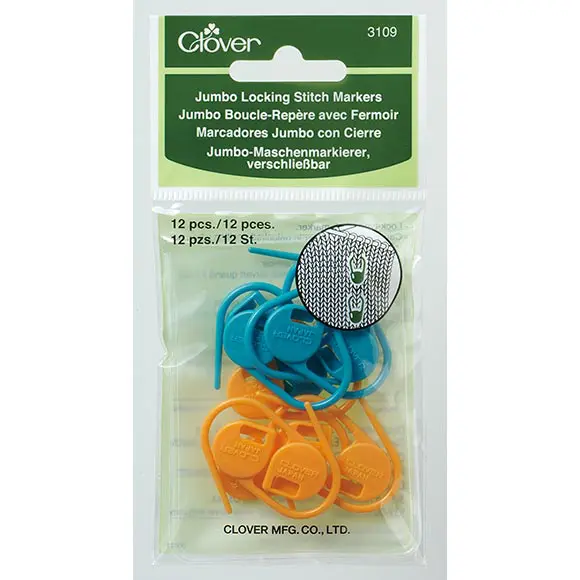
tip: Do not slip stitch at the end of each round to ʻfinishʼ the round. Simply mark with a marker so that you know where to start counting again.
Round 2: dc into each of next 8 stitches, 2 dc into each of the next 3 stitches to form the end curve and then dc into each of the next 8 stitches. 2dc into the each of the next 3 stitches and move the stitch marker to show the end of the round.
Round 3: dc into each of next 8 stitches. 2 dc into next stitch and 1 dc into next stitch. Repeat three times to form the end curve. 1 dc into each of the next 8 stitches and then 2dc into next stitch, 1 dc into the next stitch, repeat
three times and move the stitch marker to show the end of the round.
Round 4: dc into each of the next 8 stitches, 2dc into next stitch and 1dc into each of the next two.

Repeat two more times to round the corner.
1 dc into next 8 stitches then 2dc into next stitch, 1 dc into each of the next two stitches.
Repeat two more times and move the stitch marker to show the end of the round. The base is now finished and it is time to build the sides.
Working in a continuous spiral, 1 dc into each stitch for 7 rows (the work will be approximately 13cm high).
tip: The sides will grow naturally.
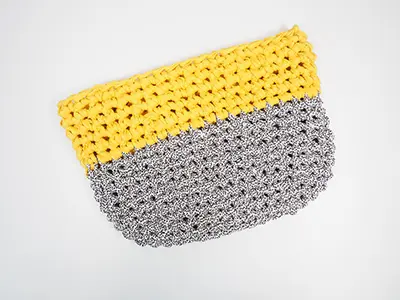
Swap to yellow yarn and 1 dc into each stitch for another 6 rounds. The bag will be now approximately 20cm high. Fasten off and weave in the thread ends.
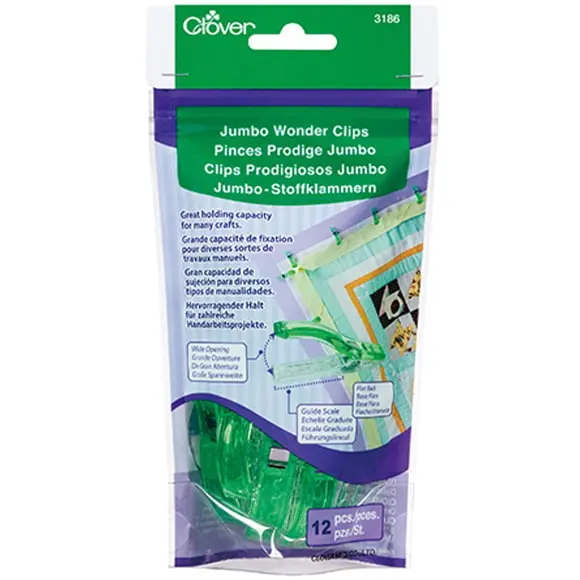
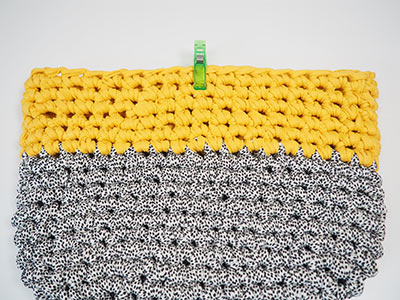
tip: To site the handles perfectly. Find the centre of the side of the basket and put a wonder clip on to mark it.
Swap to yellow yarn and 1 dc into each stitch for another 6 rounds. The bag will be now approximately 20cm high. Fasten off and weave in the thread ends.
tip: To site the handles perfectly. Find the centre of the side of the basket and put a wonder clip on to mark it.
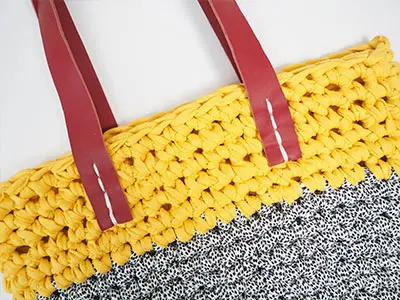
Attach the handles with the Perle cotton by stitching into the holes that you made on each handle.