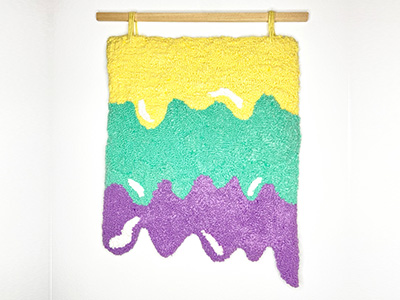
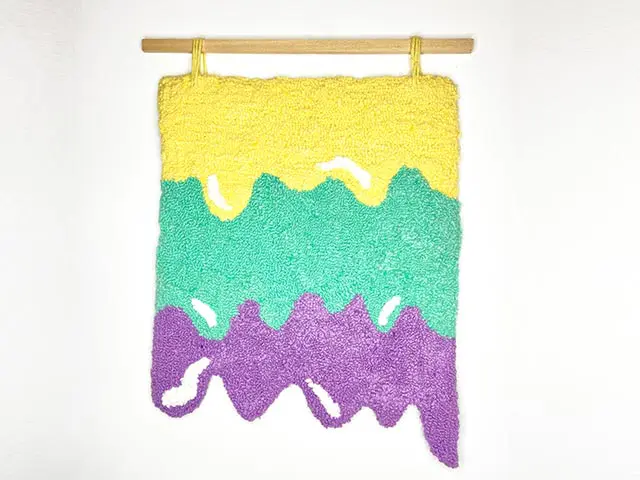
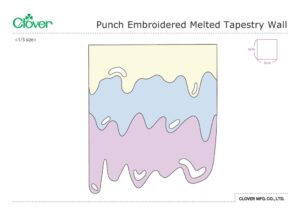
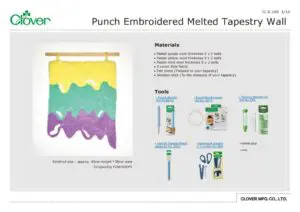
Punch Embroidered Melted Tapestry Wall
Разработано
YUMI HOOPS
Готовый размер
approx. 49cm height *38cm wide
Инструменты
Materials
• Pastel purple wool thickness 5 x 2 balls
• Pastel yellow wool thickness 5 x 2 balls
• Pastel mint wool thickness 5 x 2 balls
• 6 count Aida fabric
• Felt sheet (Tailored to your tapestry)
• Wooden stick (To the measure of your tapestry)
Изготовление
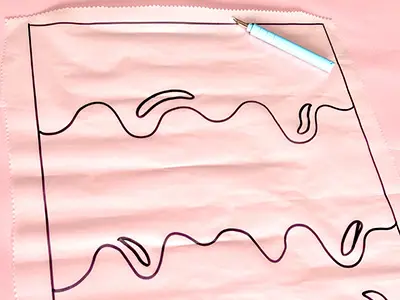
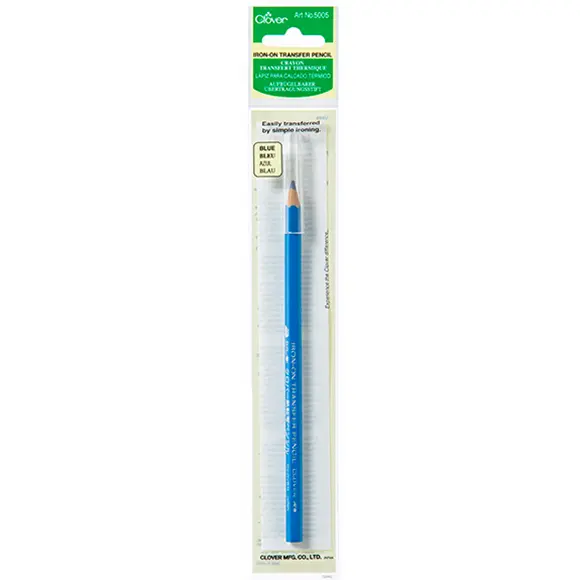
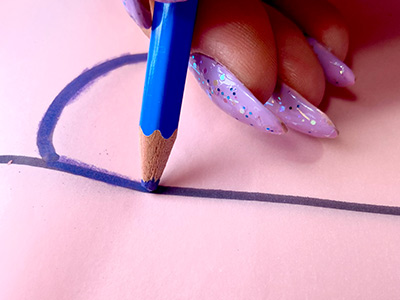
Draw the design by hand on paper or print the pattern, it measures about 38cm x 49cm approx. With "Iron-on Transfer Pencil (ArtNo.5005)", redraw on top of the printed or drawn drawing.

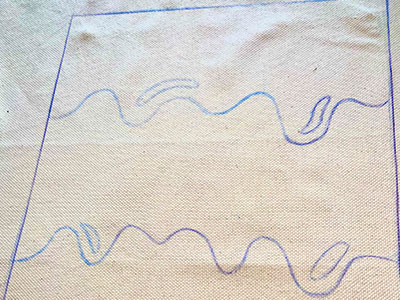
Prepare the fabric, iron it if it has wrinkles, and put the design on it so that the lines drawn with “Iron-on Transfer Pencil” touch the fabric and secure with pins.
With the very hot iron, go over the drawing several times making sure that the pattern has been transferred to the fabric.
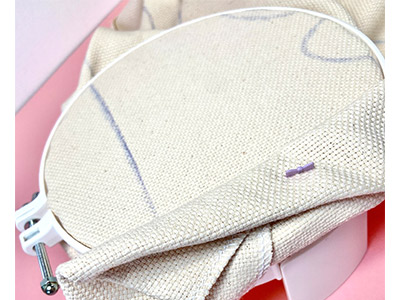
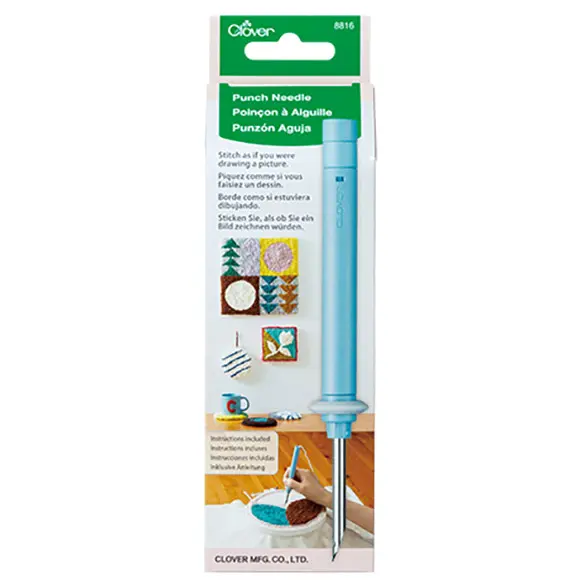
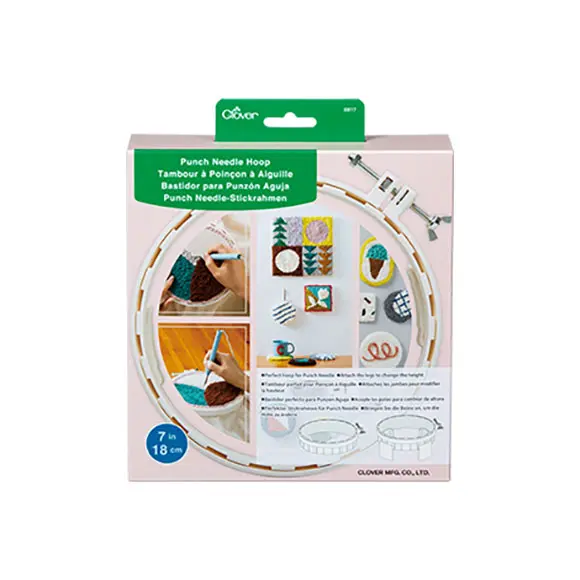
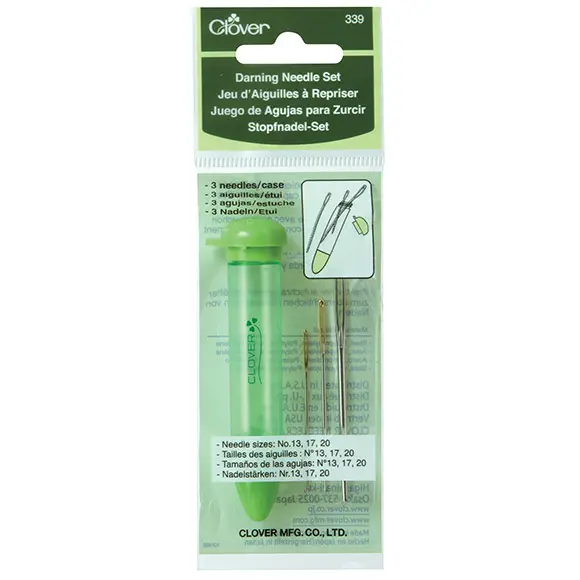
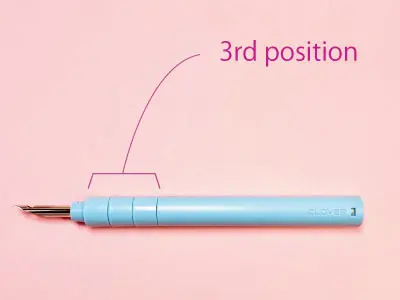
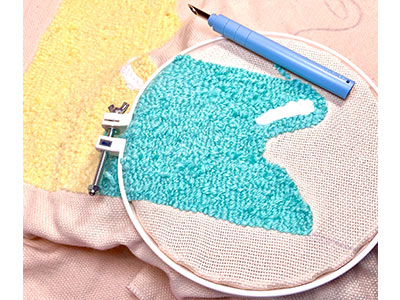
Place the fabric inside the hoop with the legs so that you do not puncture the table when working on the fabric. Put the needle at the height in 3rd position to make small loops. Thread the needle as indicated in the instructions and start with the punch!
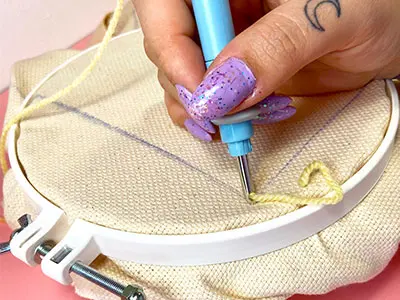
tip: Make sure you have the fabric taut and the hoop tight. A loose fabric will slow you down and ruin your work.
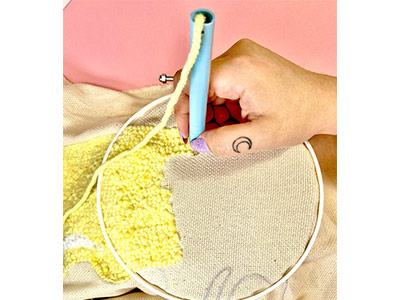
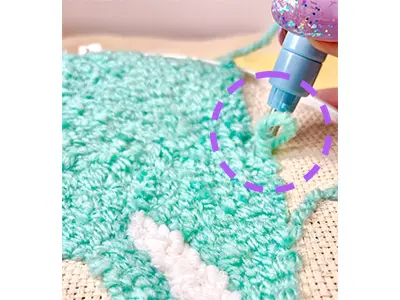
Once the hoop space is filled with the yarn, you can move freely, you just have to move the hoop, don't worry if the hoop presses the embroidery, it won't damage it.
tip: When you see this, it is because you are running and you have not pricked the yarn well. Go calm, ensuring the correct spaces and the wool well punctured.
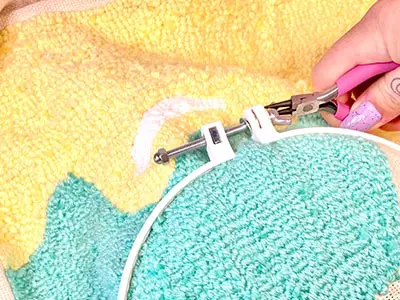
tip: It is normal that when you have advanced with the tapestry, it easily comes out of the ring. That's because we don't tighten the nut enough with our hands, I tighten the fabric and tighten it with pliers. The fabric will be firm and perfect to work with.
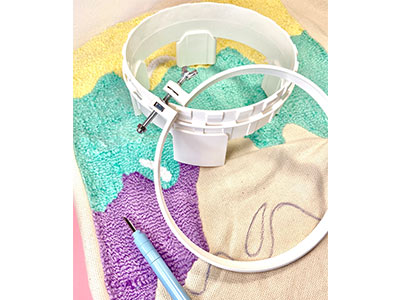
tip: Don't leave the hoop on the tapestry overnight. Especially when the embroidered part is pressed, otherwise you will have sunken marks in the wool.
Take it off and when you go back to work put it back on, this way you will renew the tension of the fabric and the hoop.
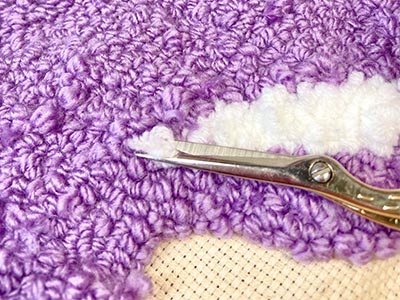
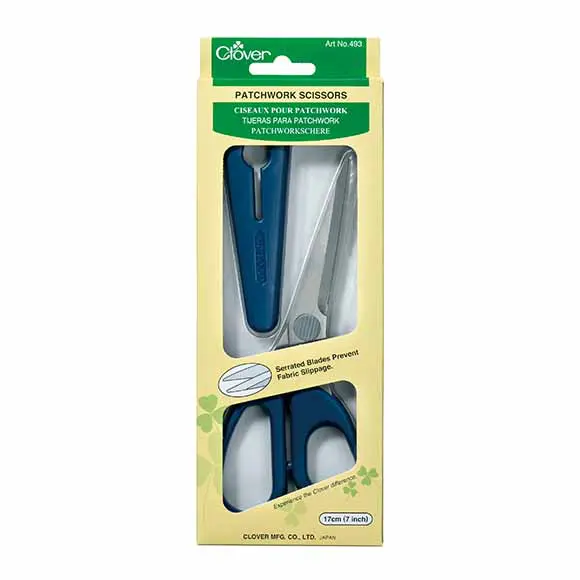
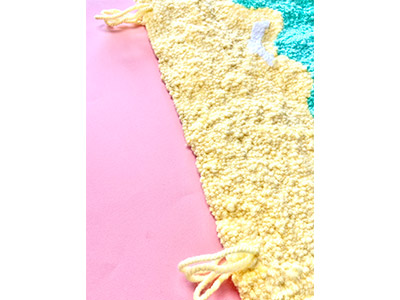
Once the embroidery is finished, it is normal for there to be loose wool on the outside, with the help of scissors you cut it and polish it until smooth.
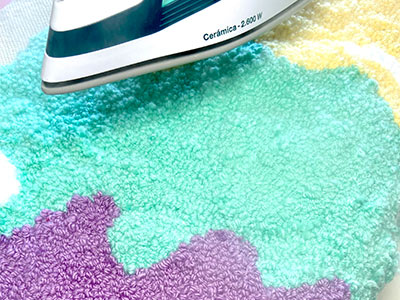
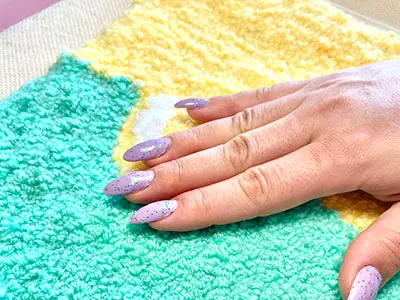
If you have ring marks, take the iron and put it on the Nylon option, and at a distance of 2 cm, apply steam on the tapestry and rub gently and repeatedly with your hand, thus equalizing the texture.
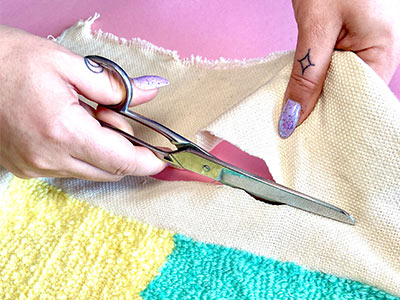
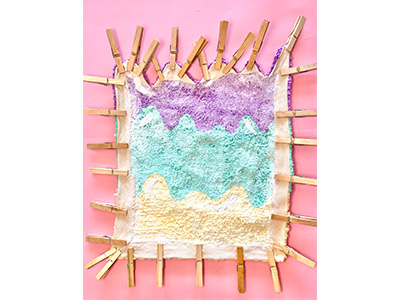
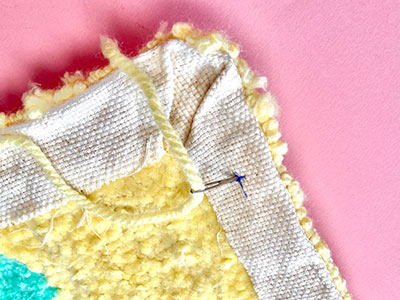
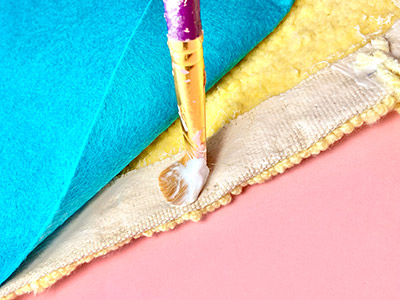
Remove the excess fabric leaving 2cm ‒ 3cm of margin and in the curves below cut to the end.
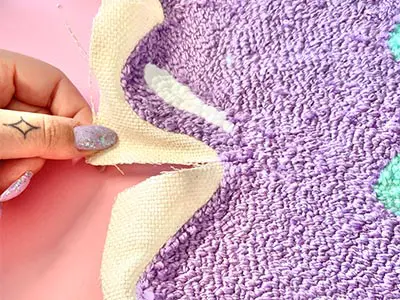
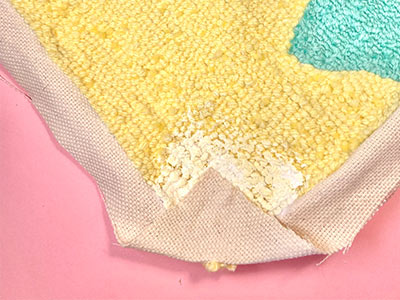
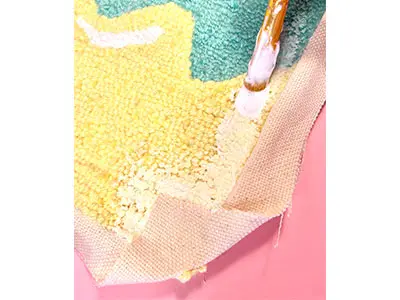
Start applying the textile glue, first in the corners and fold the fabric. Continue with the glue through the center of the tapestry so that the stitches do not come loose.
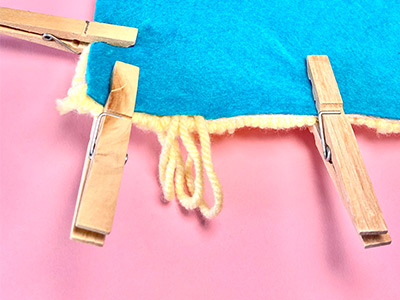
tip: You can help yourself with some pegs to hold the edges of the fabric to the tapestry. If you're in a hurry, you can hit it with a hot air dryer, otherwise you can leave it on a flat surface in the sun.
When it is already dry, pass the remaining yellow wool several times with a wool needle and make some rings in the upper part to be able to hang the tapestry.
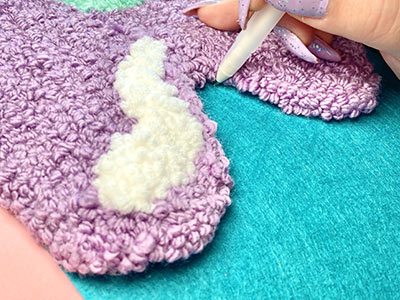
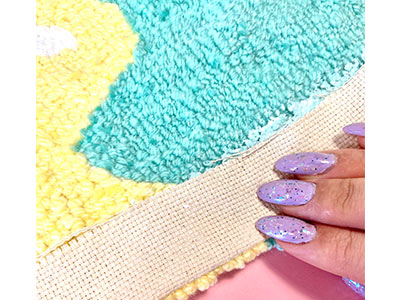
With a sheet of felt, mark the profile of the tapestry and cut off the excess. Next, put a little textile glue in the center and along the entire margin of the tapestry and stick the edges. Help yourself again with pegs if it comes off.
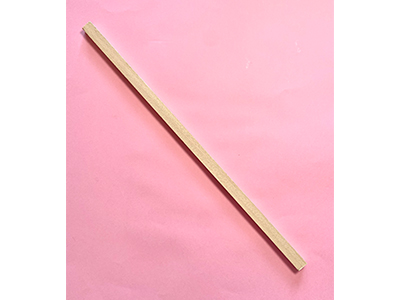
Get a wooden stick tailored to your tapestry and you're ready to decorate!