
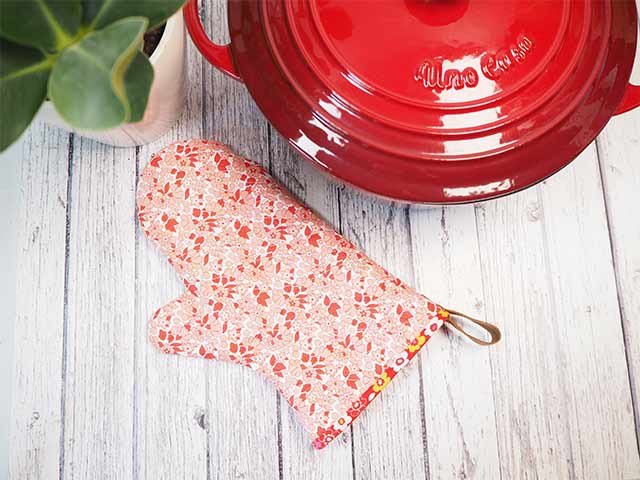
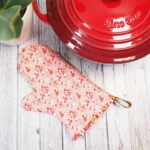
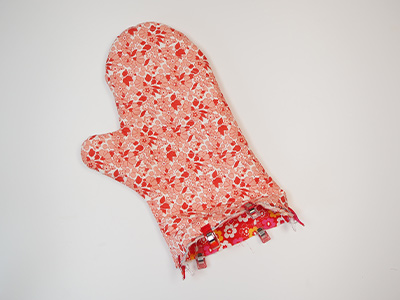
Beginner’s Oven Glove
ออกแบบโดย
Debbie von Grabler-Crozier
ผลิตภัณฑ์


Hole Punch
Your normal sewing needs
Materials
Fabric:
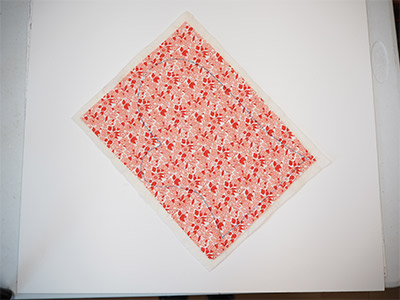
• 30cm pretty fabric for the outer
• 30cm fabric for the lining
Interfacing:
• 30cm #279 80/20 cotton mix wadding (interfacing)
Everything Else:
• Small scrap of leather about 3cm wide x 15cm long
• Small rivet
Cutting
From the outer fabric:
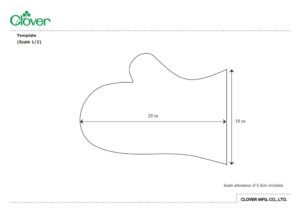
・Cut two rectangles 25cm wide x 35cm long
From the lining fabric:
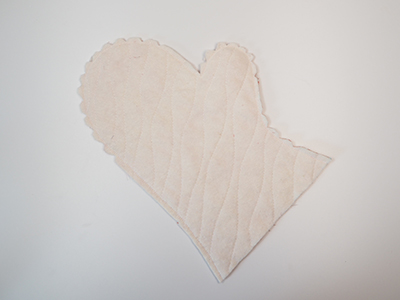
・Use the template to cut two mirror image oven glove shapes.
・Cut 40cm bias binding 3.5cm wide
From the interfacing:
・Cut two rectangles 28cm x 38cm
From the leather:
・Trim the leather scrap to 2cm wide x 15cm long

วิธีทำ
Preparation:
NB: Seam allowances are all 0.5cm unless otherwise stated. Please read all instructions through and assemble the equipment before beginning.
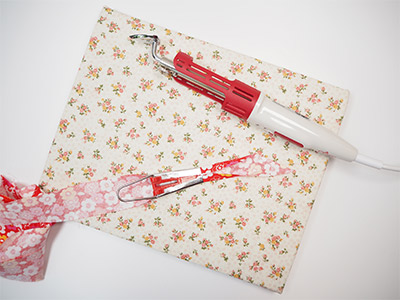
Make the bias binding: take your strip of fabric and use the bias tape maker to get the folds perfect.
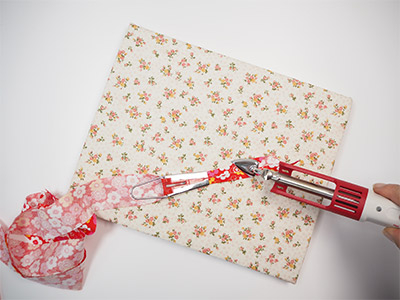
Pull the bias tape maker as you press the bias binding with the mini iron.
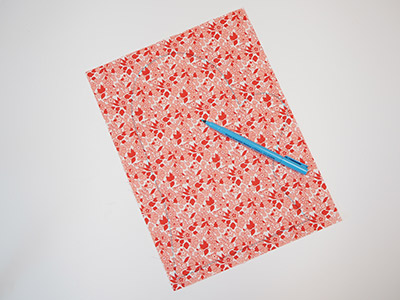
Take the oven glove template and Water Erasable Marker and draw two mirror image glove shapes onto the right side of the fabric.

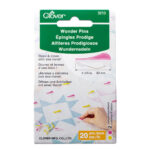
Place the interfacing under the fabric and pin with the Wonder Pins.
Quilt the glove shapes with your favorite quilting pattern.
tip: I love a random diagonal wave pattern. It is really easy to do and it can be done on almost any sewing machine.
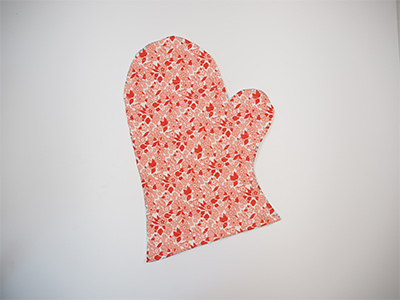
Cut the glove shapes out.
With the right sides together, sew the gloves right around leaving the top edge open.
Repeat this for the lining.
Notch the curves on the glove.
tip: This will mean that the edge sits perfectly when it is turned out the right way. You do not have to do this for the lining.
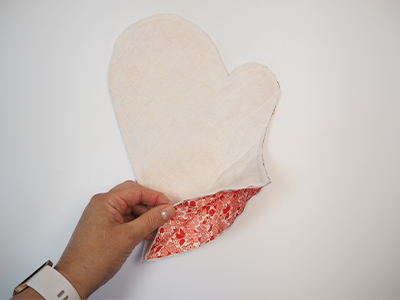
Turn the glove out the right way and stuff the lining down into the glove.
tip: The lining is inside out and the outer is the right way out. This way, the two wrong sides will be together inside the glove ‒ this also means that the glove is fully reversible.
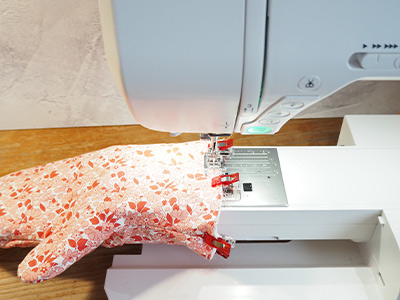
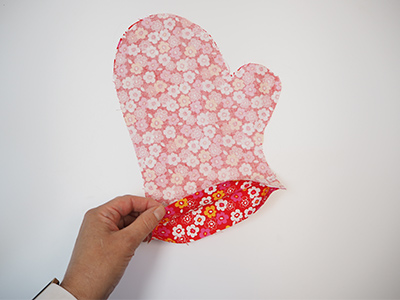
Sew around the top edge.
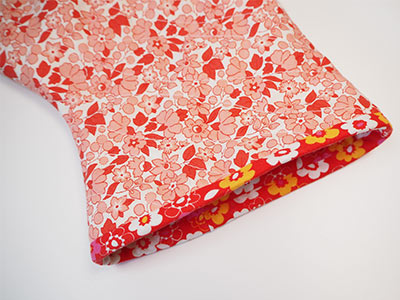
Bind the top edge.
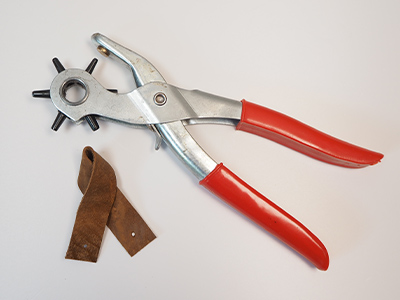
Make a hole with the leather hole punch in the leather strip.
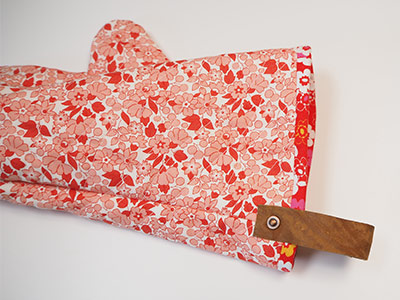
Finish by attaching the leather hanger with the rivet.