
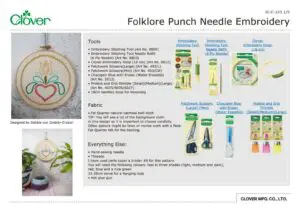
Folklore Punch Needle Embroidery

Designed by
Debbie von Grabler-Crozier
Tools


18cm bamboo hoop for mounting
Materials
Fabric:
Fat Quarter natural oatmeal twill cloth
TIP: You will see a lot of the background cloth in this design so it is important to choose carefully. Other options might be linen or monks cloth with a fleck.
Fat Quarter felt for the backing
Everything Else:
Hand sewing needle
Threads. I have used perle coton a broder #8 for this pattern. You will need the following colours: teal in three shades (light, medium and dark), red, blue and a nice green
15-20cm twine for a hanging loop
Hot glue gun
Making
NB: Please read all instructions through and assemble the equipment before beginning.
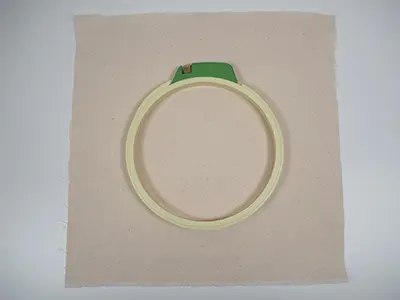
Cut a piece of twill cloth larger all around than your 18cm embroidery hoop IMAGE 1.
TIP: A rough square of 35cm x 35cm will do the trick.
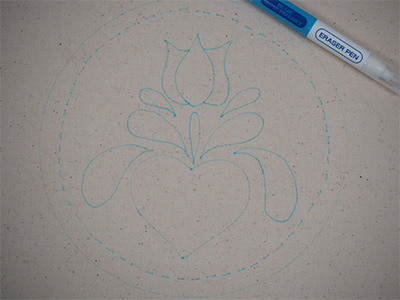
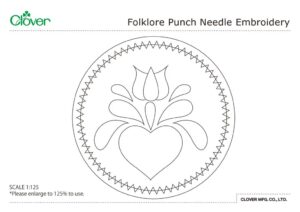
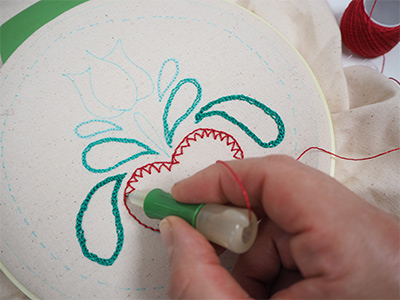
Transfer the pattern IMAGE 2. A great way to do this is to hold the template up to a sunny window and put the fabric over the top. Trace with the Chacopen Blue with Eraser (Water Erasable).
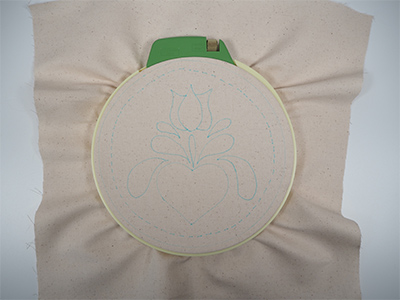
Place the pattern into the hoop and stretch so that it is nice and tight IMAGE 3.
Thread the embroidery stitching tool with your first colour. My colour ideas are:
-For the heart: red
-For the commas: teal 1, 2 and 3 with the darkest on the bottom comma to make an ombre effect
-For the stem and the stitch border: green
-For the tulip head: mustard yellow
TIP: You can make these patterns any colour at all – black and white for example is non-traditional but really modern looking.
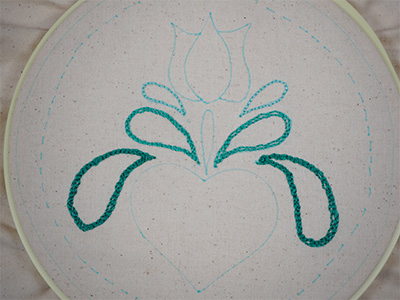
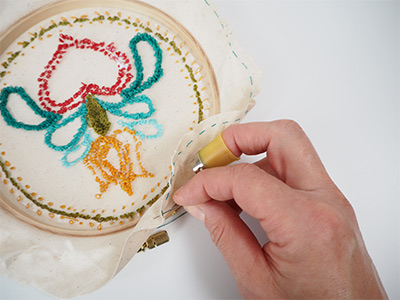
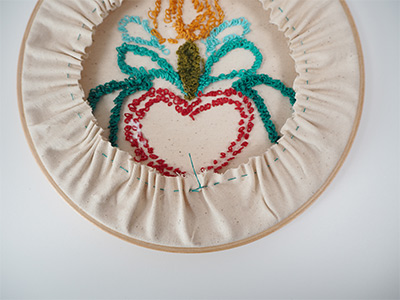
Stitch the design. I have used only straight stitches for this design but combined in a few different ways. The comma motifs are straight stitches with either one, two or three rows IMAGE 4 and the heart is two rows of straight and a cross stitch in the middle IMAGE 5.
TIP: This cross stitch is not meant to be perfect. It is made with a random zig zag going one way and then coming back the other way to make the crosses.
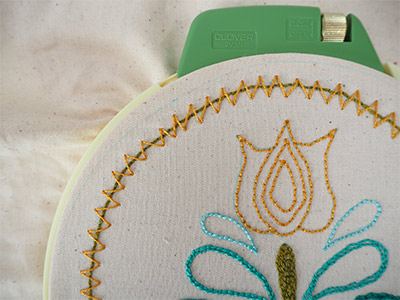
I have added a mustard yellow zig-zag over the green border too.
TIP: If you are worried about the stitches coming loose, a small amount of white craft glue on the back of the work will fix the problem. This especially important on bigger stitches like the border zig-zag.
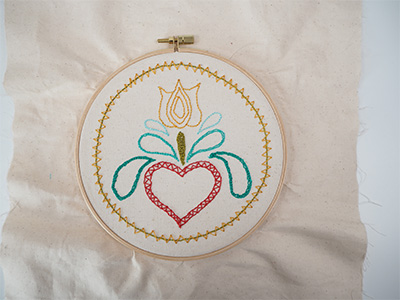
When you have finished stitching, put the embroidery into the bamboo hoop and centre it nicely, pulling tight but ensuring that it is not distorted.

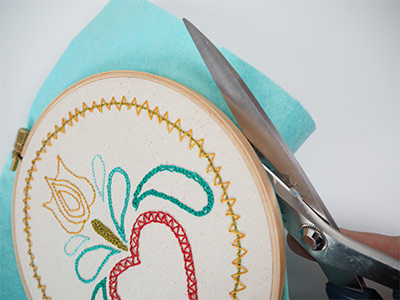
Trim the excess fabric to about 3.5cm wide.
TIP: it needs so come all the way around to the back and allow a bit for the gathered edge.
Using the hand sewing needle and normal thread, gather the edge of the fabric with a running stitch.
Draw this in when you have reached the start point. Fasten off and trim the thread.
Place the embroidery face down onto a clean surface. Take the felt and the hot glue gun and hot glue the felt to the back to hide the gathering. Use your scissors to trim the felt so that it follows the curve of the hoop. Make a hanging loop from the twine.