
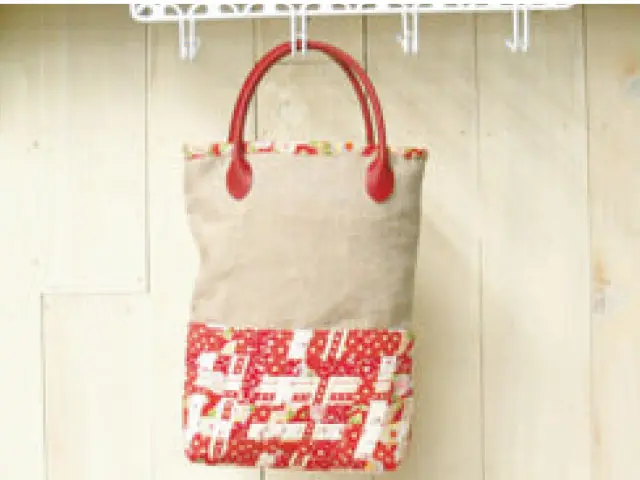
Meshwork Tote Bag
Finished Size
Approx. 20 cm width x 36 cm length *Excluding handles.
Tools


Materials
• Printed Cloth 22 cm x 35 cm Approx. 6 types.
*Including spares just in case.
• Foundation piece of cloth (Cloth sheeting etc) … 40 cm x 40 cm
• Linen … 22 cm x 56 cm
• Interior Cloth … 22 cm x 56 cm
• Handles … One set.

Making
{Please find the pdf "" HOW TO MAKE : MESHWORK ""for the basics of mesh working}
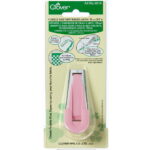
Make tapes of cloth. Going with the grain of the fabric, make 6 strips 24mm wide in each of the 6 types of fabric for the total of 36 strips (12 mm tape maker is needed).
Repeat this time making each strip 36 mm in width (to use 18mm tape maker).
Make two more strips of width 36 mm to use as bag's opening.
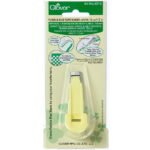
*When cutting the cloth, use a Clover Rotary Cutter, cutting mat and Bias Tape Cutting Ruler.
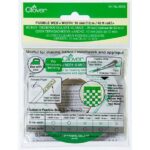
Next make Fusible Bias Tape using a fusible bias tape making. Take the cloth and some fusible web, and stick together using an iron. For the tape at the bag's opening, simply press without using any Fusible Web. For more details, please read the user's manual on Fusible Bias Tape Maker.
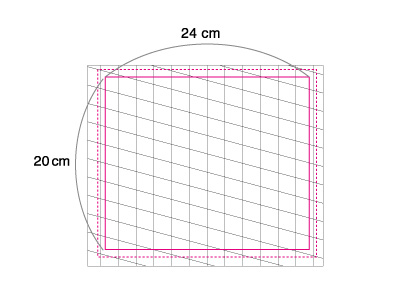
Link the tapes. Take the foundation piece, and use an Erasable Marker to draw a base point on all four sides (20 cm x 24 cm). Make a 15-degree angle with the top of the base line, this will act as a guide point on how to line up your pieces. Place your foundation piece of cloth onto the cutting mat, and line up the 20 pieces of cloth made in (2). Secure in place with pins. In order to accent the piece, add an extra cloth of width 18 mm for every six pieces. Now lay down the pieces that will go across them, and begin weaving in a one over one under pattern. Use an awl to prevent any gaps. Adjust with the leftover strips if needed in order to make a design 26 cm (horizontal) x 22 cm (vertical length) in size.
Secure the meshwork in place. Erase the outline in (3) and iron the mesh, making sure not to damage any of it. At the 25 cm x 21 cm point on the mesh (located 0.5 cm outside of the base line), sew a large seam; at 26 cm x 22 cm, cut.
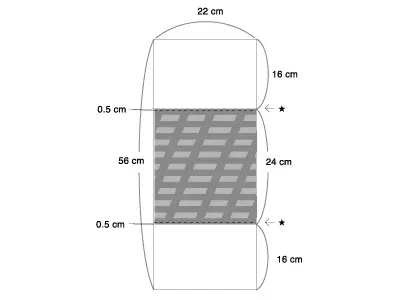
Orient the meshwork from (4) on the left and right so that the cloth is straight, folding in 1 cm at the border. Sew it onto the linen cloth 0.5 cm from the position marked with a* on the diagram.
Turn the cloth inside out, and sew a 1 cm seam on both edges.
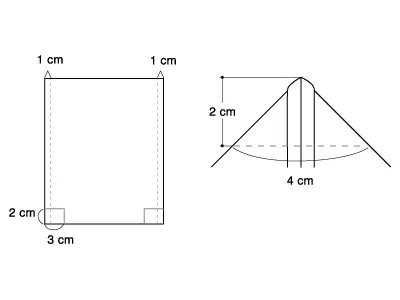
Make a gusset for the bag. On the front and back pieces of cloth, add markings for the gusset at the corners of both sides. Fold the corners into triangles. Break the seams and then sew.
Turn the bag right side out. Combine two tapes prepared in (2) to make one strip, and wrap it over the bag' s mouth. When the handles are complete the bag is finished.