
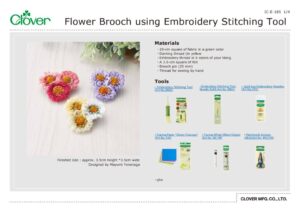
Flower Brooch using Embroidery Stitching Tool

Разработано
Mayumi Yonenaga
Инструменты

Materials
・20-cm square of fabric in a green color
・Darning thread (in yellow
・Embroidery thread in 6 colors of your liking
・A 3.5-cm square of felt
・Brooch pin (25 mm)
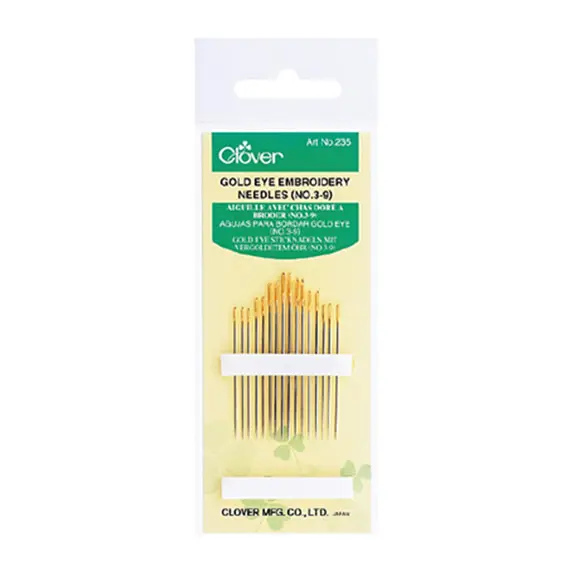
・Thread for sewing by hand
Изготовление
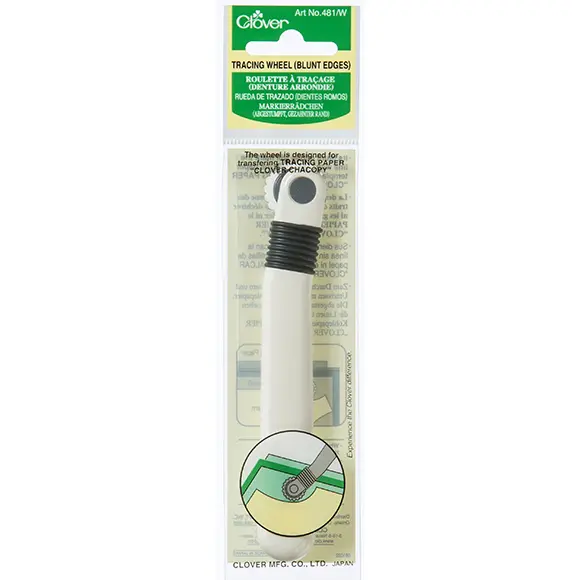
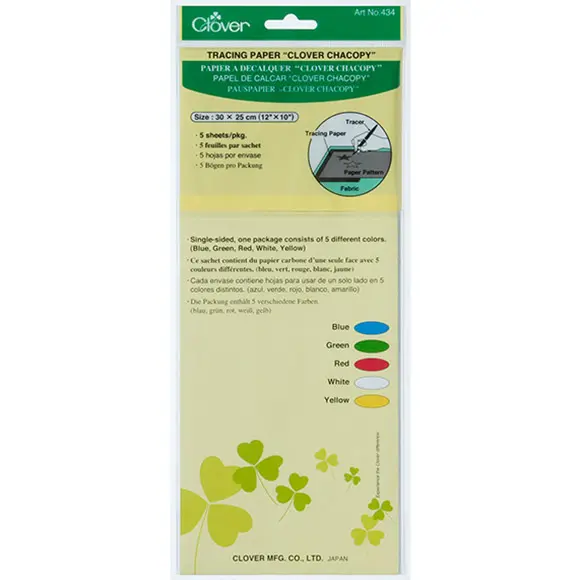
Use tracing paper to transfer the design to the fabric, then place the fabric in a hoop.
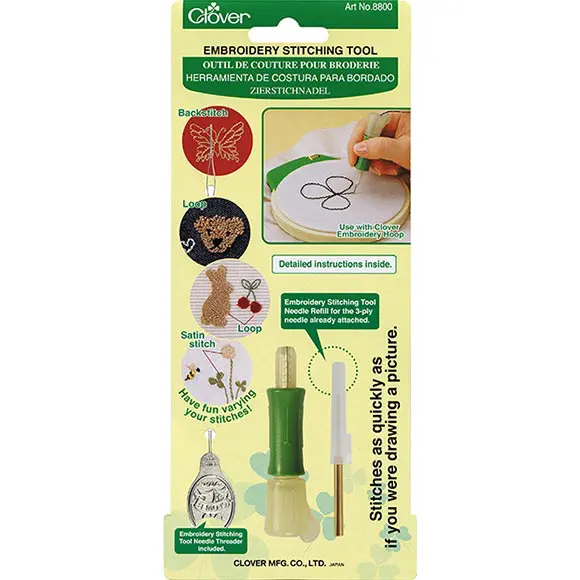
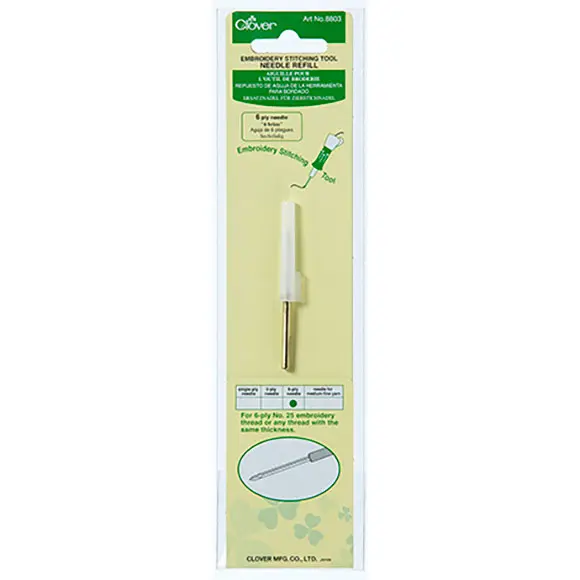
Place a 6-ply needle head in the Embroidery Stitching Tool and use it to embroider in line with the design.
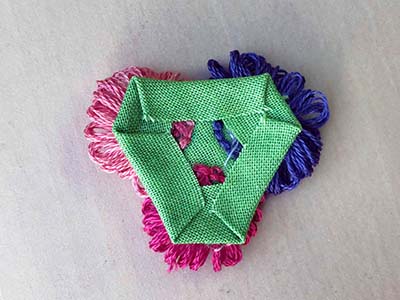
Remove the fabric from the hoop and cut it to a size that leaves a margin of about 5–7 mm.
Fold the margin section back and glue it in place.
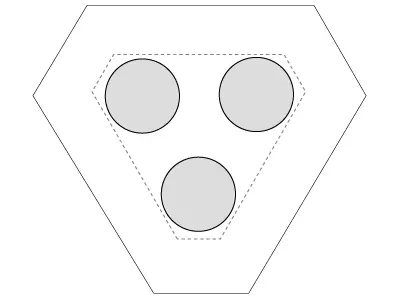
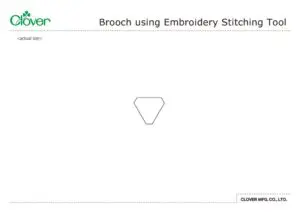
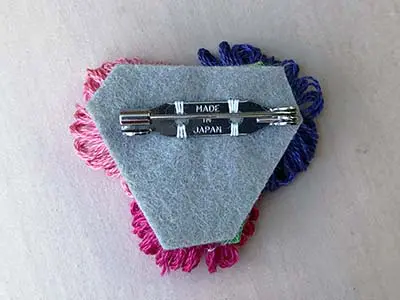
Cut the felt in line with the template.
Place the felt on the back. If any felt can be seen when looking at the front of the brooch, cut it off.
Sew the brooch pin on and glue it to the back to complete the brooch.
How to embroider the flowers
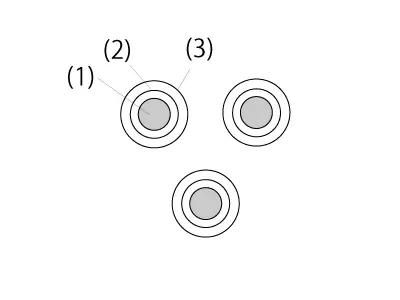
・Embroider all sections using a 6-ply needle.
・Embroider in the order of (1)–(3).
(1)
・Needle length: position 3
・Darning thread: 3-ply thread*
・After making loop stitches, apply glue to hold them in place, and once it has dried, cut the loops to make a velvet-like finish
(2)
・Needle length: position 3
・No. 25 embroidery thread: 6-ply thread
・Loop stitch
(3)
・Needle length: position 0–1 (Adjust to your liking)
・No. 25 embroidery thread: 6-ply thread
・Loop stitch