
Free Hugs Cactus Cushion
ออกแบบโดย
Designed by Debbie von Grabler-Crozier
ผลิตภัณฑ์


Materials
Fabric:
1 piece of light aqua wool felt 40cm x 50cm
Small selection of coordinating fabrics.
I am using pieces from the Faraway Places collection by Elizabeth Olwen for Cloud 9 Fabrics. You need less that a Fat Eight of each. Fat 8th packs are great for this sort of project!
Interfacing:
1x Fat Quarter thin wadding.
My favourite is #279 80/20 cotton mix by Vlieseline
Everything Else:
• Wool tops in:
mid green, dark green, light green, white, mid blue, dark blue, light blue, mid brown, dark brown, light brown, mid grey
• 35cm wide x 45cm long cushion insert
• 1m black pompom trim
• 1m coordinating embroidered ribbon for the trim.
• Stranded embroidery floss in off white
• Your usual sewing needs
Cutting
From your patchwork fabrics, cut 42 random squares measuring 8cm each
NB: seam allowances are all ½ cm (1/4”) unless otherwise stated. Please read all instructions through and assemble the equipment before beginning.
วิธีทำ
Preparation

Take the felt fabric and with the water erasable marker, draw a rectangle, nicely centred 35cm wide x 45cm long. This is the front area of your cushion. Using the transfer mesh and the water erasable marker, transfer the cactus pattern onto the middle of the felt IMAGE 1.
TIP: Work on the non-glossy side of the mesh and use a normal pencil to trace the design. Then lay this onto your cushion and retrace the design with the water erasable marker. No worries about reversing the design or anything like that. Clean the mesh with a soft white eraser.
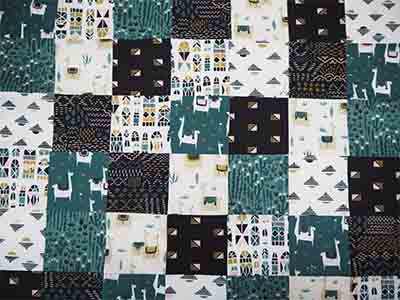
Start on the patchwork panel. Simply join the squares to form a simple patchwork back IMAGE 2. They should be 6 squares wide x 7 squares long.
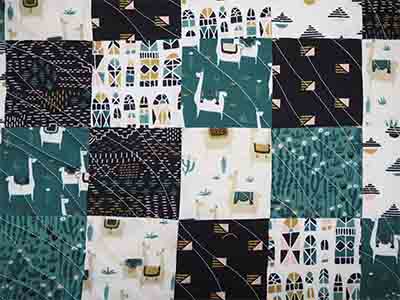
Press and lay the patchwork panel onto the wadding. Quilt with your favourite design. Mine is a random wave IMAGE 3. It is really easy to achieve on almost any sewing machine.
Trim the quilted panel to 35cm wide x 45cm long. This is the backing for the cushion and it is ready to use.
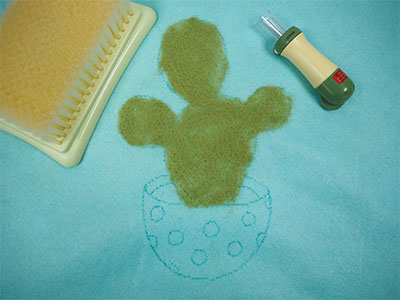
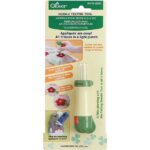
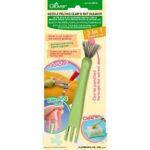
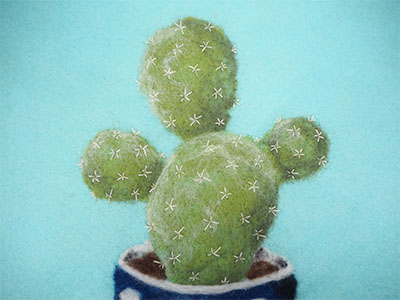
The felting comes next! Use the needle felting tool to fill in the cactus shape with mid green wool IMAGE 4.
TIP: Use the pen style needle felting tool for edges and fine work. I like to use it with only one needle in it.
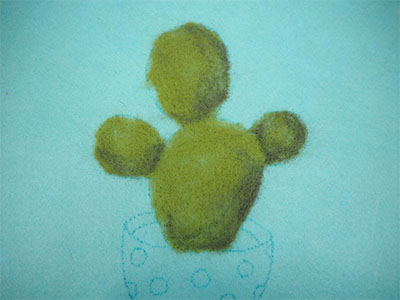
Shade with the darker green to the right hand side IMAGE 5.
TIP: It is not really important to shade from the right hand side but whatever you do, decide where the light is coming from and shade the same side all over. If the cactus is shaded on the right hand side, it means that the light is coming from the left.
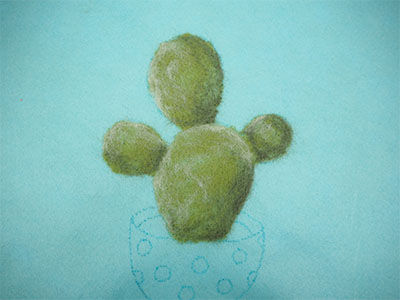
Highlight the opposite side to the shade IMAGE 6.
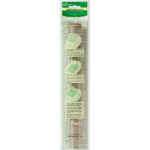
TIP: The Claw and mat cleaner tool is amazing for lightly blending the wool shade and highlights. It really helps to get them perfect.
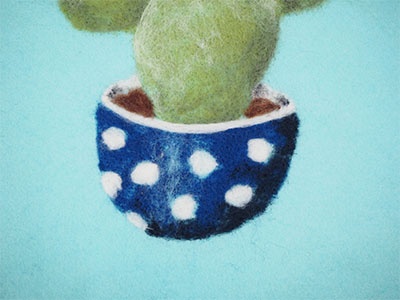
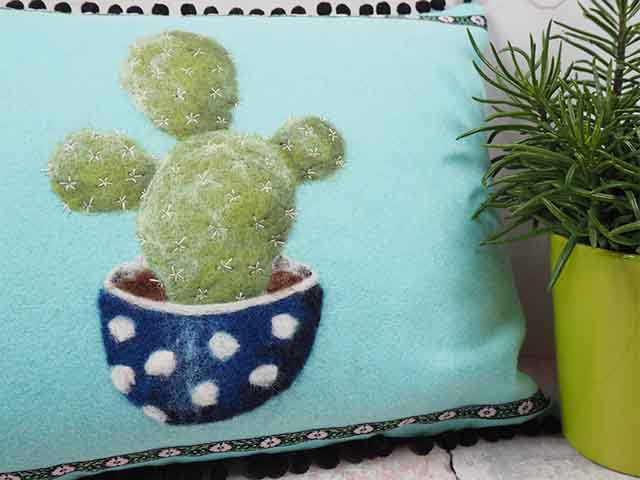
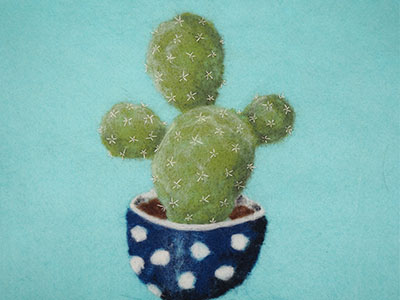
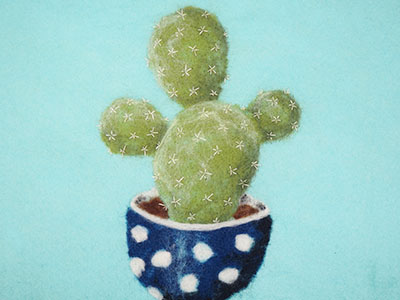
Make the pot in the same way, starting with a mid-blue and shading with darker blue before highlighting with light blue. The spots are just plain white. The soil is brown with shading and highlights IMAGE 7.
TIP: I have made a white rim on the bowl and used the mid grey to shade the rim.
The great thing about this sort of project is that you can make it as simple or as involved as you like. If you are not confident, leave these bits out. Your motif will still look amazing.
Thread the embroidery needle with 2 strands of off white embroidery thread and make some spikes in groups of 5 on the cactus IMAGE 8.
Attach the embroidered ribbon to the top and the bottom of the cushion front IMAGE 9.
TIP: This is a valuable trick when putting the colours together. The ribbon echoes the colours of the patchwork on the back and stops the cushion front from becoming too bland. Where you attach it will depend on how thick it is. Mine is 1cm wide and 3cm from the bottom and top.
To complete the cushion, trim the original rectangle that you drew and attach the back pompom trim to the top and bottom IMAGE 10.
Place this panel right sides together with the patchwork back one and sew around the sides leaving a gap in the base. Trim across the corners and turn the cover the right way out. Insert the cushion and close the gap in the base.